 PREV
PREV
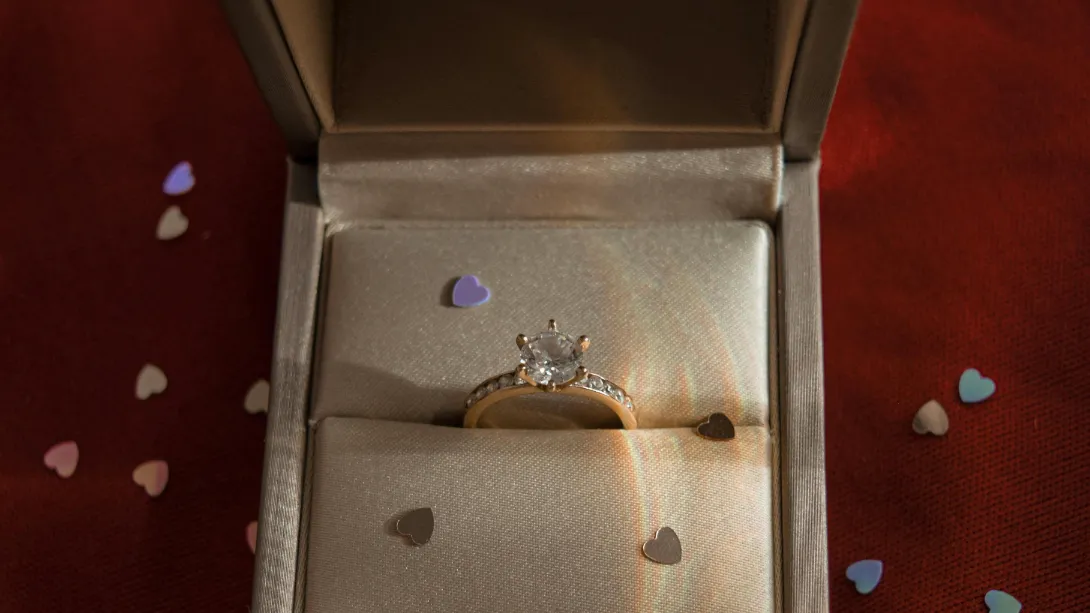
Essential Custom Jewelry Packaging Terms You Need to Know
2024-10-28

Did you know 99% of DIYers miss out on simple varnish hacks? Working with varnish can be messy, but there are safer options. Indoor-safe stripping gel and mineral spirits are gentler yet effective. Aleene’s Clear Gel Tacky Glue and Krylon Clear Polyurethane protect your work. Mod Podge is great for achieving a glossy or matte finish. Transform your wooden jewelry boxes with pro-level varnish techniques. These hacks can take your jewelry box or vintage dresser from good to great. The difference is in the details.
Exploring DIY and woodcraft means learning about what varnish is. It’s key for making wooden items like jewelry boxes look good and stay safe. Varnish does more than just make things look nice. It also protects the wood from damage and keeps it looking natural.
A varnish finish does more than just add shine. It creates a strong shield against scratches and spills. Made from resins, oils, and solvents, it hardens into a tough protective layer. This makes varnish perfect for jewelry boxes that get a lot of use.
But, some varnishes can change the wood’s color over time. This might not be what woodworkers want. Shellac, for example, keeps the wood’s color the same, even as it ages. This is why many choose shellac for custom projects that need to look good for years.
| Finish Type | Color Stability | Durability |
| Boiled Linseed Oil & Wax | Maintains original color | Looks good as new after 6 years |
| Polyurethane | Yellows and darkens | Noted aging in 12 years |
| Shellac | Stable color range | Fine protection with moderate handling |
Choosing the right varnish is all about protection and keeping the wood beautiful. Knowing what is varnish and how it works can make your jewelry boxes last longer and look better. This ensures they remain stunning over time.
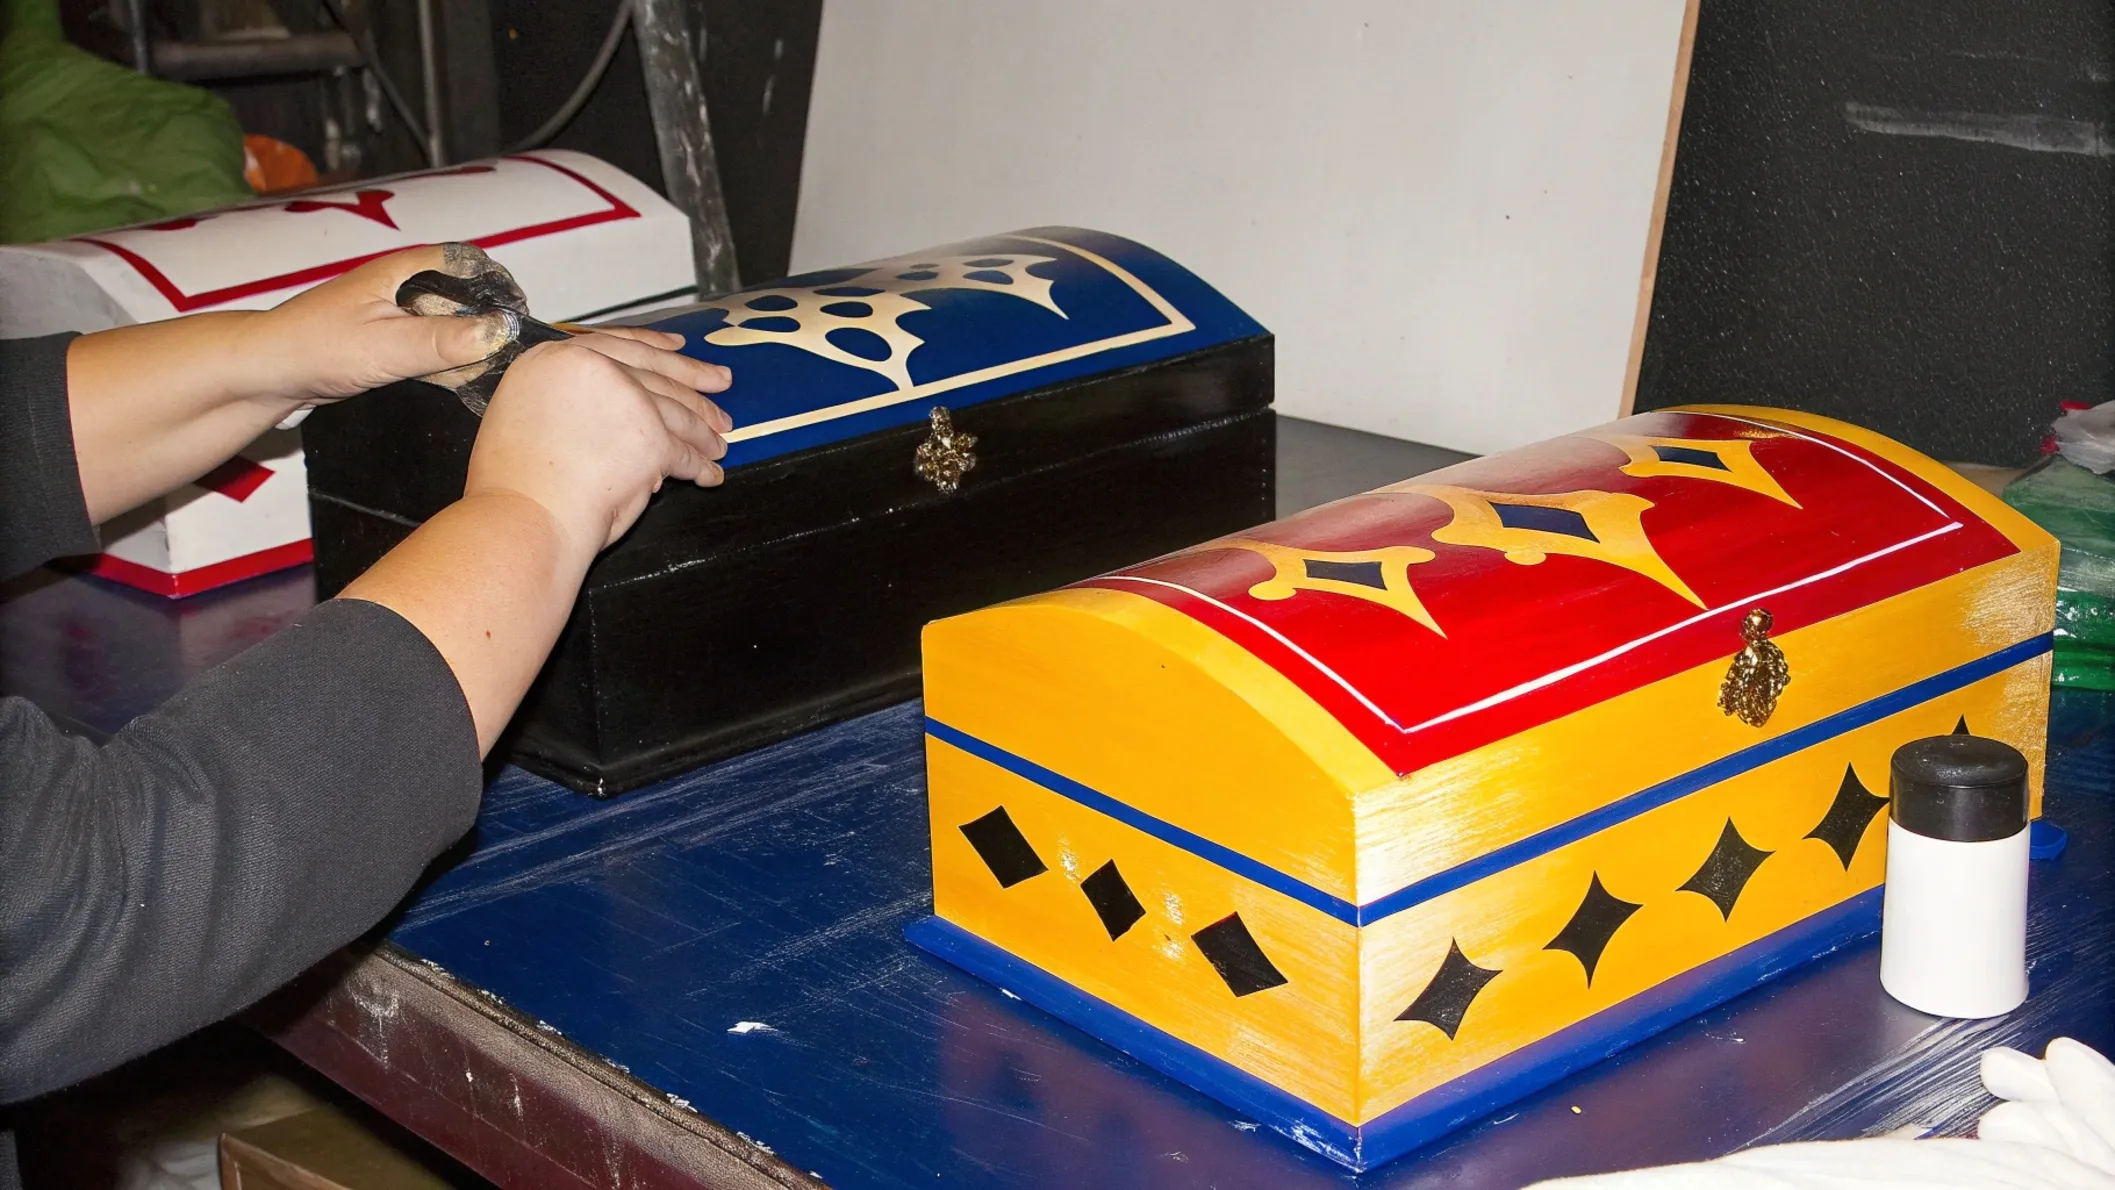
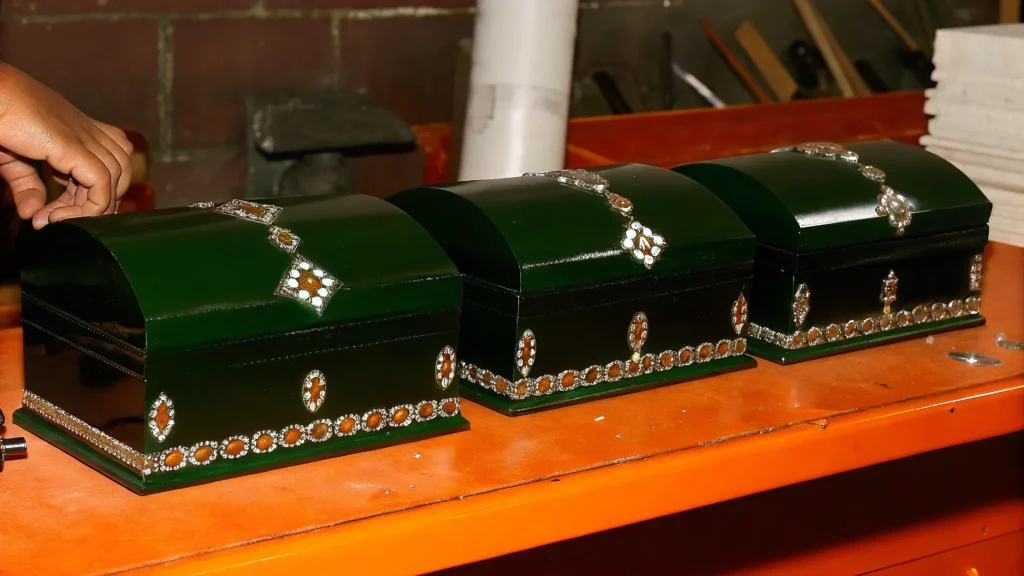
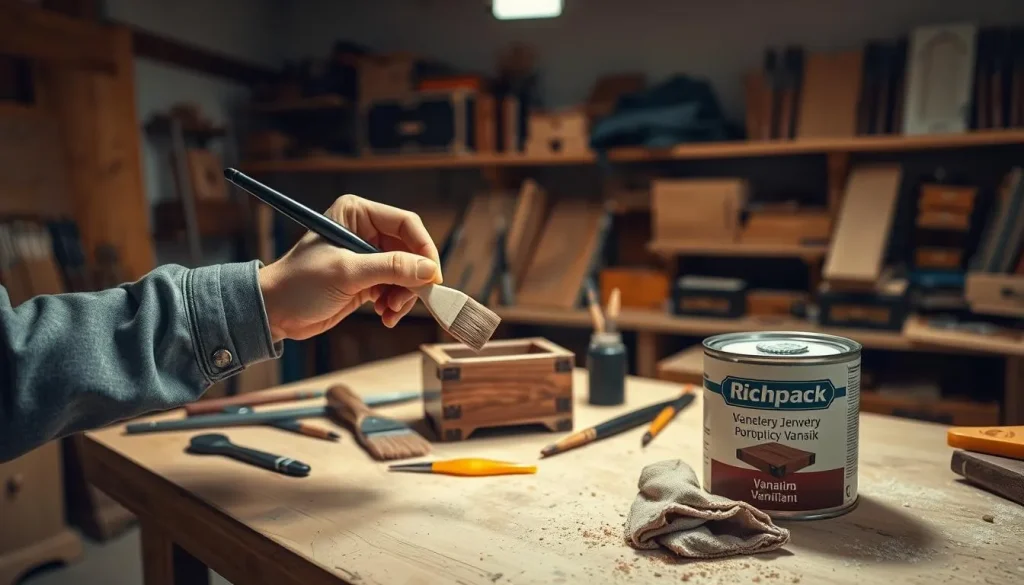
To get a great varnish job on your jewelry box, follow a detailed process. Richpack, a professional custom jewelry packaging manufacturer, will help you from start to finish. You’ll learn the best varnish techniques and hacks for a smooth finish and lasting protection.
To begin, ensure that the surface you plan to varnish is properly prepped. If you’re working with a piece that has existing finishes, you’ll need to remove them entirely. A quality gel stripper can be excellent for this task, as it effectively dissolves old finishes and has a low odor, making it suitable for indoor use. After applying the gel, allow it to sit according to the instructions, then scrape away the old varnish, paint, or stain. This step is vital, as any remnants can interfere with the new varnish finish, compromising both appearance and durability.
After removing the old finish, a thorough cleaning is required. Utilize scouring pads or an old toothbrush to meticulously scrub the surface, ensuring that any residue, dust, or debris is eradicated. Paying attention to these details not only prepares the wood for the new finish but also ensures you avoid issues such as peeling or uneven application down the line. Proper preparation lays the foundation for a successful varnishing project, resulting in a beautiful, long-lasting finish that showcases the natural beauty of the wood.
Sanding makes the surface smooth for varnish to stick well. Start with 150-grit sandpaper and move to 220-grit. This step removes dirt and makes the wood ready for varnish.
After the initial sanding, it’s important to clean the surface to eliminate any dust and debris created during the sanding process. This can usually be done with a damp cloth or a tack cloth specifically designed for this purpose. Failure to remove dust can lead to imperfections in the varnish layer, affecting both aesthetics and durability. Varnish requires a clean and smooth surface to adhere properly and create a long-lasting finish that elevates the wood’s appearance while safeguarding it from potential damage.
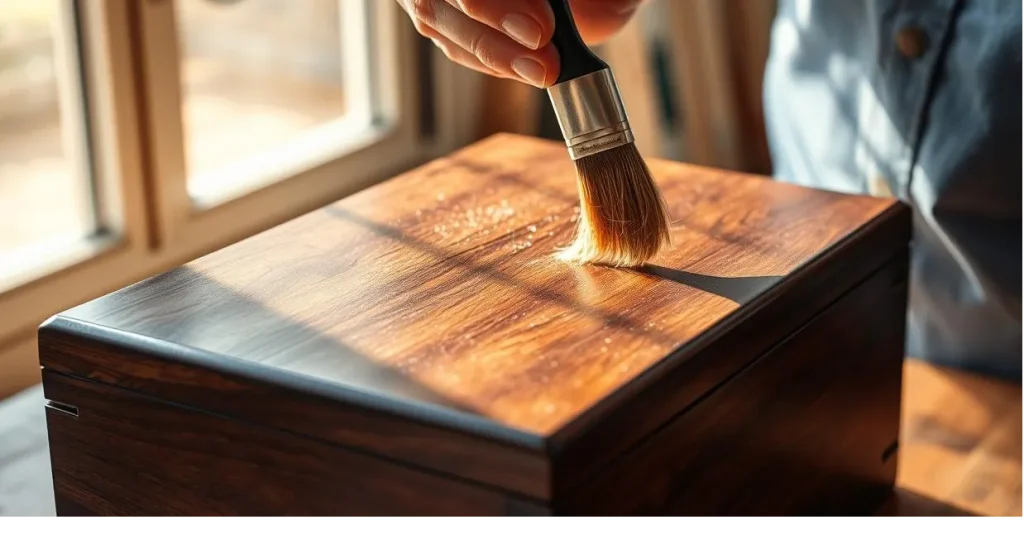
In Step 3 of the finishing process, one of the most important considerations is the application technique. A good brush is essential for an even coat—using one that is appropriate for your varnish type will reduce the risk of bubbles and streaks. When applying, always brush in one direction to follow the wood grain. This method not only enhances the natural look of the wood but also ensures a smooth, professional appearance. For any tricky spots or intricate details, consider using a small brush or a foam applicator. This will help you cover all areas evenly without leaving any unsightly drips or bare patches.
After the varnish dries, add a top coat of Creme Wax. Use a clean cloth to apply it, let it dry, and then buff it. This makes the varnish last longer and look better.
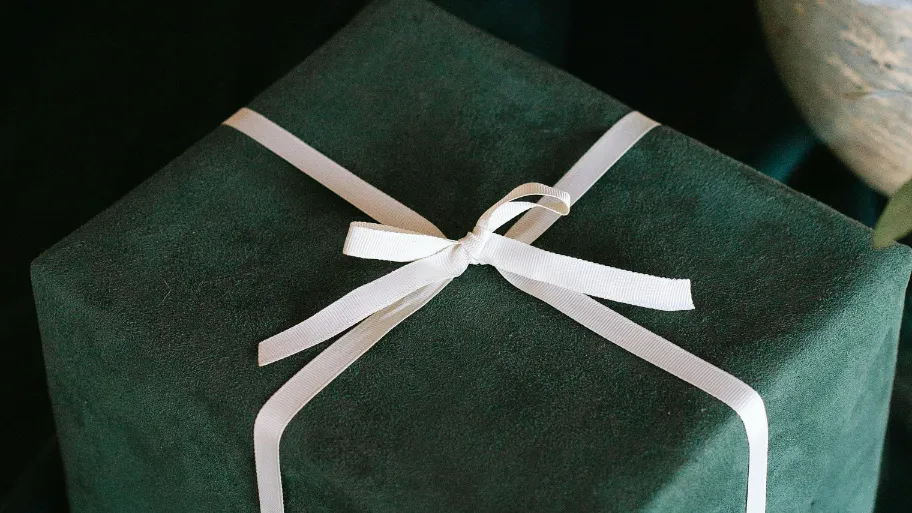
By following these steps, your luxury jewelry box will look amazing and last a long time. It will be a treasured piece in your home.
When working with varnish on your jewelry boxes, safety is key. Varnish makes your projects last longer and look better. But you must handle it carefully. Good safety habits lead to great results without risking your health or the environment.
Always work in a room with good air flow to avoid breathing in harmful fumes. Some varnishes can catch fire, so keep them away from heat or flames. Also, store rags and brushes with varnish in a safe place to avoid fires.
Wear rubber gloves and protective glasses when using varnish, especially oil-based types. These fumes can be strong. Even water-based varnishes need caution because they contain chemicals.
Choose between water-based and oil-based varnishes based on your project. Water-based varnishes dry fast and won’t yellow. Oil-based varnishes take longer to dry but are more durable.
Make sure each layer of varnish dries completely before adding more. Wait at least six hours and lightly sand between coats. This helps the varnish stick better and look smoother.
In summary, while varnish application can be tricky, focus on safety and proper techniques. This will give you a professional finish and a safe DIY experience.
Varnish comes in many types, each with its own look and feel. From glossy to flat finishes, the right choice can make your wooden jewelry box last longer and look better. Modern varnishes, like quick-drying oils and eco-friendly options, make the process easier and safer.
Using varnish also means knowing about potential dangers. It’s important to understand the risks of certain chemicals, like formaldehyde. Just like in dental care, the right varnishing method can save time and money. With the right care, your varnished jewelry box will stay beautiful for years. Skill and dedication are key to keeping it looking great. We understand how to professionally varnish jewelry boxes, you can freely contact us to help you varnish, allowing your jewelry box to remain shiny for a long time.
2024-10-28
2025-03-05
2025-01-09
The study find that The 15% minimum recycling target for each packaging material was expected to be reached in all EU Member States except for plastics. This highlights a positive trend in packaging materials cost-benefit. Paper, glass, and metal are preferred for their recyclability. In this blog we’re here to guide you through the exciting world of packaging materials, where… Continue reading 99% of DIYers Miss These Varnish Hacks for Jewelry Boxes
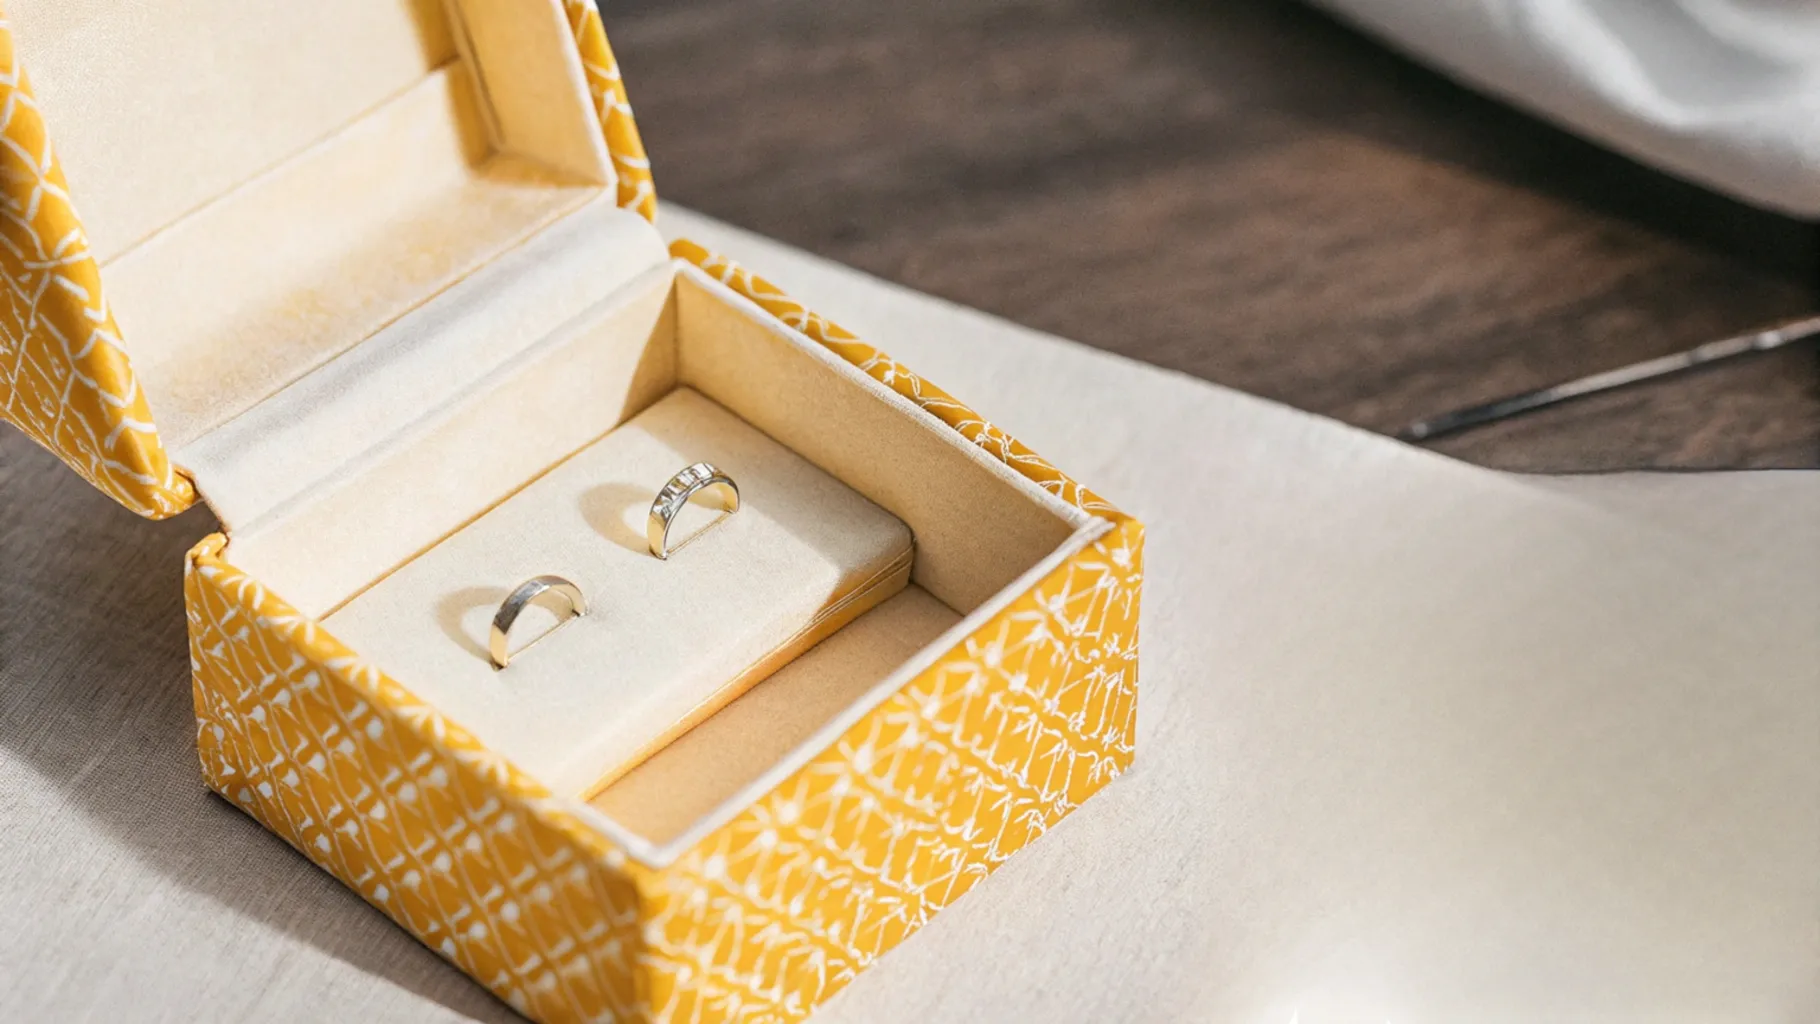
Richpack · Fabric Keepsake Boxes: A Step-by-Step Guide to Storage Solutions We’re about to unleash a world of vibrant, personalized storage with fabric Keepsake fabric keepsake boxes! The global gift fabric keepsake boxes market was estimated at $38.93 billion in 2033, with a projected compound annual growth rate (CAGR) of 6.98% from 2023 to 2030. This growth is driven by… Continue reading 99% of DIYers Miss These Varnish Hacks for Jewelry Boxes
The jewellery components determine the types of packaging materials and affect the design of packaging solutions. Inappropriate jewellery packaging will have the opposite effect. For pearl jewellery with relatively low hardness, if placed in such rough packaging, the surface of the pearl may be scratched and lose its original lustre and roundness. In this blog,… Continue reading 99% of DIYers Miss These Varnish Hacks for Jewelry Boxes
Custom Cardboard Makeup Eyeshadow Packaging Box Paper Cosmetic Box
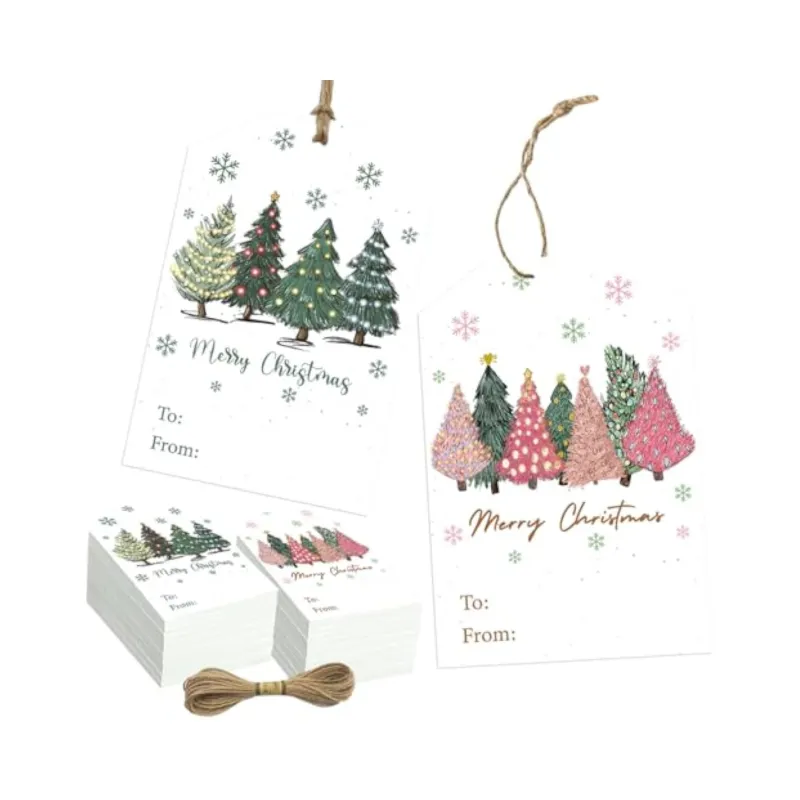
Customizable Presentation Cards for Special Occasions | Tailored Packaging Solutions for Jewelry Brands Looking for Personalized, High-Quality Bulk Orders
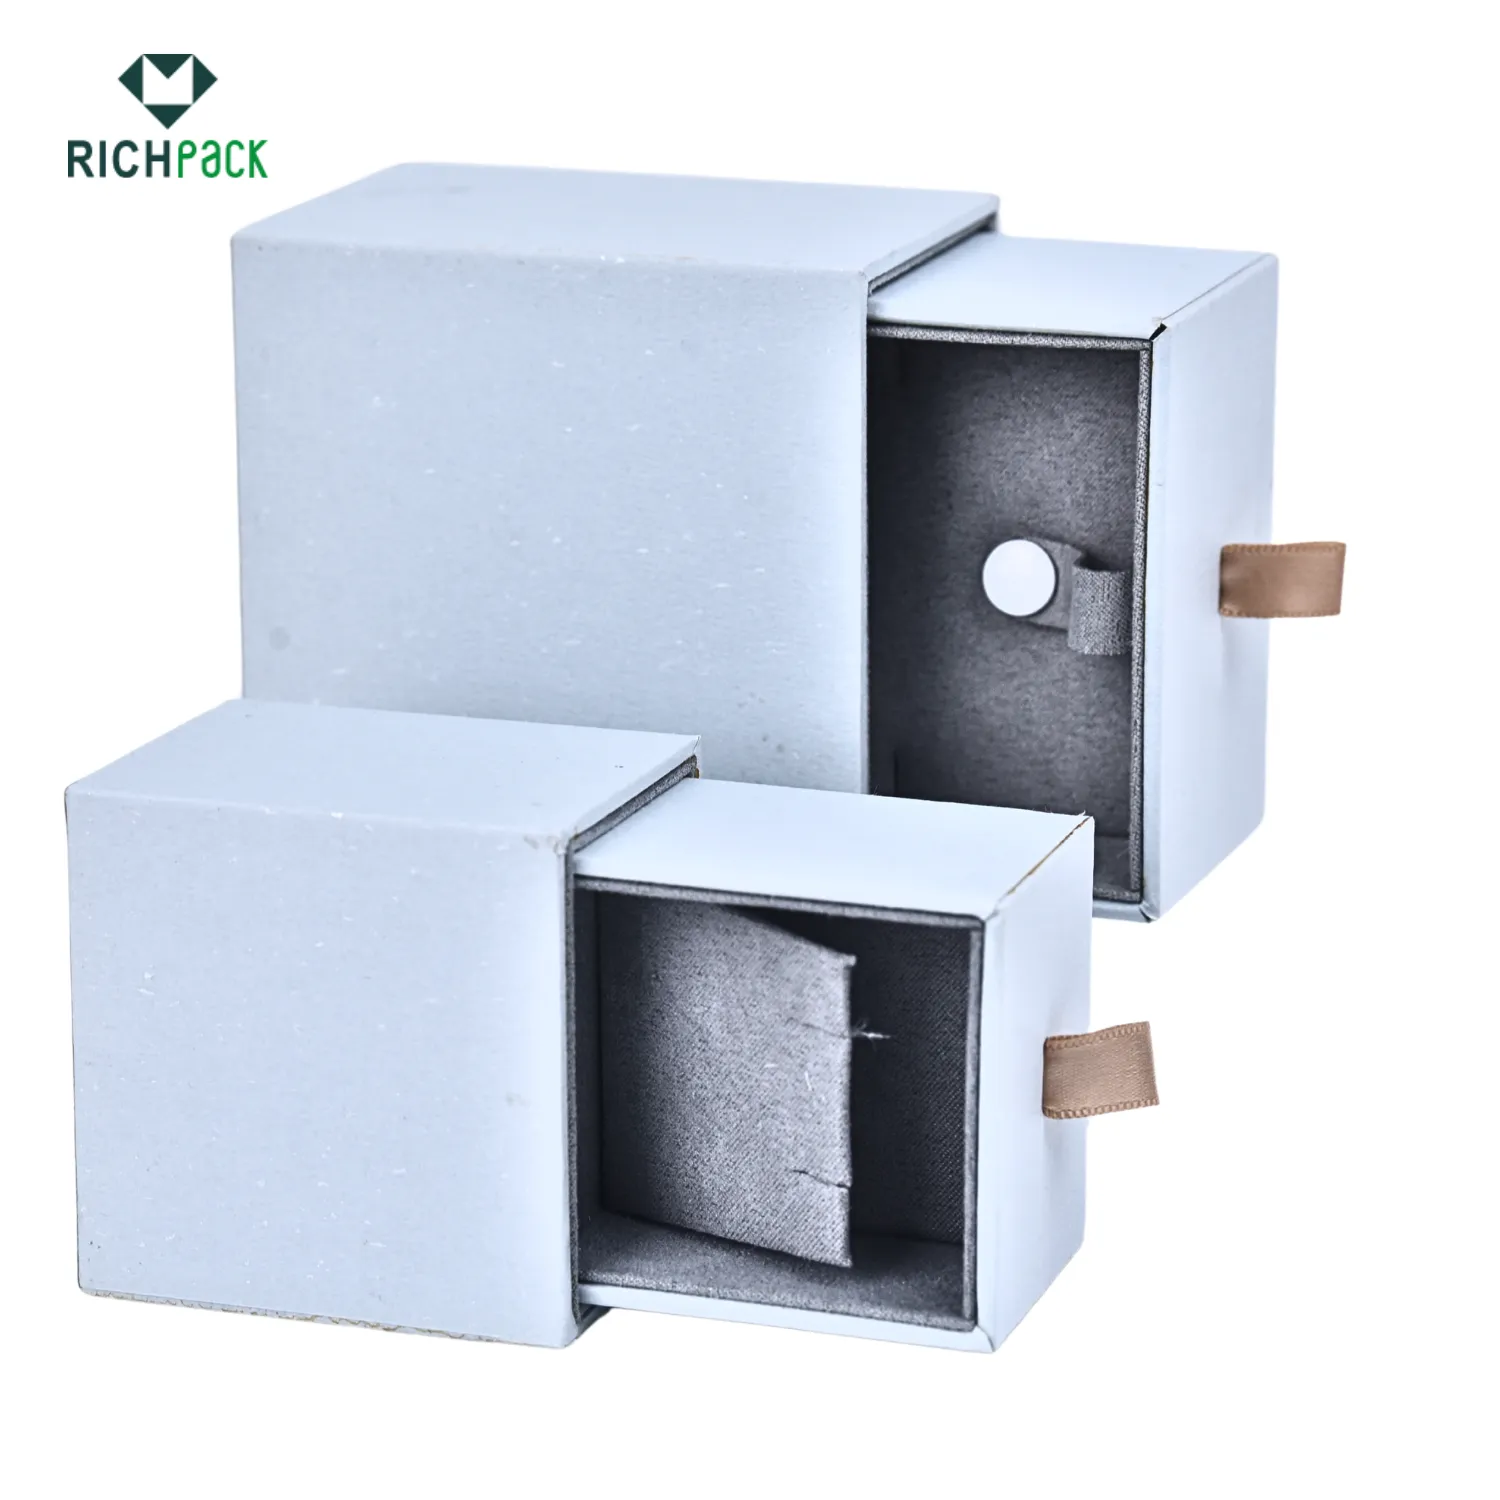
Eco-Friendly and Sustainable Zero-Waste Jewelry Packaging Sets with Recyclable Components | Sustainable Solutions for Jewelry Brands | Richpack
Reliable Jewelry Store Supplies for Retail Display and Packaging | Trusted Wholesale Jewelry Supply Co for Custom Solutions
View More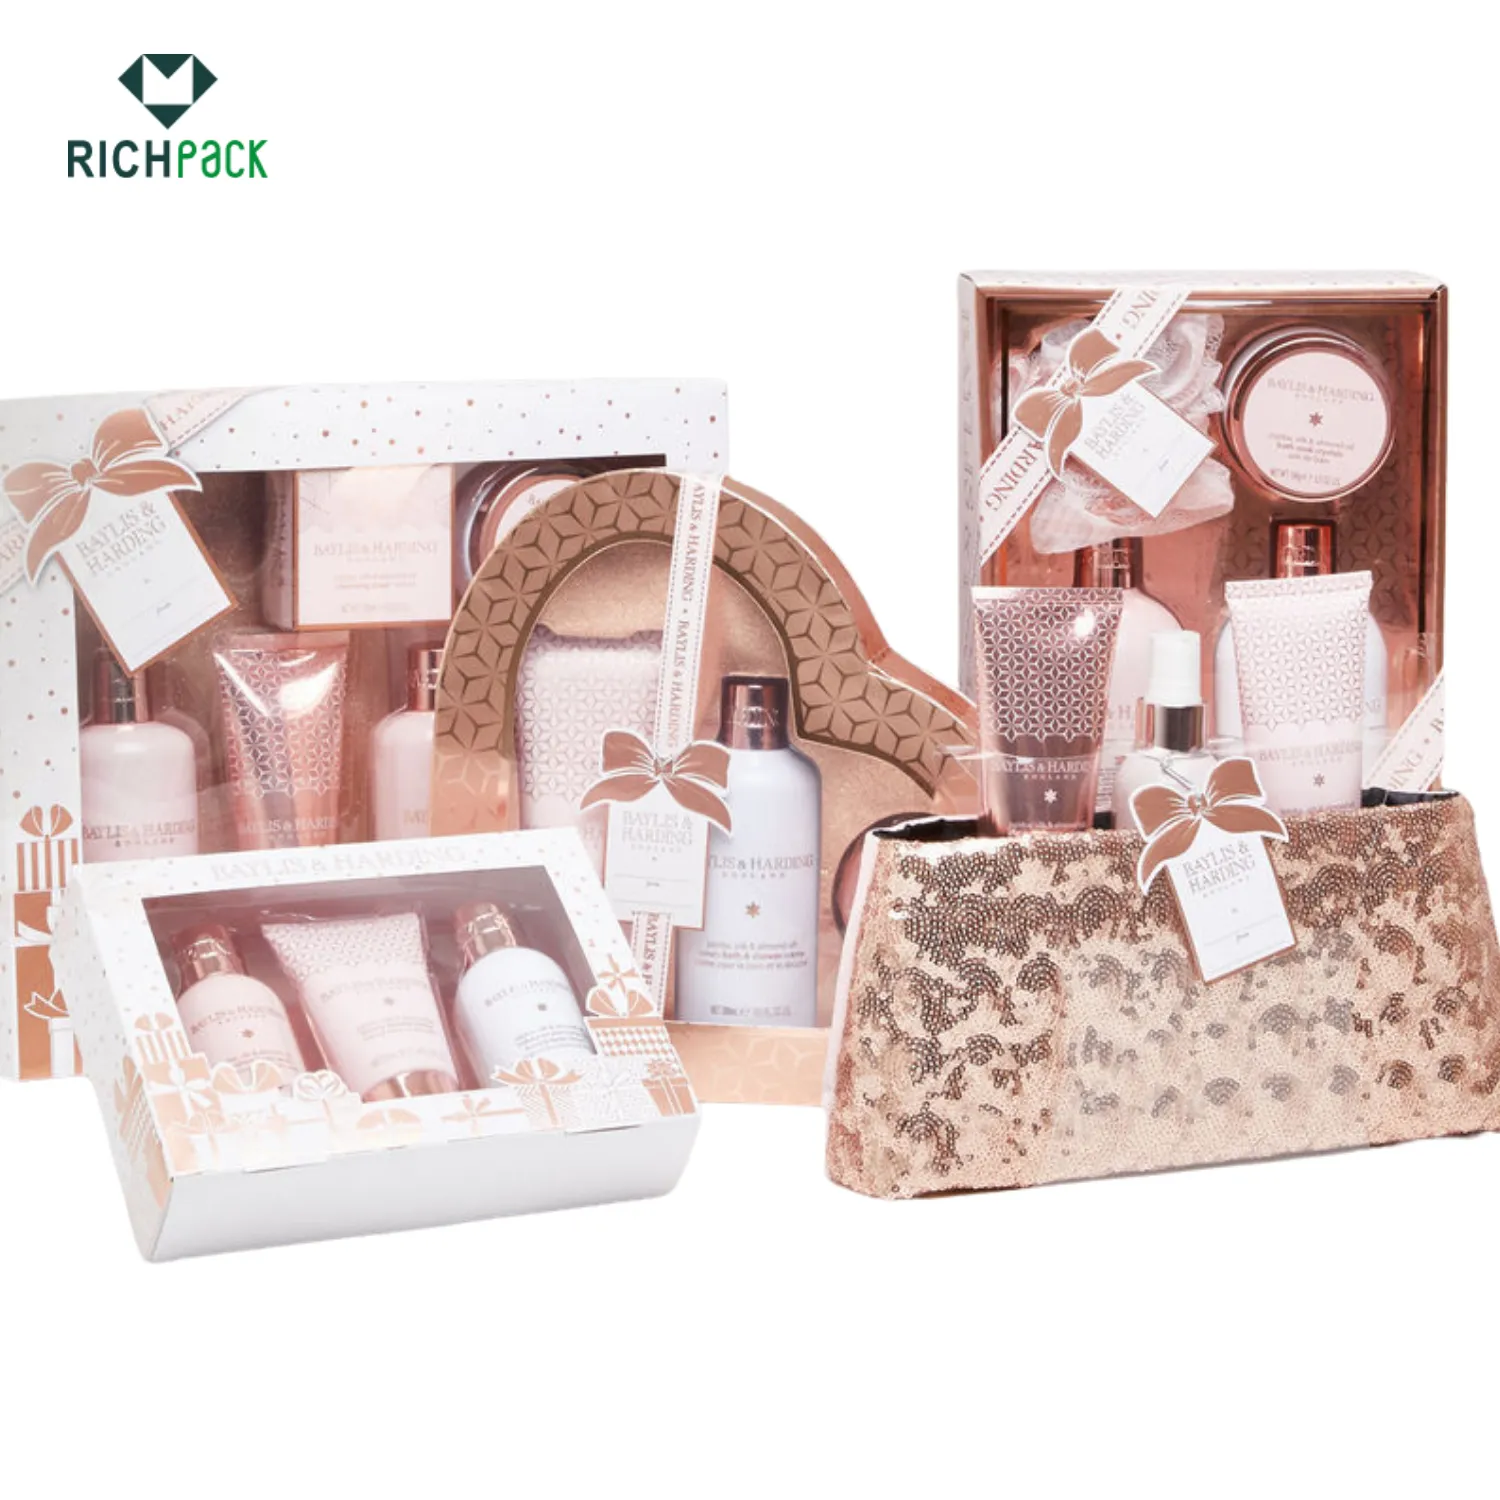
Box Shampoo Set Package Cosmetic Paper Packaging Personal Care
View More
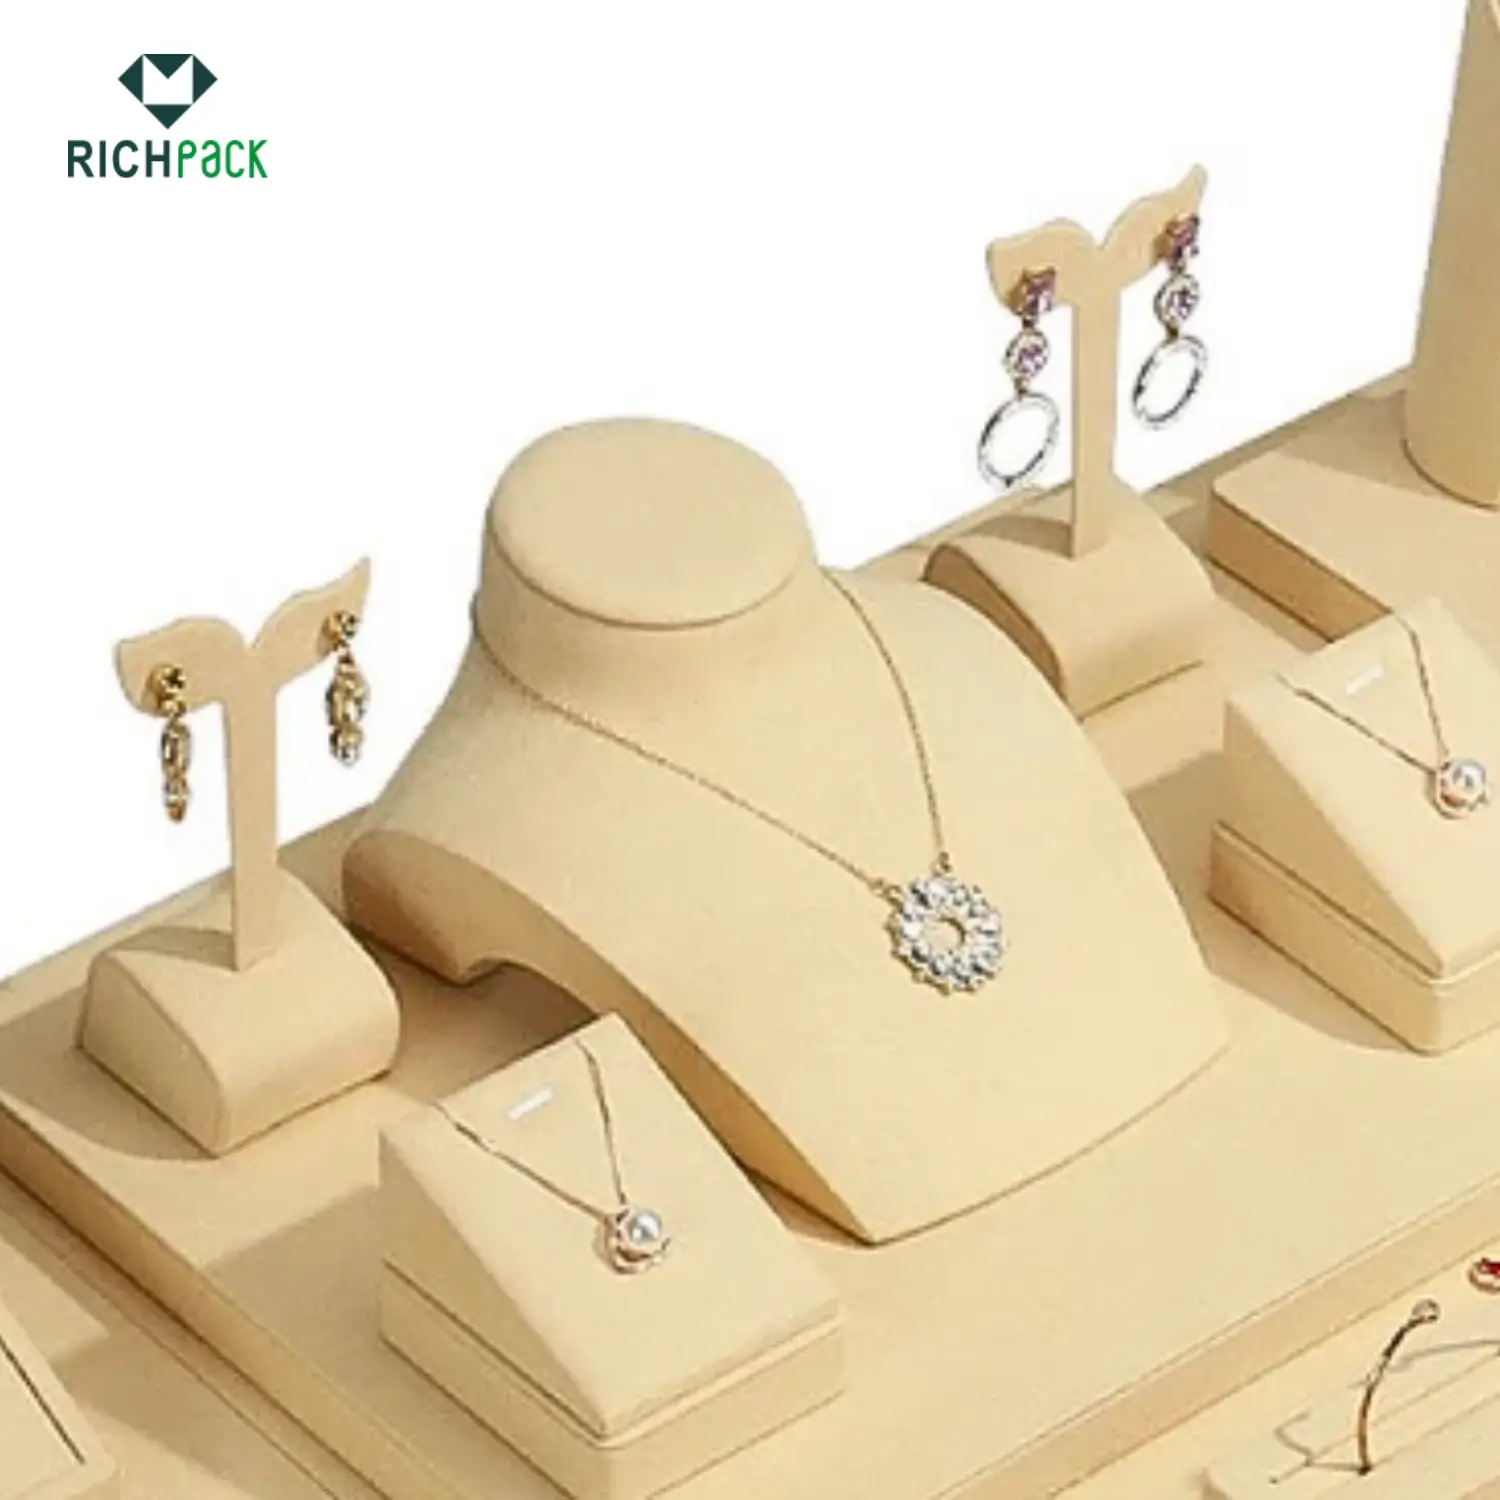
Creative Jewelry Display Ideas by Richpack for Stunning Presentations | Unique Necklace Display Ideas for Jewelry Retail and Luxury Brands
View MoreJust submit your email to get exclusive offers (reply within 12 hours)