

 PREV
PREV
A Beginner’s Guide to Customized Jewelry Packaging: Key Terms to Know
2024-12-19




A ring box can look perfect in a product photo and still be wrong for the jewelry inside. The lid may touch a raised stone. A necklace may slip beneath the insert. That is where custom gift boxes become a design problem.
High-value jewelry needs a steady box that holds the piece still and leaves room above the stone.
Keep the box, insert, closure, and shipping packout working together during the trip.
Start with the symptom you can see. Find the box part behind it, then prove the fix with the real jewelry, finished box, and packed shipper.
After reading, you will know how the fit and box structure shape the package. You will know how to plan the insert, check lid clearance, and review materials and shipping needs.
You will also leave with a quote-ready brief and a sample checklist. Both can guide design, purchasing, quality, and production.
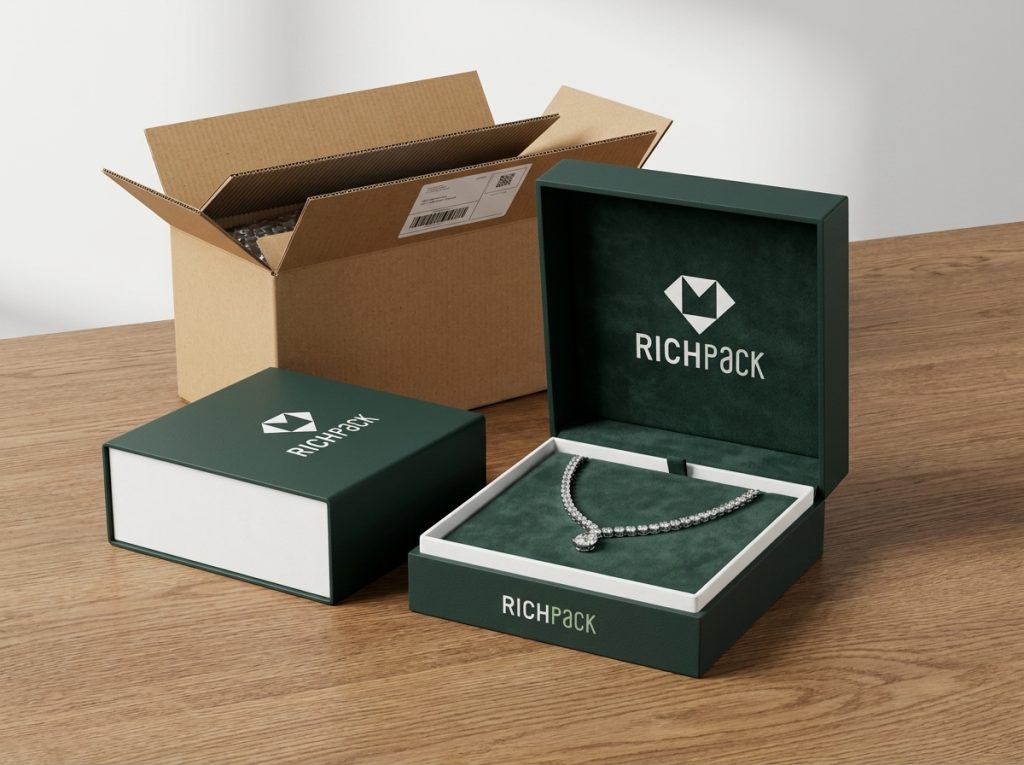
High-value packaging has two jobs that can pull in different directions. It must protect a small or fragile product, and it must make the product feel worth opening. More board, foam, or void fill may improve protection while making the box heavy, bulky, or awkward to open. A slim presentation box may look refined while leaving the product free to move.
Start with the failure you can see. Then ask which part caused it and how a sample can prove the fix.
| Visible Problem | Likely Box Cause | Design Response | Proof Before Bulk |
| Product shifts inside the box | Excess clearance or weak restraint | Revise insert geometry and contact points | Fit check with the real product |
| Lid rubs the product | Insert or product sits too high | Increase clearance or lower the insert | Open and close repeated samples |
| Box feels cheap | Thin walls, poor closure feel, or weak surface finish | Match structure, board, wrap, and finish | Blind tactile review by the approval team |
| Logo looks wrong | Finish changes on the actual substrate | Review print, foil, color, and texture together | Approve a finished physical sample |
| Parcel arrives scuffed or open | Inner box is treated as the shipper | Add a route-appropriate outer carton and packout | Test the complete shipping system |
| Contents are too visible | Branded labels or product names on the outer carton | Use neutral outer packaging and controlled labels | Review a packed carton before dispatch |
A rigid box can give a high-value item a stable base and a solid opening feel. It does not solve every shipping risk by itself. A heavy box with an empty cavity can still let a watch, stone, or metal component strike the walls.
Choose protection by product and route. A hand-delivered VIP jewelry gift may need a refined inner box and simple carry packaging.
A DTC parcel needs the same inner box plus an outer shipper. It also needs firm void fill and plain labels.
For a broad corporate program, start with the most demanding product in the range. A box that fits a flat card or small tech kit may not fit a necklace set with a tall pendant.
Test the tallest, heaviest, and most delicate items. Do this before you approve one shared structure.
For a dedicated jewelry program, start with RichPack’s custom jewelry boxes. The insert and contact surface still need to follow the jewelry form.
Movement is the hidden source of many visible defects. A loose ring can turn in its slot. A long chain can slide into a gap.
An earring post can press against a lid. Rough lining can mark polished metal. A hard insert edge can do the same.
Describe movement in the brief. Record whether the product can move up, down, sideways, or around its own axis. Then record the surfaces that must not touch. This gives the supplier a physical target instead of the vague instruction “make it snug.”
A closure should feel intentional. A lid-and-base box can suit hand presentation and simple storage.
A magnetic box needs the right magnet position, lid fit, and insert height. A drawer box needs enough space to slide after the factory adds the wrap.
Do not call a closure theft-proof. Check whether the box stays closed when lifted, turned, and packed inside the shipper. Also, check whether the recipient can open it without pulling the insert out with the product.
The customer sees the presentation box. The parcel network sees the outer shipper, labels, tape, and handling marks. Those layers have different jobs.
Use a branded inner box when the unboxing moment matters. Use a neutral outer carton when product visibility creates risk.
The outer pack should stop sliding, crushing, and edge rubbing. Review the fully packed carton.
Retail, DTC, VIP gifting, and events may share a brand system but not the same handling conditions. Retail needs shelf presence. DTC adds parcel movement.
A VIP program may add handwritten notes or several accessories. A corporate program may send one design to many addresses.
Lock these items before production:
This record keeps a reorder from becoming a new design project.
A custom gift box system is a set of parts that holds, presents, and moves a product. It includes the product, insert, presentation box, closure, and outer shipper. A change in one part can alter the others.
A thicker lining changes clearance. A larger insert can change the lid height. A shipper that adds too much empty space can increase movement outside the box.
Use the table to choose a starting structure. Treat the last column as a question for the sample review.
| Structure | Best Fit | Main Strength | Main Risk | High-Value Check |
| Rigid box | Jewelry, watches, premium sets | Stable walls and strong presentation | Higher material and freight exposure | Corner strength and lid fit |
| Magnetic box | Premium gifting and launches | Clean opening action and branding area | Closure feel depends on fit and magnet placement | Lift, close, and repeat-open test |
| Lid and base box | Hand delivery and retail presentation | Simple, familiar, easy to store | Loose lid or poor clearance can reduce control | Lid friction and product height |
| Drawer box | Reveal-led presentation and sets | Controlled opening sequence | Tray can scrape or bind after wrapping | Slide force and stop position |
| Folding carton | Lightweight campaigns and retail volume | Efficient storage and print area | Less rigid support for heavy products | Creasing, crush, and insert support |
| Mailer box | DTC and parcel-led gifting | Outer protection and easy fulfillment | Can feel more like a shipper than a keepsake | Product restraint and corner protection |
| Foldable rigid box | Premium look with lower flat-pack volume | Easier storage before assembly | Fold lines and magnets need careful review | Fold accuracy and repeated assembly |
Send the finished length, width, height, and weight. Mark fragile points, the closure position, and the packing direction.
Add photos of raised stones, clasps, crowns, and sharp edges. Show any part that can catch on fabric.
Measure accessories too. A pouch, certificate, care card, or gift note can change the usable cavity. A necklace may fit by length but fail by height when the pendant rests above the lining.
The product measurement is only the starting point. The finished insert adds its own wall thickness, lining, folds, and compression. Record the clearance that must remain between the highest product point and the lid.
Pick the structure after you know the product, channel, and opening action. Use RichPack’s gift boxes by style for a first look at visible structures. The final choice still needs a product-fit review.
Choose a rigid box when wall strength and a solid hand feel matter. Choose a folding carton when flat storage and print area matter more. Choose a mailer when the box must handle more of the shipping risk.
For a lighter outer pack, review RichPack’s mailing boxes.
Choose a drawer or magnetic format when the opening sequence is part of the brand moment. RichPack’s custom gift boxes with lids add another structural reference.
The right structure can change by program. A jewelry launch may use a rigid box inside a parcel shipper. A corporate tech kit may use a printed mailer with a paperboard tray.
A small VIP run may use a more detailed closure because the team controls the handling path.
Write two lines in the brief:
The first line controls the inner box, logo, finish, insert, and opening order. The second controls the outer carton, void control, tape, label, handling, and route. Keeping the lines separate makes the quote easier to compare and the test easier to design.
The insert holds the product. The lining is the surface that touches it. They can be made from different materials and should be reviewed separately.
EVA foam is a dense, shaped material that can hold a high-value tech part or jewelry piece in place. Its shape, firmness, cover, and cut edge still need a fit and contact check with the real product.
EVA foam can hold tech parts and some jewelry forms. Molded pulp can suit shapes that need firm support. Paperboard can suit flat or folded restraints.
Velvet and microfiber can add a soft touch. Check the final lining for loose fibers and poor fit.
Size each card, pillow, channel, or slot for the product. For a tray reference, see custom jewelry trays.
Check the highest product point and the insert compression. Then check the lid folds, magnet position, and wrap thickness.
A white sample may fit at first. The lining and finish can use more space and change the fit.
Lid clearance is the open space between the highest product point and the inside of the lid. It keeps a raised stone, watch crown, or pendant from rubbing the box during opening and handling.
For a first mockup, start with about 2 to 3 mm of space above the highest point. Use this range only for early planning on a small jewelry box.
It is not a fixed production limit. A tall stone, thick lining, soft foam, or flexible hinge may need more space. Check the final sample with the real piece.
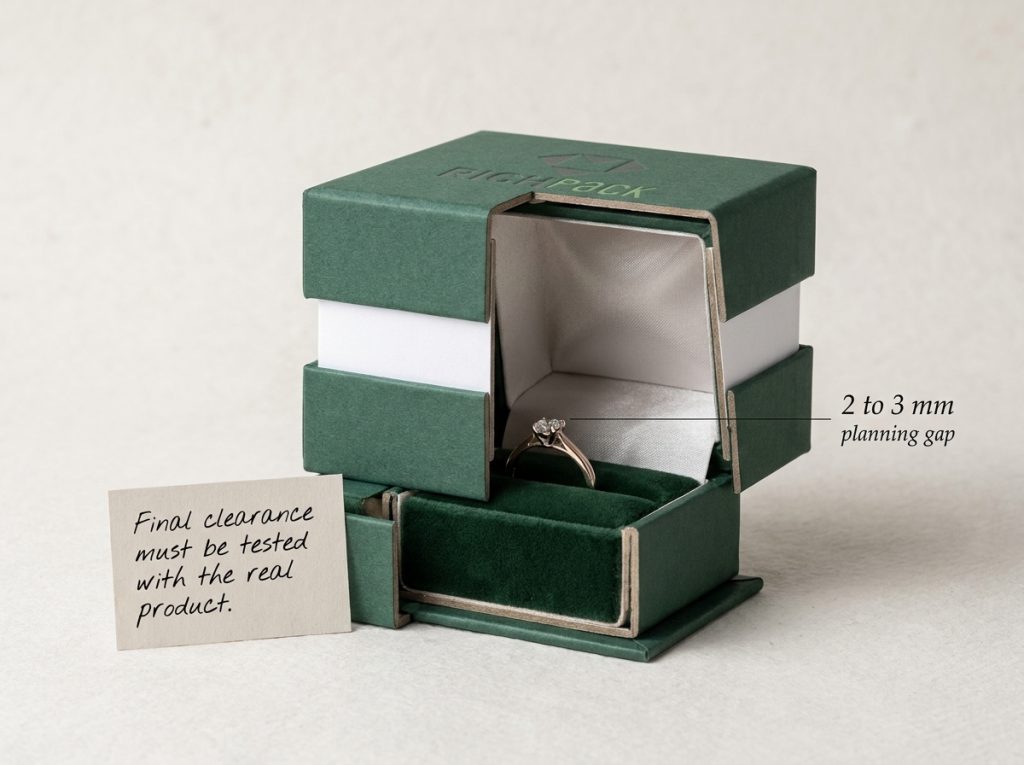
Record the opening force in practical terms. Does the lid open with one hand? Does the drawer scrape? Does the insert stay in the box?
Does the product come out without catching on the lining? You do not need a dramatic test rig to find these problems. You need the real product and the finished sample.
For magnetic formats, review RichPack’s magnetic boxes as a closure reference. Keep your own clearance notes with the approved sample.
Reserve space for each extra item before you approve the dieline. Include pouches, care cards, certificates, warranty cards, QR codes, and gift notes.
A loose card can form a hard edge during shipping. A pouch under the lid can reduce clearance.
Place each accessory in the actual packout. Close the box. Turn it gently.
Open it again. This sequence reveals a tray that shifts or a note that pushes the product upward.
A finished box is a stack of layers. The structural board gives shape. The exterior wrap carries color and touch. The insert controls movement.
The lining touches the product. Adhesive, magnets, ribbon, coatings, labels, and the outer shipper add more variables.
| Layer | What It Controls | Typical Options | Main Risk | Sample Check |
| Structural core | Shape and wall stability | Rigid board, paperboard, corrugated board | Bowing, weak corners, excess weight | Press corners and check flatness |
| Exterior wrap | Color, texture, and touch | Paper, coated paper, kraft, fabric, leatherette | Rub, lifting, wrinkles, color change | Rub and edge review |
| Contact surface | Product touch and movement | Velvet, microfiber, foam, paperboard, molded fiber | Fibers, hard edges, poor fit | Real-product contact check |
| Closure parts | Opening and closed position | Magnets, tabs, lid, drawer stop | Weak closure or high friction | Repeated open and close |
| Finish stack | Logo and surface response | Full color, foil, emboss, UV, matte, soft touch | Breaks, scuffs, or shade drift | Finished-substrate approval |
| Outer shipper | Transit protection and privacy | Corrugated carton, neutral mailer, protective packout | Crushing, void movement, visible contents | Packed-route review |
Do not approve the board by name alone. Check the finished wall and panel span. Then review the insert, product weight, stacking, and shipping route.
A supplier may call both items rigid gift boxes. One may be a small ring box. The other may be a large corporate set.
Their loads and clearances differ. Large panels can bow. Heavy products can stress the base. Stacking can press the lid into the insert.
Ask for the finished sample and the material specification used for that sample. Avoid turning a general starting range into a universal rule.
Paper gives wide print and finish options. Coated paper can change how ink, foil, and adhesives behave. Kraft can support a natural visual direction, but its color affects printed hues. Fabric and leatherette change touch, edge behavior, and cleaning expectations.
The wrap is not the structural core. It may look soft while the board carries the shape.
Review corners, seams, folds, and high-contact edges first. These areas show wear before a large flat panel.
Foil and embossing can create a clear logo moment. They also depend on pressure, texture, paper, coating, and artwork size. Deep texture can break a fine foil line.
A soft-touch finish can feel different from a screen mockup. Spot UV can change shine and rub behavior across a matte panel.
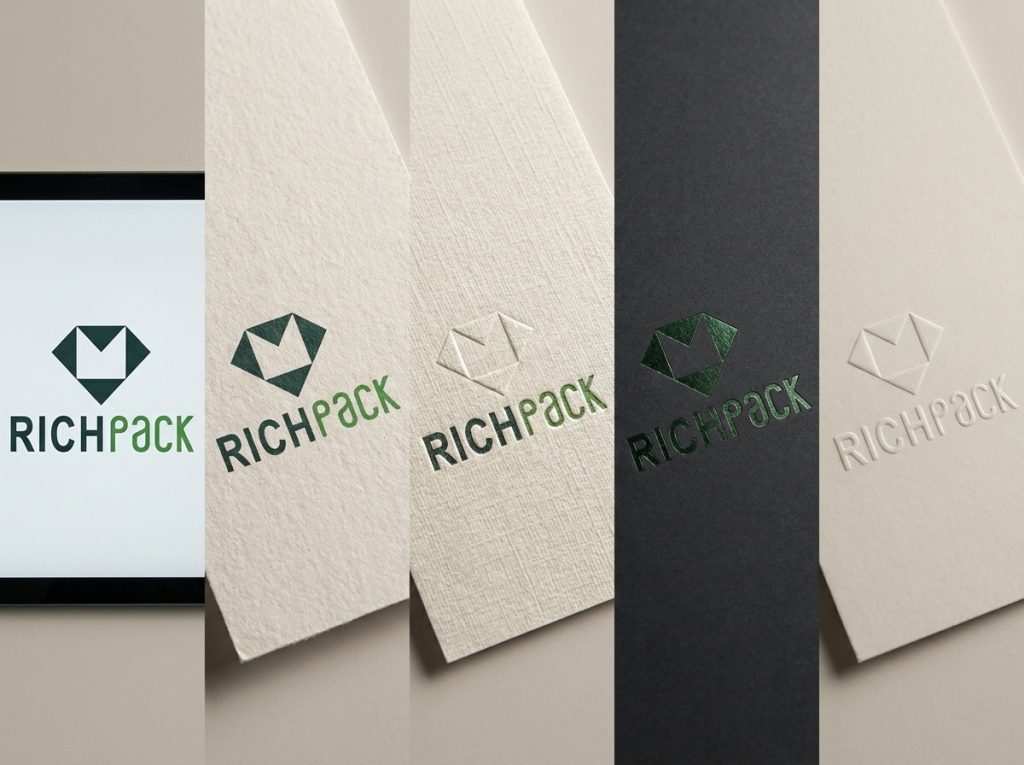
Approve the actual logo on the actual substrate. Review the lid, spine, tray edge, and any surface that bends or receives repeated handling. A flat printed proof answers color and artwork questions. A finished box answers placement, texture, and opening questions.
Closed packaging can hold odor longer than an open sample. Review a cured sample after the supplier’s stated curing and storage period. Check the lining, adhesive areas, and any surface that sits close to jewelry.
Do not use “low odor” or “water-based” as proof of safe contact. Ask what touches the product. Ask how long the product stays in the closed box. Then check the full material stack after the box has stayed closed.
List every part before you compare quotes:
A short list can hide costs and fit problems.
Use the BOM in three conversations. Use it with design to confirm appearance. Use it with procurement to compare like-for-like pricing.
Use it with quality to define the approved sample and any allowed substitution.
A paper part may have a certificate. The full pack may also contain magnets, foam, coatings, fabric, glue, and ribbon.
Review the full BOM before you make a broad recycling or composting claim.
Ask which part the claim covers. Check whether users can separate the parts. Check whether the target market collects those materials.
Keep the claim as narrow as the proof. A better paper choice does not prove that the full pack has one disposal route.
Jewelry makes packaging problems easy to see. A ring needs a slot and stone clearance. A necklace needs a path for the chain and a place for the pendant.
A watch needs support around the case and face. A set needs order, spacing, and a clear first view.
| Jewelry Form | Restraint | Contact Surface | Main Risk | Approval Check |
| Ring | Slot or shaped channel | Soft lining or selected insert surface | Stone rub or ring rotation | Check stone height and removal |
| Earrings | Posts, card, or paired recess | Lining or card face | Misalignment or post contact | Check pair position and lid clearance |
| Necklace | Channel, loop, tie, or card | Soft lining or card surface | Chain tangling or pendant movement | Turn and reopen the packed box |
| Bracelet | Channel, cushion, or shaped support | Lining or microfiber surface | Slack, edge contact, or clasp snag | Check closed clasp and removal path |
| Watch | Cushion or shaped cradle | Lining around case and strap | Compression, face rub, or crown contact | Check case, crown, and lid clearance |
| Jewelry set | Separate recesses or tray layout | Matched contact surfaces | Cross-contact between pieces | Review the set in opening order |
Ring slots should hold the band without forcing the customer to pull against the stone. Earring cards should keep the pair aligned and stop posts from reaching the lid.
Use the highest stone or longest post as the clearance reference. Test removal with the normal customer action. A slot that looks tight with an empty hand may be awkward when the piece is small or the recipient wears gloves.
A channel controls where the chain sits. It does not automatically stop tangling. Check the clasp, pendant, chain slack, and any point where the chain can pass under the insert. For a product-led comparison, review RichPack’s necklace boxes.
For bracelets, check the closed clasp and the removal path. A channel can hold the bracelet while the clasp catches on a rough edge.
Smooth each hard corner that may touch the product. Confirm the change with the chosen material and process.
A watch pillow should support the watch without pushing the face into the lid. Review case height, crown position, strap compression, and the space around metal edges.
For sets, plan the opening order. The first visible piece should not hide the second piece or force the customer to lift a sharp-edged tray. Use dividers or separate recesses when pieces can contact each other.
The lining is part of the contact spec. Check its texture, cut edge, loose fibers, and color transfer.
Then test it against the jewelry surface. One velvet fiber on a clasp can make the pack look careless.
Tarnish risk depends on the metal, surface, storage conditions, air, and surrounding materials. Do not promise universal anti-tarnish performance from a lining name alone. Ask what material evidence or finished-pack test supports the claim.
For a visual lining reference, review RichPack’s velvet jewelry boxes. Approve the actual contact surface with the jewelry that will ship.
The insert should stop unwanted movement and allow a clean removal motion. Over-tight foam can deform or mark a delicate part. A loose channel can let the product swing. A deep recess can hide the piece or make fingers scrape the edge.
Test the real product, not a dummy of the same size. Open the box as a customer would. Record where fingers, clasps, chains, and stones touch.
Each added layer changes the final fit. Lining, wrap folds, glue, foam pressure, and board variation all use space.
The white sample checks the shape. The finished sample checks the final fit.
Record the insert size, lid clearance, closure position, and allowed variation. If the range has several sizes, check the smallest and largest products. Do not assume one sample covers all sizes.
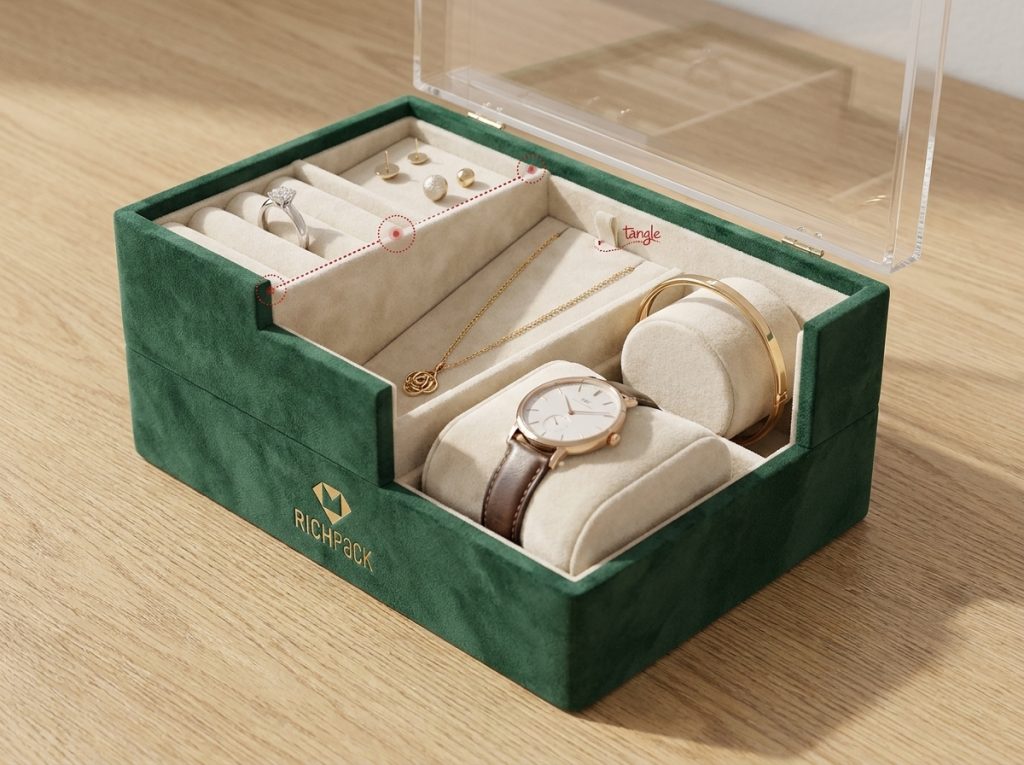
A digital image can show the logo and rough shape. It cannot show lid rub, drawer drag, odor, loose fibers, product movement, or shipping risk.
Use separate approval steps. One attractive sample should not hide another open problem.
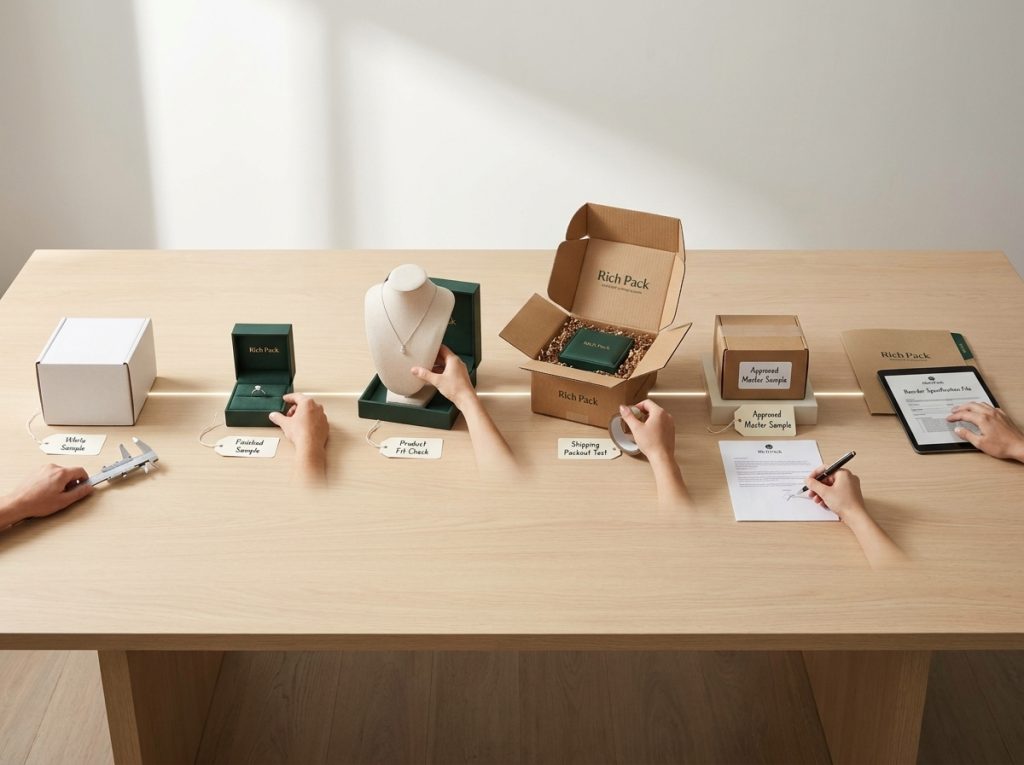
Plan three sample stages:
If your team needs three business days for each review, set aside nine business days. This estimate covers review time only. Add the supplier’s work time, freight, rework, and a buffer.
| Gate | What To Review | Who Approves | Pass Record |
| Structural white sample | Size, geometry, closure, insert, accessories, lid clearance | Packaging and product owners | Dated photos and marked drawing |
| Printed and finished sample | Logo, color, foil, embossing, coating, texture, lining, odor | Brand and packaging owners | Approved physical sample and artwork version |
| Packed and route sample | Fit, packout, outer carton, movement, handling, and route risks | Operations, quality, and logistics | Test notes, photos, and open issues |
Start without printing while the shape is changing. Check the base, walls, hinge, tray, and lid. Then check the magnet, accessory space, and product clearance.
Mark every change on the drawing. A verbal note such as “make the insert a little tighter” is hard to repeat and easy to lose.
Review the finish under the team’s normal light. Check the logo on the lid and spine. Compare the color with the approved sample.
Then check foil edges, emboss depth, coating, wrap seams, lining, and closure feel.
The printed sample also shows changes in fit. The wrap and lining use more space, so the finished box may close differently from the white sample.
Use the actual product. Check movement in each direction. Then check contact, removal, lid clearance, drawer slide, closure, and surface rub.
Photograph each failure. Add a short note about the cause.
Open and close the jewelry box several times. Check the stone, clasp, post, chain, polished metal, and coated surfaces.
Ring brands can compare the shape with RichPack’s ring boxes. Catch visible faults before production.
Choose tests for the delivery route and the full pack. A box may pass a desk review and still move inside the outer carton during shipping.
ISTA publishes test resources for package delivery. ASTM D4169 describes tests for common shipping cycles.
Choose a current test plan for the route, package, and lab. A standard name is not a certificate. A test plan is not a test result.
Also check the simple packout questions. Is the inner box centered? Can it hit the shipper wall? Does the void control stay in place?
Does the outer carton reveal the product? These questions decide whether a beautiful inner box survives the route.
Create one approval record. Add the sample date, artwork version, materials, photos, open issues, changes, and owner.
Also record the viewing light, odor check, surface rub, and loose fibers.
Keep the approved sample where the production and quality teams can use it. A photo helps, but it cannot replace a physical reference for texture, closure force, and fit.
Link the master sample to the final artwork, BOM, and insert drawing. Add the color sample, fit notes, and packing method.
Name the person who approves any change.
Before a reorder, compare the new sample with the master. Check the parts that caused trouble before. An approved first run does not make the reorder safe.
Need help with the box structure? Use RichPack’s custom packaging services for a project review.
The cheapest unit price can still lead to the highest project cost. It may leave out setup, samples, inserts, freight, storage, rework, and delays.
MOQ is the smallest order a supplier accepts. It is one quote input, not the full buying decision.
Compare the MOQ with setup cost and stock risk. Then check product variants, storage space, and reorder plans.
| Cost Driver | Why It Changes | What To Compare | Buyer Action |
| Box structure | Board, folds, magnets, tray, and labor differ | Same size and opening style | Compare finished samples |
| Insert | Geometry and contact material add work | Same product fit and material | Quote the insert separately |
| Branding finish | Print, foil, emboss, coating, and color review vary | Same artwork and substrate | Approve the actual finish |
| Quantity | Fixed setup cost spreads across units | Same quantity breaks and packing | Model test, launch, and repeat runs |
| Freight and packout | Size, weight, carton count, and route change the total | Same delivery market and terms | Compare landed assumptions |
| Rework risk | Late changes consume time and materials | Same approval gate | Price the cost of waiting |
Ask the supplier to split the quote into:
This split makes quotes easier to compare. It also shows why a small run can cost more per box.
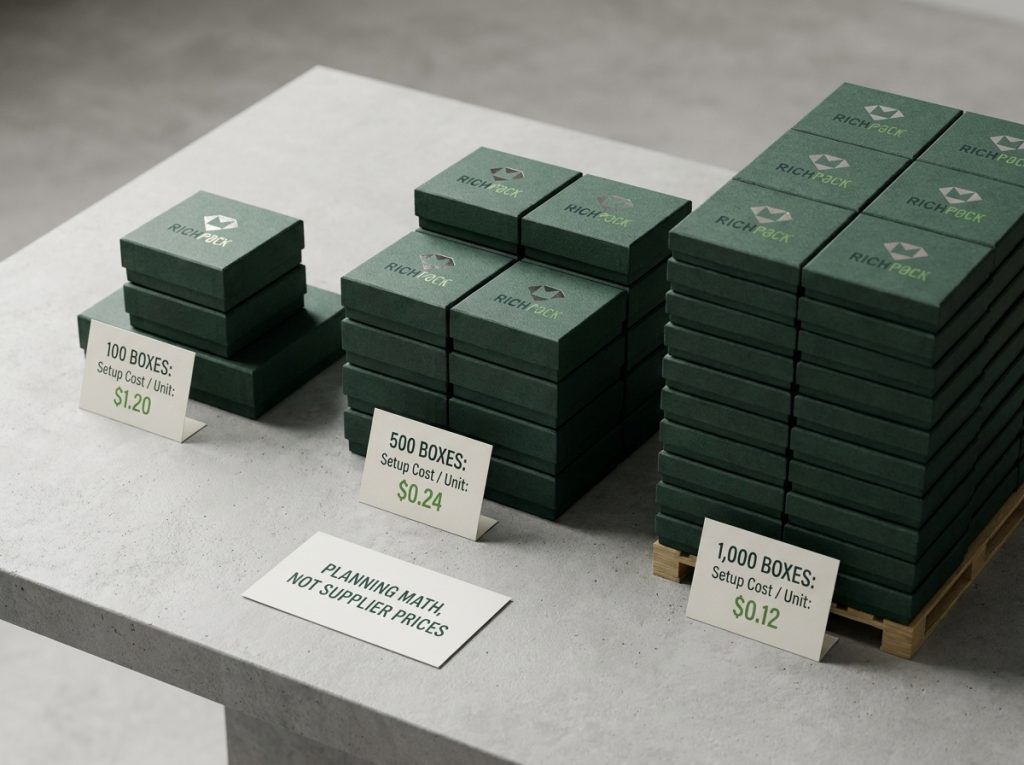
Fixed setup cost is an example of project math, not a market benchmark. If a project has a $120 setup cost, that cost is $1.20 per box at 100 boxes and $0.12 per box at 1,000 boxes, before other costs. The example shows dilution only. It does not predict a supplier quote.
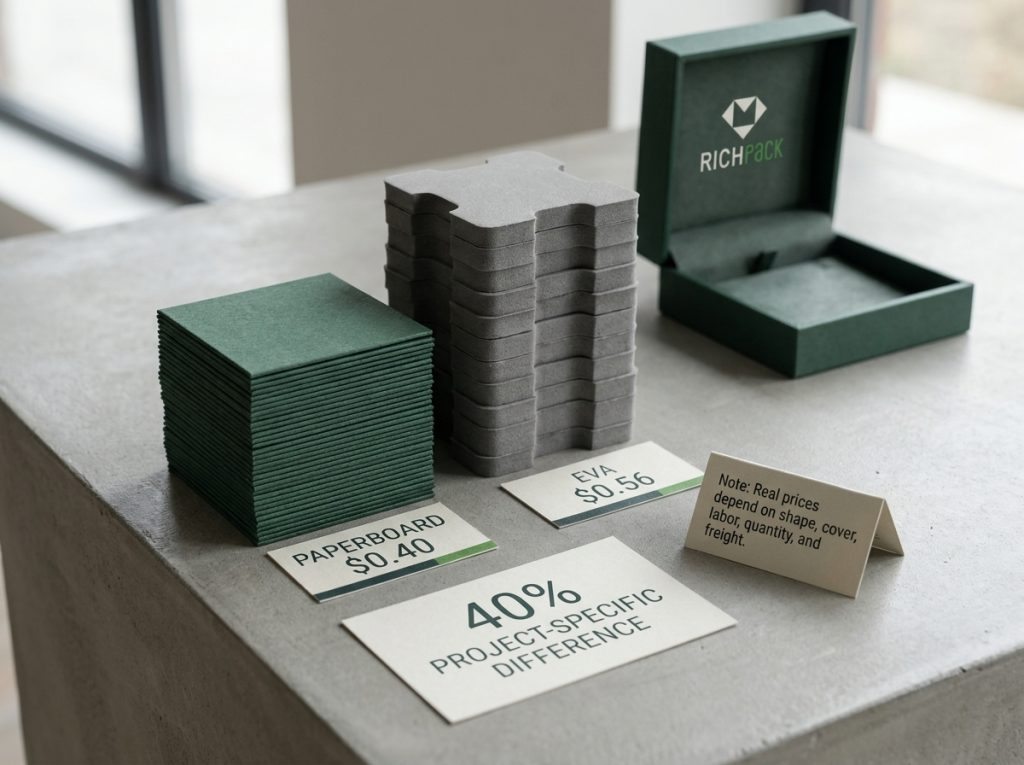
Use this formula to compare two quotes: (Option B – Option A) / Option A x 100.
If paperboard costs 0.40 and EVA costs 0.56, EVA is 40% higher. Treat the result as a project comparison, not a market‑wide price rule.
Send the same spec to every supplier. Include:
A lower quote may leave out the insert or sample. It may use thinner material or different freight terms. Put each difference in one table before you choose.
For a broader quantity workflow, compare jewelry packaging sets. Keep the high-value product checks in your own brief.
Use three planning buckets: test quantity, launch quantity, and repeat quantity. A test run limits inventory exposure but may spread fixed costs across fewer boxes. A larger launch run may lower unit cost while increasing storage and cash risk.
Do not choose the quantity from the MOQ alone. Count the product variants that share one structure.
Then ask how soon the design may change. Check whether a reorder needs a new tool or finish setup.
Build the schedule in this order:
Start the calendar when the supplier has all inputs. Do not start it from the first email.
Use three sample stages in the planning sheet:
Three review days for each stage add up to nine business days. This estimate covers review time only. Add making time, freight, rework, and a buffer.
Set a decision deadline for every gate. A late logo change can move the printed sample. A late insert change can move the fit check. A late approval can move production and freight together.
Corporate and VIP programs may send one design to many countries or addresses. Name the person who supplies labels. Name who packs notes and checks the address list.
Also, name the team that handles damaged or lost parcels.
Keep the product name and brand marks out of the outer carton when discretion matters. Check regional documentation and packaging obligations with the responsible logistics or compliance team.
Save these items:
Give the pack a clear version name.
This file stops a common error. A later team member may ask for “the same box” without knowing the right sample, material, or insert.
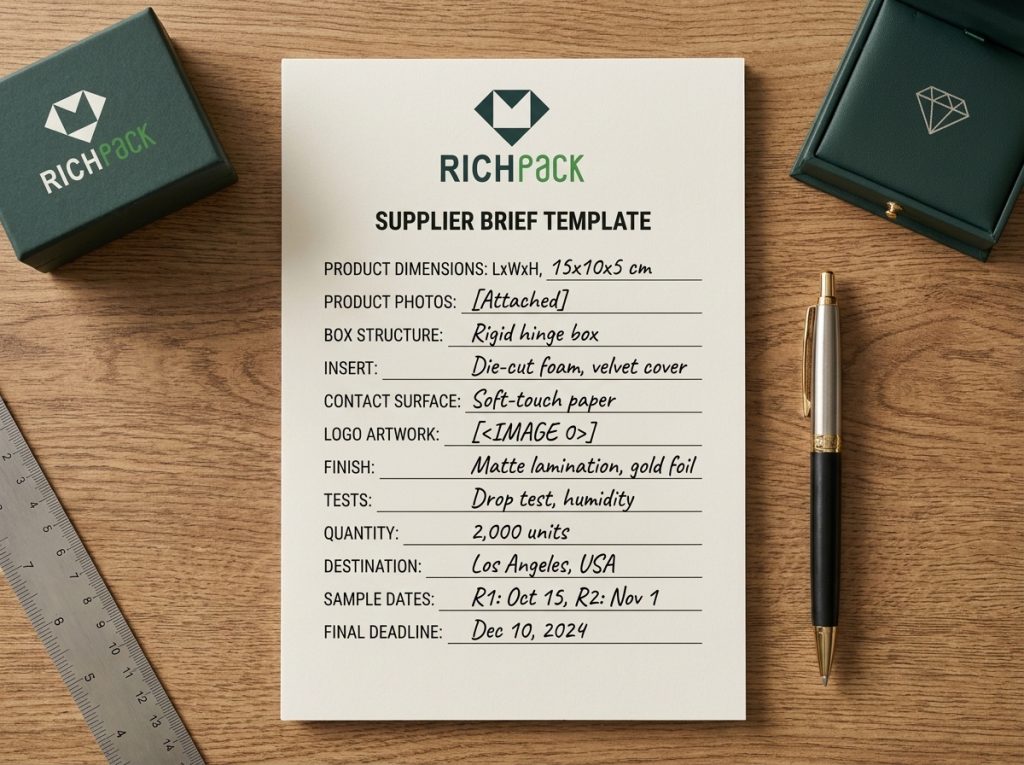
A supplier brief is a short specification. It tells a supplier what to make, how to test it, and where to deliver it.
Before you write it, review RichPack’s cardboard jewelry boxes. Then set the structure and finish what your product needs.
Use this field list before requesting a quote.
| Field | What To Send | Why It Matters |
| Product data | Photos, drawings, dimensions, weight, fragile points | Defines the cavity and risk |
| Box purpose | Retail, DTC, hand delivery, VIP, event, or corporate gift | Sets the handling condition |
| Structure | Rigid, magnetic, lid-and-base, drawer, folding, or mailer direction | Creates a comparable starting point |
| Insert | Slot, channel, card, pillow, foam, paperboard, or molded fiber | Controls movement and contact |
| Branding | Vector logo, colors, placement, print areas, finish references | Prevents artwork and finish guesses |
| Testing | Fit, closure, rub, odor, color, packout, and route checks | Turns quality into pass conditions |
| Quantity | Test, launch, repeat, and product variants | Helps model setup and inventory risk |
| Delivery | Markets, address count, target arrival date, freight assumption | Protects the launch plan |
Send product photos from more than one angle. Show:
If the product changes in size, list the smallest and largest versions. If the design is still changing, mark the sizes as draft values.
Tell the supplier when you will send the final product sample.
Describe the opening action in plain language. Should the lid lift, fold, slide, or release with a light magnetic pull? Should the insert stay in the box? Should the customer see the logo before the jewelry?
State where the box will be opened and stored. A retail counter, a parcel doorstep, and a VIP event table create different needs.
Name the restraint and the contact surface as separate items. “Soft insert” is too broad.
State the type of support the jewelry needs:
Add the storage conditions and material limits that your team has confirmed. Do not add a chemical or green claim that nobody can check.
For a watch or another compact product, review RichPack’s watch boxes. The product shape, contact points, brand, and route must agree.
Send:
State whether the finish must match an existing box, bag, card, or display.
Do not approve a logo from a digital screen only. Ask to see the artwork on the proposed substrate and finished surface.
List the checks that matter:
Write a pass rule that anyone can see. “No movement” is incomplete.
State which movement fails. State which surfaces may touch. Explain how the user should remove the product.
Give the quantity for each variant and market. State the target arrival date and delivery points.
Add the outer-carton needs and address count. Name the freight owner. For employee, client, or event programs, review RichPack’s corporate gift boxes.
A target date without a sample deadline is weak. Add the latest date for artwork approval, finished-sample approval, and production release.
Use the symptom first. It keeps the troubleshooting conversation focused.
| Visible Failure | Likely Cause | Fast Check | Design Fix |
| Lid rubs the product | Product or insert is too high | Check the tallest point and folds | Revise insert height or lid clearance |
| Insert lets the product move | Cavity is too wide or restraint is weak | Move the packed product by hand | Tighten geometry and retest removal |
| Logo changes in production | Substrate or finish changes color and texture | Compare finished samples under agreed light | Approve print on the real material |
| Box fails in parcels | Inner box is doing the shipper’s job | Inspect the complete outer packout | Add route-appropriate protection |
| Outer carton reveals contents | Labels or product names are visible | Review one fully packed carton | Use neutral outer packaging |
| Reorder does not match | Files, materials, or tolerances changed | Compare against the master sample | Use versioned specifications and change control |
Check product height, insert height, lining folds, lid board, and closure position. Raised stones and watch crowns expose a clearance problem first.
Fix the physical cause. Do not hide the rub with a softer lining before confirming the space.
Check slot width, channel length, foam shape, edge support, and removal path. A clean photo can hide movement. Turn the box to reveal it.
Use the real product. Then add the final lining and wrap. Test it again.
Check the base material, ink or foil, coating, and texture. Then check the artwork version, viewing light, folds, and edges.
A digital proof cannot show every surface change.
Approve a finished sample and keep it with the master specification.
Check the inner box and outer shipper together. Add the void space, carton direction, tape, and label position to the review.
A presentation box is not a shipping package by default.
Choose a test plan that matches the route and complete packout. Record the result instead of relying on appearance.
Check brand marks, product names, windows, labels, and fulfillment instructions. Privacy is a packout choice, not a box color choice.
Use a neutral outer carton when the product or destination calls for discretion. Review the final label set before dispatch.
Compare the artwork, BOM, insert drawing, material source, finish, closure, and packing method. Ask for written approval before the supplier changes any item.
Keep one physical master sample and one controlled specification pack. Both matter.
Custom gift boxes suit high-value items when each part matches the product. The insert limits movement. Lid space prevents contact. A physical sample proves the final fit.
Use the smallest box that gives the jewelry enough space. Add a shaped insert. Put shipping protection in a separate outer carton. Test the fit with the real piece.
Choose by product, opening style, sales channel, storage, and route. Rigid and magnetic boxes suit many premium programs. Folding cartons and mailers suit lighter packs. Test the box and insert it together.
Review three samples. First, check the white sample. Then check the finished sample. Last, check the fully packed shipping sample.
Cost changes with size, board, wrap, insert, finish, closure, quantity, packing, and freight. Ask the supplier to split setup costs from per-box costs. Compare quotes with the same spec.
There is no fixed percentage. Use (Option B – Option A) / Option A × 100. If paperboard costs 0.40 and EVA costs 0.56, EVA is 40% higher for that project.
Yes. Send vector artwork, color samples, and the planned logo position. Then approve the logo on the final box material.
Start with a collection for the product type, such as a ring, necklace, watch, tray, or set. Then ask the supplier to check the insert and finish for your product.
Send product photos, sizes, weight, and fragile points. Add the box style, insert, artwork, finish, tests, and quantity. State the delivery market, arrival date, and approval dates.
Solve a high-value gift-box problem in four moves. Name the visible failure. Identify the box part or material behind it.
Choose the smallest design change that fixes the cause. Then test the final box with the real product and the full pack.
For a jewelry program, prepare the product size and jewelry form. Add the insert needs, artwork, and quantity.
Then add the destination, deadline, and approval rules before you ask for a quote.
That brief helps the supplier protect the piece. It also shows how the box should carry the brand.


2024-12-19

2024-12-27
2024-10-29

Consumers’preferences for jewelry packaging include functionality, quality, and design. Over 50% of respondents indicated that they preferred boxes made from wood or metal. Plastic and cardboard were the least preferred materials. So jewelry box manufacturers can better tailor their products to meet consumer needs by understanding these preferences. This exploration unveils key insights into what consumers truly desire in jewellery packaging and… Continue reading How to Address Challenges in Designing Custom Gift Boxes for High-Value Items
Richpack · Gold – Filled Jewelry Packaging Design & Branding Gold filled jewellery has become increasingly popular as a more affordable alternative to solid gold. But what exactly is gold filled jewellery, and how does it differ from gold plated jewellery? In this comprehensive guide, we’ll explore the world of gold filled jewellery, examining its… Continue reading How to Address Challenges in Designing Custom Gift Boxes for High-Value Items
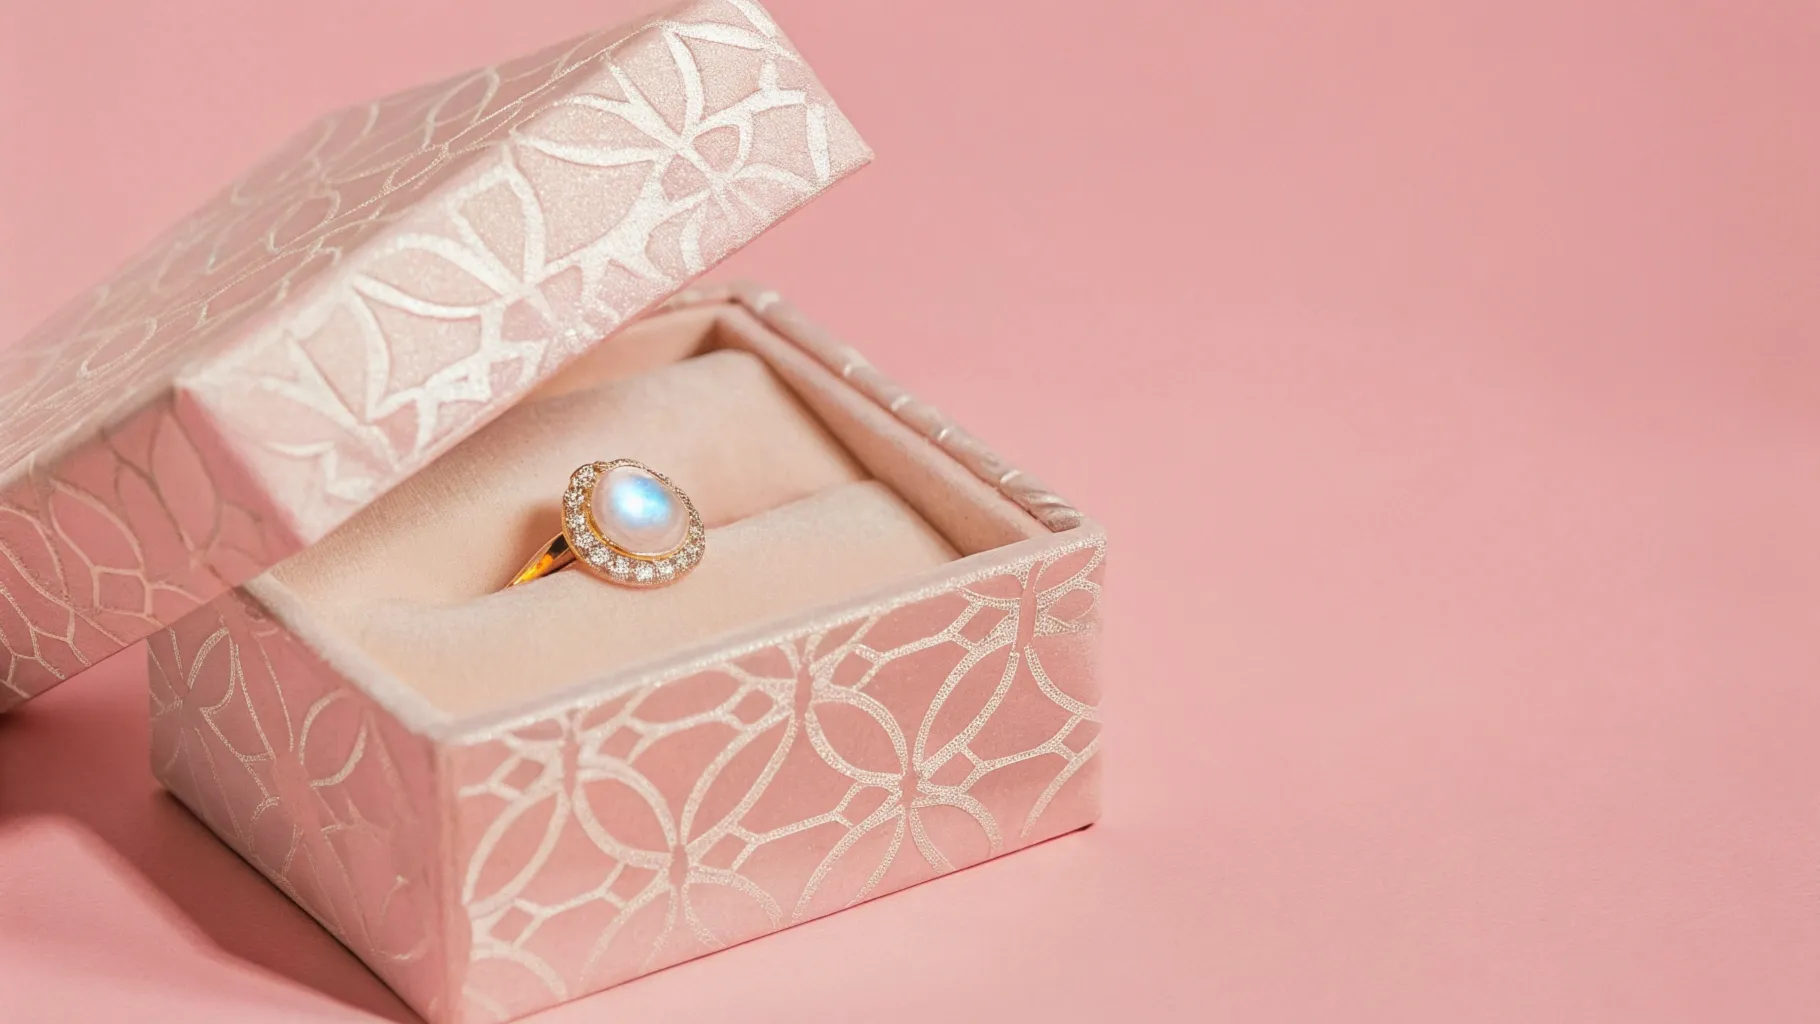
Custom Jewelry Packaging can help store and protect jewelry more safely than simple boxes or containers can. However, there may be several challenges you encounter during the process that need overcoming in order to make the best decisions for your business. In this article, we’ll explore 5 common challenges faced in custom jewelry packaging with… Continue reading How to Address Challenges in Designing Custom Gift Boxes for High-Value Items
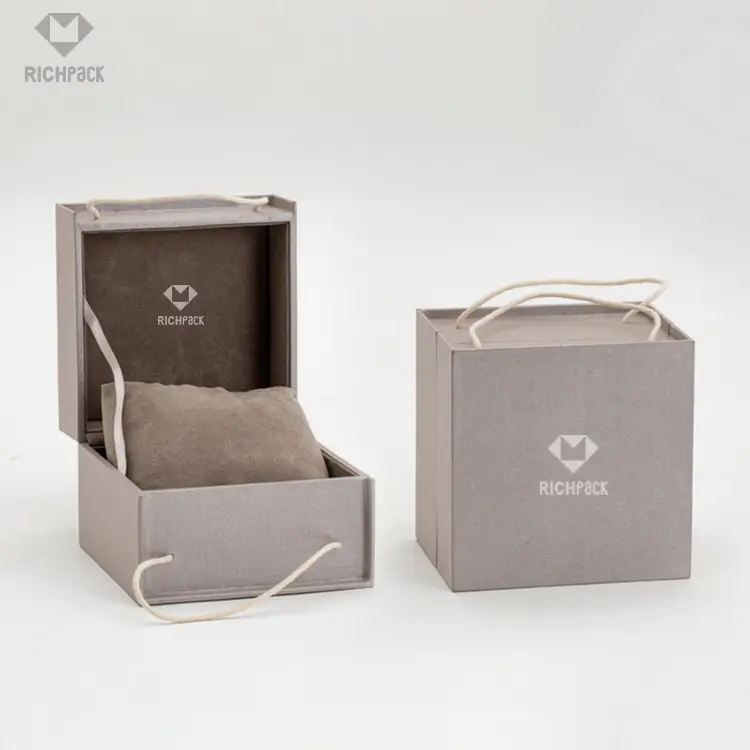
Custom Luxury Jewelry Boxes with Logo for Jewelry Brands | Elegant Packaging Solutions Tailored Designs for Retail and Wholesale
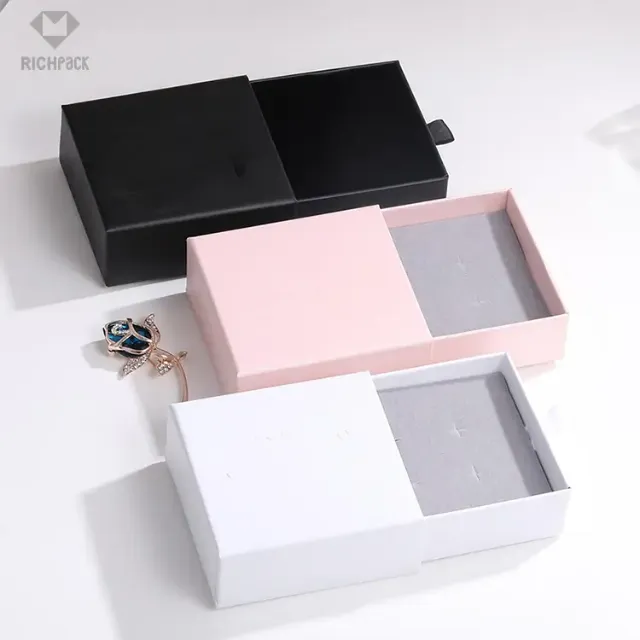
Eco-Friendly Gift Boxes for Small Jewelry Retailers | Sustainable Packaging Solutions | Customizable Designs Available

Exclusive Father’s Day Gift Boxes | Customizable Dad Gift Box Ideas | Perfect Packaging for Retail and Corporate Gifting
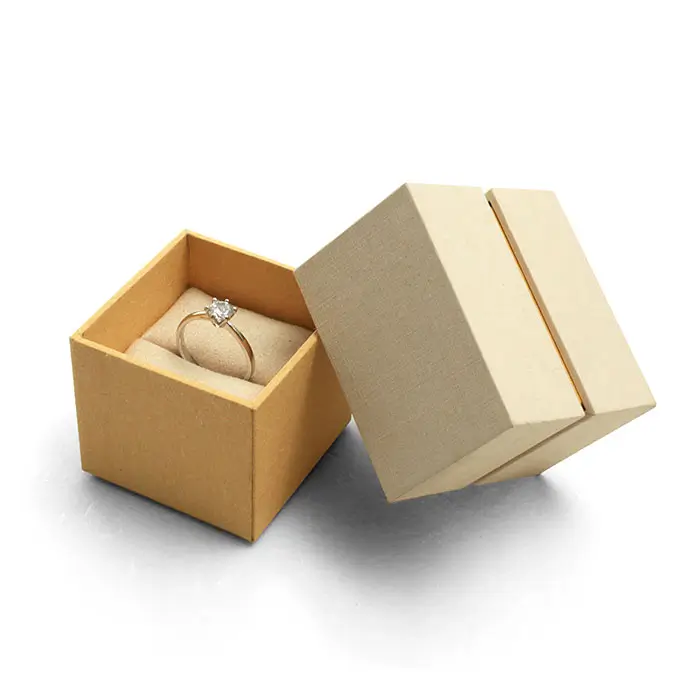
Affordable Gift Boxes with Custom Designs for Boutique Jewelers | Tailored Packaging Solutions | Budget-Friendly Options Available
View More
Affordable Custom Gift Boxes for Small Jewelry Shops | Budget-Friendly Packaging Solutions Custom Designs for Small Retailers
View More
Branded High-End Jewelry Gift Boxes with Foil Stamping Luxury Packaging for Premium Jewelry Brands | Customizable Designs
View More

