 PREV
PREV
5 Lamination Secrets to Make Your Jewelry Box Last 10x Longer
2025-03-06


Turn plain wood into a personalized jewelry box with this beginner-friendly guide. Learn simple steps, smart tips, and creative ideas to craft a stylish keepsake in just one weekend. Imagine turning a simple piece of wood into a personalized treasure chest for your favorite jewelry. Sound too ambitious? Let’s explore how even beginners can craft a small wooden jewelry box that’s both functional and stylish. Why settle for store-bought options when you can design something uniquely yours?
This guide breaks down the process into simple steps, from choosing the right wood to adding finishing touches. Whether you’re storing heirloom jewels or gifting a handmade keepsake, this project blends creativity with practicality. Ready to start? Let’s dive in!
Making a small wooden jewelry box is more than a DIY project. It’s a mix of practicality and art. This guide helps you create a small wooden jewelry box that fits your style, whether you’re new or experienced.
Woodworking is a way to show your creativity, and this project is no different. A wooden jewelry box not only holds your treasures but also shows off your skills. From picking the right wood to adding personal touches, each step makes your piece special.
This guide makes the process easy to follow. You’ll learn to pick materials, design, and add finishes that show your taste. It’s designed to make woodworking easy for everyone, so you can create something special.
Every wooden jewelry box has a story—yours. This introduction prepares you for learning tools, techniques, and creative ideas. Let’s start the journey together.
To start a wooden box project, you need the right materials. This ensures your project turns out well. Let’s look at what you’ll need to get started.
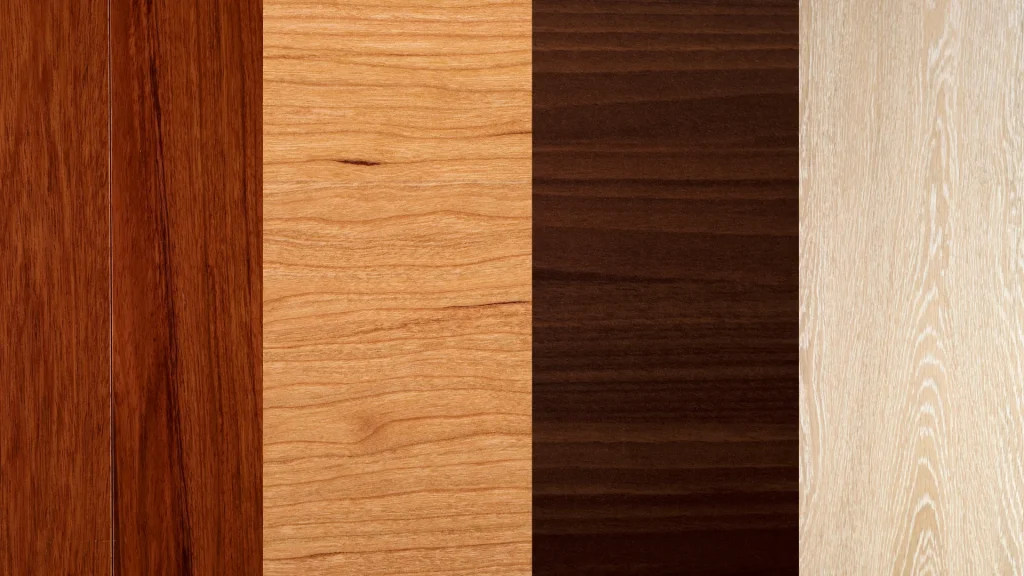
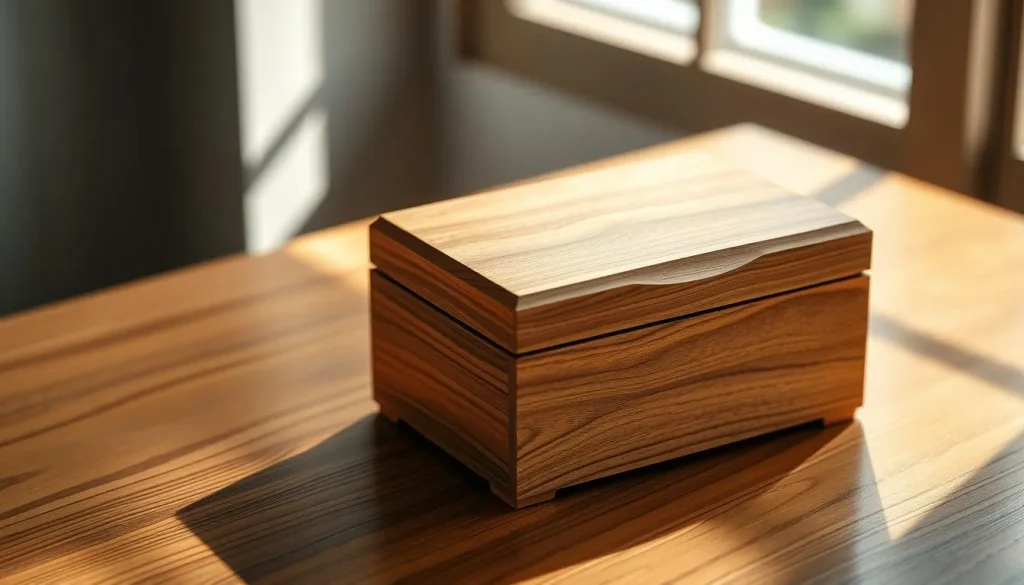
Choose wood that looks good and lasts long. Hardwoods like maple, oak, or cherry are great. They’re durable and show off natural grain patterns. Softwoods like pine are cheaper and good for beginners.
Optional tools like routers can add fancy edges. But, they’re not needed for simple projects.
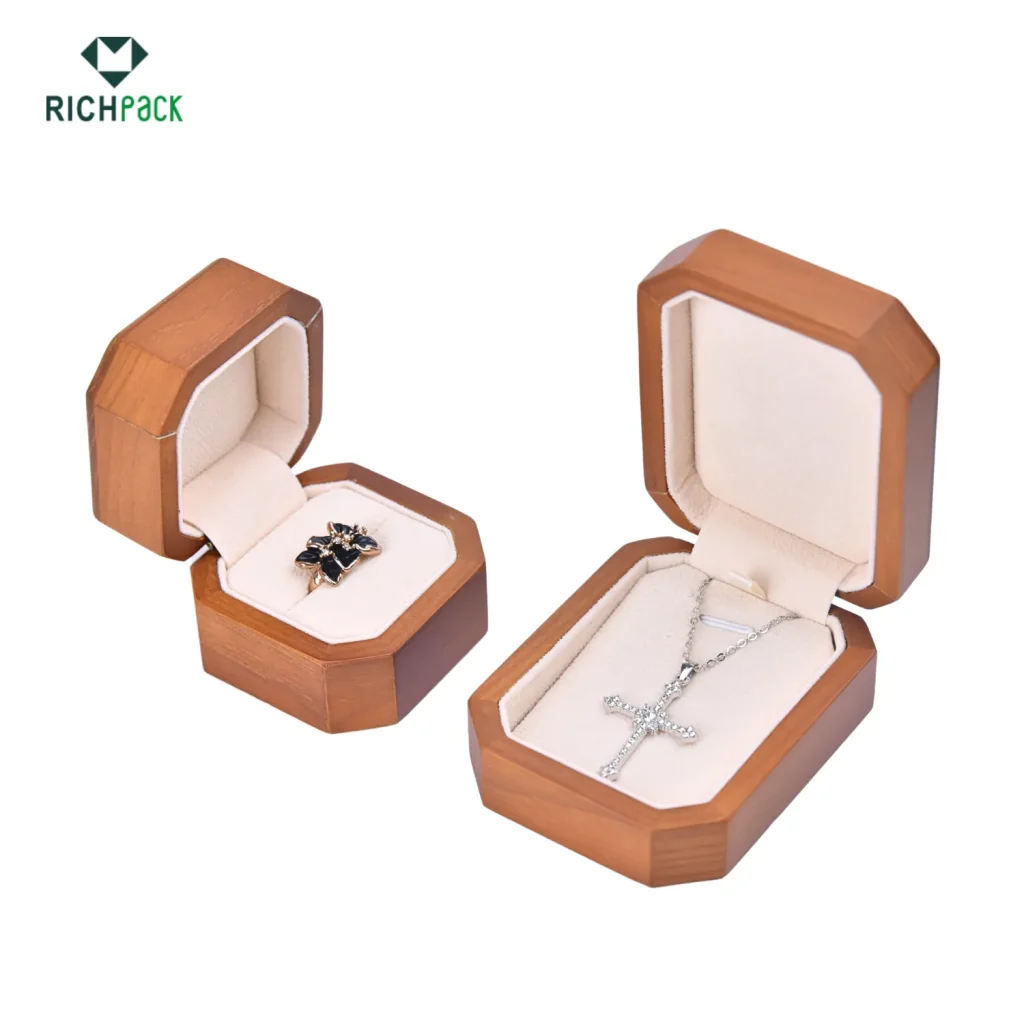
Make your wooden box stand out with extras. Add brass hinges and velvet lining. You can also use engraved knobs or magnetic catches. Choose stain or paint to match any room’s style.
“Quality materials make all the difference in a wooden box’s longevity.”
Buy materials from local stores or online. Check your measurements before cutting to avoid errors. Now, you’re set to design your project!
Before you start cutting wood, plan everything out. A good design saves time and materials. Think about how the box will look and work.
Start with a pencil and paper. Sketch the box’s size and shape. Think about how many parts it will have and how it will open.
Draw different ideas to see what you like best.
Consider adding decorative elements such as carved patterns, inlays, or painted designs. These can enhance the overall appearance and make your jewelry box unique. Remember to keep the design simple yet elegant to maintain its aesthetic appeal.
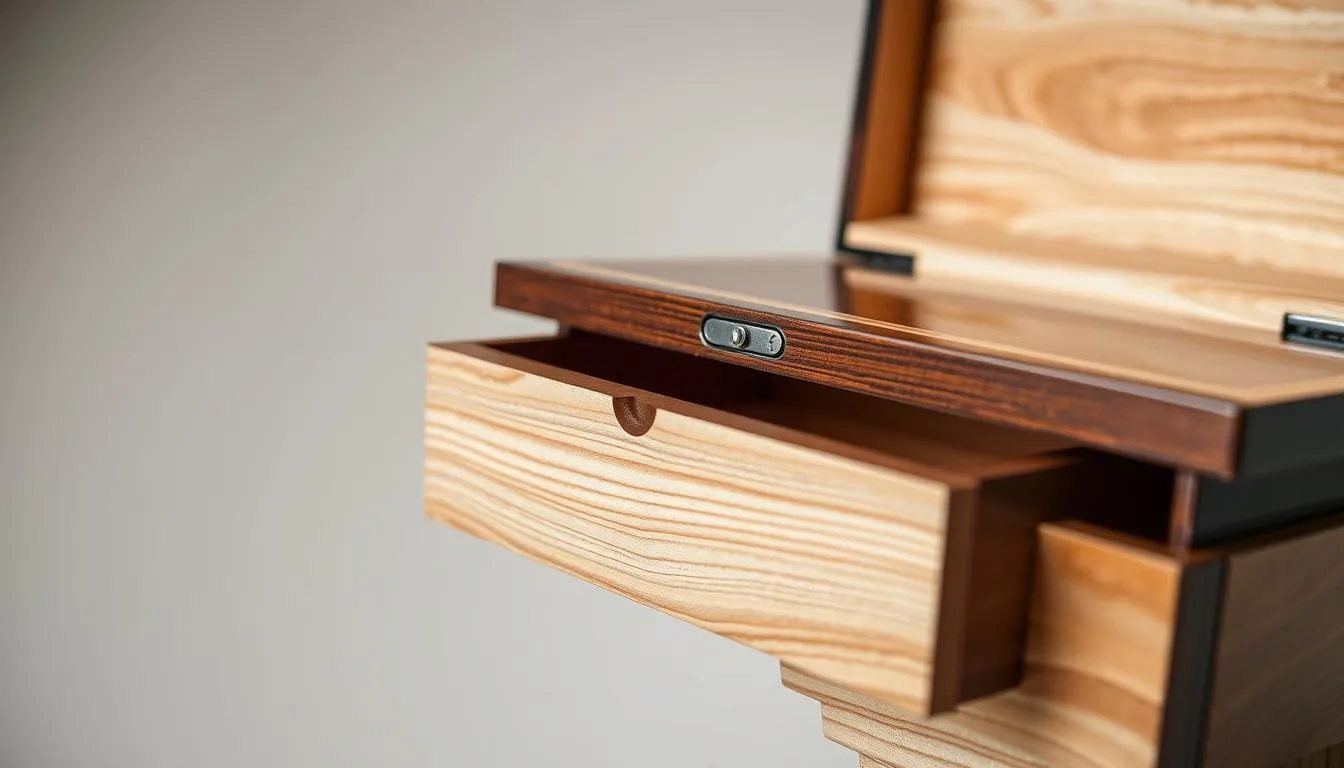
Use a ruler for precise measurements. A typical box is 8 inches long, 6 inches wide, and 3 inches tall. Plan the space for different types of jewelry.
Remember to leave ¼-inch gaps for wood to expand.
These gaps are crucial to prevent the wood from cracking due to changes in humidity. Mark the dimensions clearly on your sketch. Next, consider the compartments you need for different pieces of jewelry. For instance, you might want smaller compartments for rings and earrings, and larger ones for necklaces and bracelets. Make sure to allocate enough space for each type of jewelry, ensuring that they fit comfortably without being cramped.
First, check if the box works well. Can rings fit easily? Does the lid close right? Then, make it look good.
Carve patterns, stain it, or add fancy hinges. Your box should be both beautiful and useful. Consider the weight of the box as well. It should be sturdy enough to protect the jewelry inside but not so heavy that it’s cumbersome to move. Additionally, think about the user experience. Ensure that the box is easy to open and close, with smooth edges that won’t scratch delicate jewelry pieces. By striking the right balance between functionality and aesthetics, you’ll create a wooden box that is both practical and a joy to behold.
Make your jewelry box truly unique with these creative tips. Whether you like subtle elegance or bold accents, these ideas showcase your personality. Every detail counts.
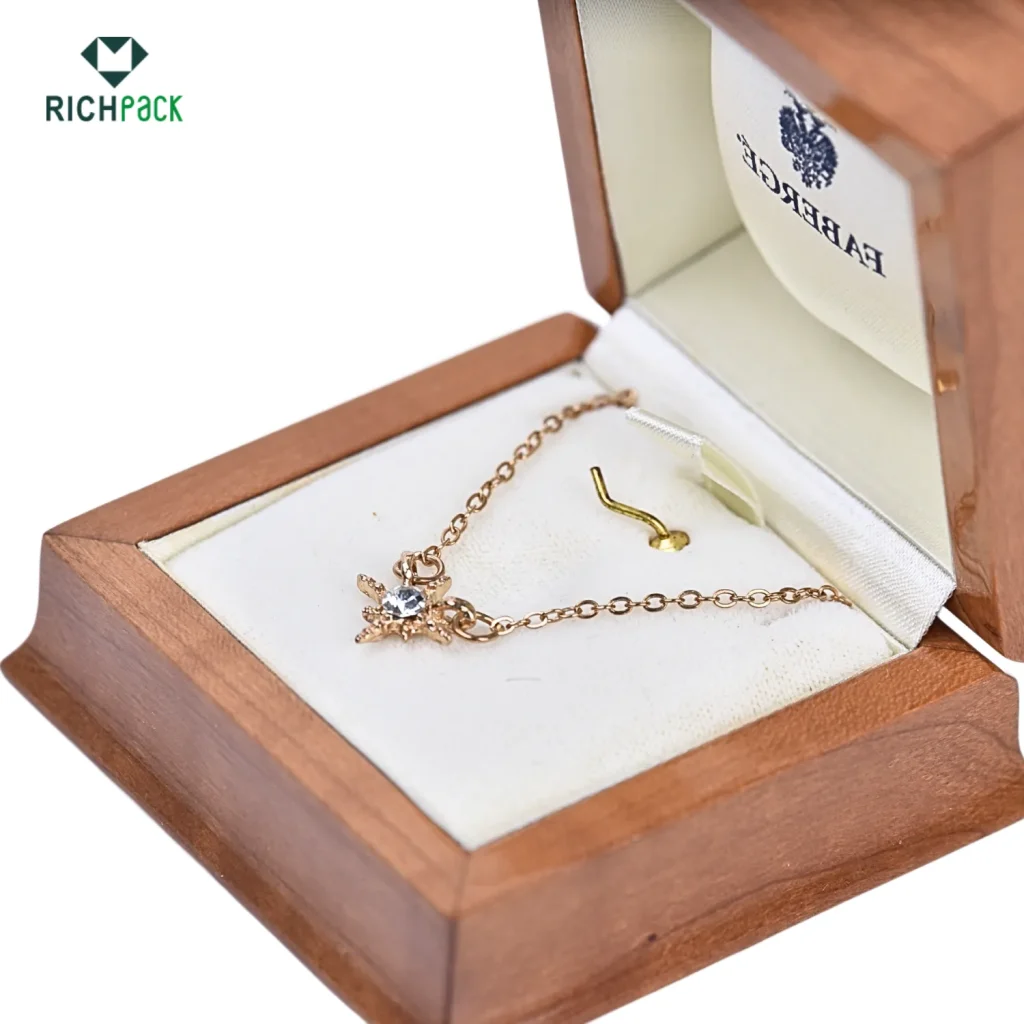
Consider adding personalized touches, such as initials or a meaningful date, engraved on the lid or a hidden compartment. Incorporating a small mirror inside the lid can enhance functionality, allowing you to admire your jewelry before selecting the perfect piece. Additionally, soft fabric lining in your favorite color or pattern not only protects your jewelry but also adds a touch of luxury.
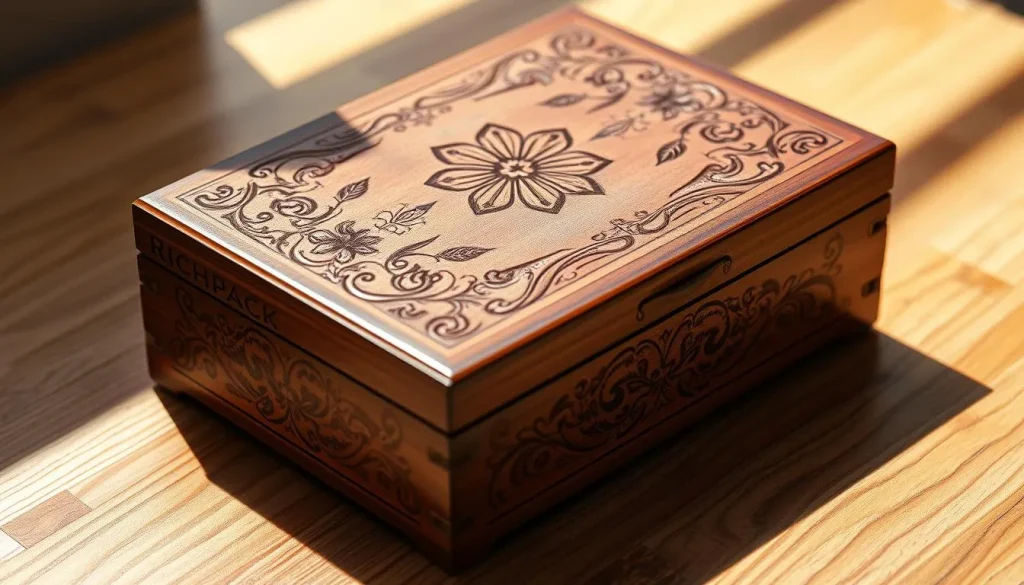
Bring your box to life with hand-carved or laser etched designs. Use rotary cutters or Dremel attachments to carve out initials, flowers, or shapes. For a deeper touch, consider:
Laser engraving, which offers precision and clarity, allowing intricate designs to stand out beautifully. This technique is particularly suitable for wood types with a finer grain, enhancing the overall aesthetic appeal.
Transform the inside with luxurious fabrics:
| Material | Pros | Cons |
| Velvet | Soft texture, rich color options | Less breathable |
| Silk | Shiny finish, delicate touch | Requires gentle cleaning |
| Felt | Protective padding, affordable | Less stylish |
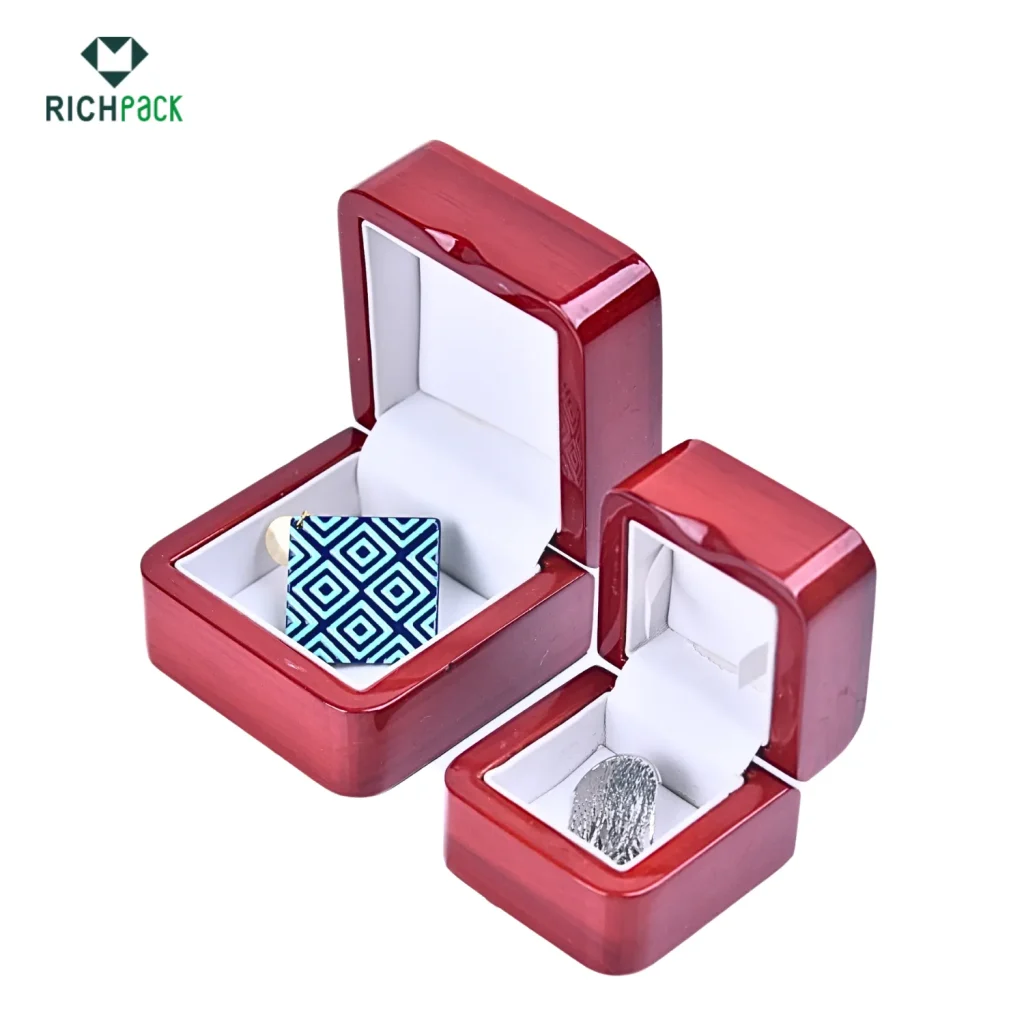
Enhance your box with decorative hardware like:
Match your hardware with your box’s theme. Think floral for romance or geometric for modern.
You could also opt for rustic hardware, such as wrought iron handles or leather straps, to give your box a country charm. Alternatively, for a maritime theme, consider using hardware inspired by nautical elements like ropes or anchors. Here is an article you might be interested, please read here.
Keeping your handmade wooden jewelry box in top shape is key. It makes sure the wood and your jewelry stay safe and beautiful for a long time.
Here are some essential care and maintenance tips specifically tailored for wooden jewelry boxes adorned with creative hardware:
Regularly inspect the hardware for any signs of wear or rust. If you notice any damage, replace it promptly to prevent further harm to the box or your jewelry. When cleaning the box, use a soft, damp cloth to gently wipe down the hardware. Avoid using abrasive cleaners or scrubbing too hard, as this could scratch or tarnish the metal. For hardware with intricate details or engravings, consider using a polishing cloth specifically designed for metals. This will help maintain the shine and prevent tarnishing over time.
Wood needs breathing room. Keep your box away from humid places like bathrooms or basements. Also, avoid direct sunlight, as UV rays can damage the finish. A closet shelf or dresser drawer is a great spot.
In addition, using humidity control devices such as desiccants or humidifiers in enclosed spaces can further protect your wooden box from moisture-related issues. Regularly checking for any signs of mold or mildew is also crucial, as these can cause irreversible damage.
“A well-maintained jewelry box is a family heirloom in the making.” — Sarah Thompson, Professional Woodworker
Change the items in your box every now and then. This way, everything stays in good condition. Your box will remain both beautiful and functional, keeping your memories safe.
Creating a small wooden jewelry box is more than a DIY project. It’s a chance to mix creativity with practicality. You can choose maple for its elegance or pine for its affordability. Each material and tool helps make a piece that shows your style.
Start by sketching your design, then pick the right wood. Add personal touches like engraved initials or velvet lining. These details make a simple box into a treasured keepsake.
To keep your creation looking good for years, dust it regularly. Avoid direct sunlight and store it in a dry place. This protects the wood and your treasures. If you liked this project, try making custom trays or keepsake boxes.
Online places like Woodcraft or Rockler have tutorials and supplies to help you improve. Handmade items like wooden jewelry boxes tell stories. They remind us that patience and detail can turn simple materials into something special.
Share your finished box with someone you love or keep it as a unique storage piece. With the right tools and inspiration, your next DIY project is just around the corner.
To make your wooden jewelry box last, clean it often. Also, keep it away from moisture and sunlight. And, take care of any finishes. These steps will help your box stay beautiful for many years.
Yes, you can! You can add engravings, special hardware, or velvet or silk linings. This way, you can make your box truly yours.
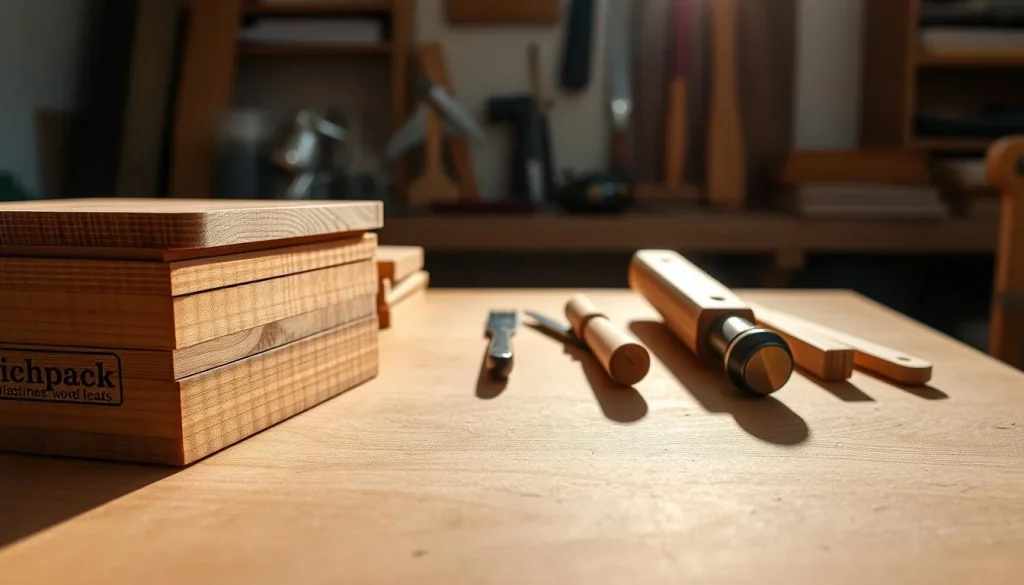
You don’t need fancy tools. Basic items like saws, clamps, and sanders are enough. You can find these at most hardware stores, making the project easy for anyone.
You can make your box more special with knobs, latches, paint, stain, or fabric linings. These extras can make your box look even better.
2025-03-06
2025-04-01
2025-03-12
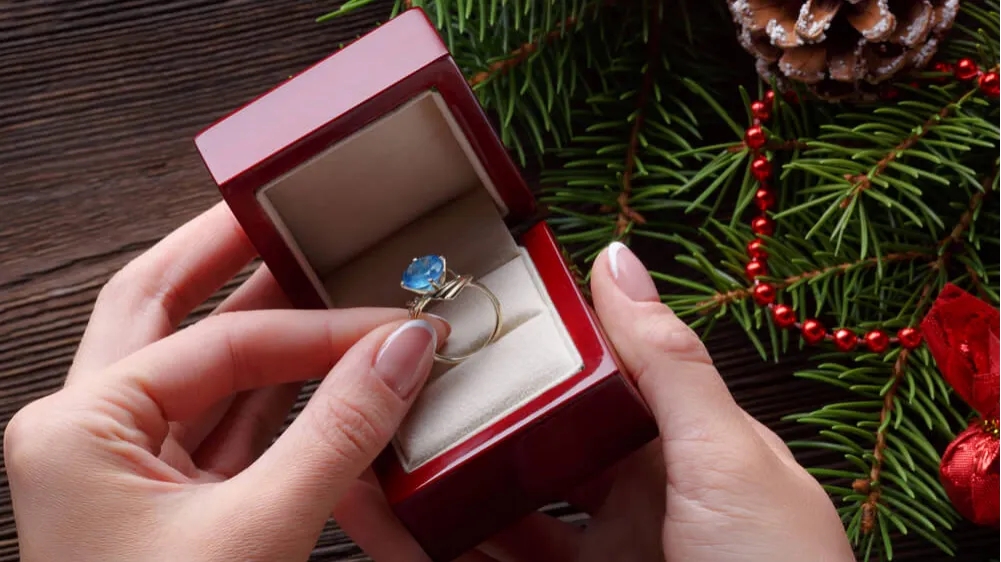
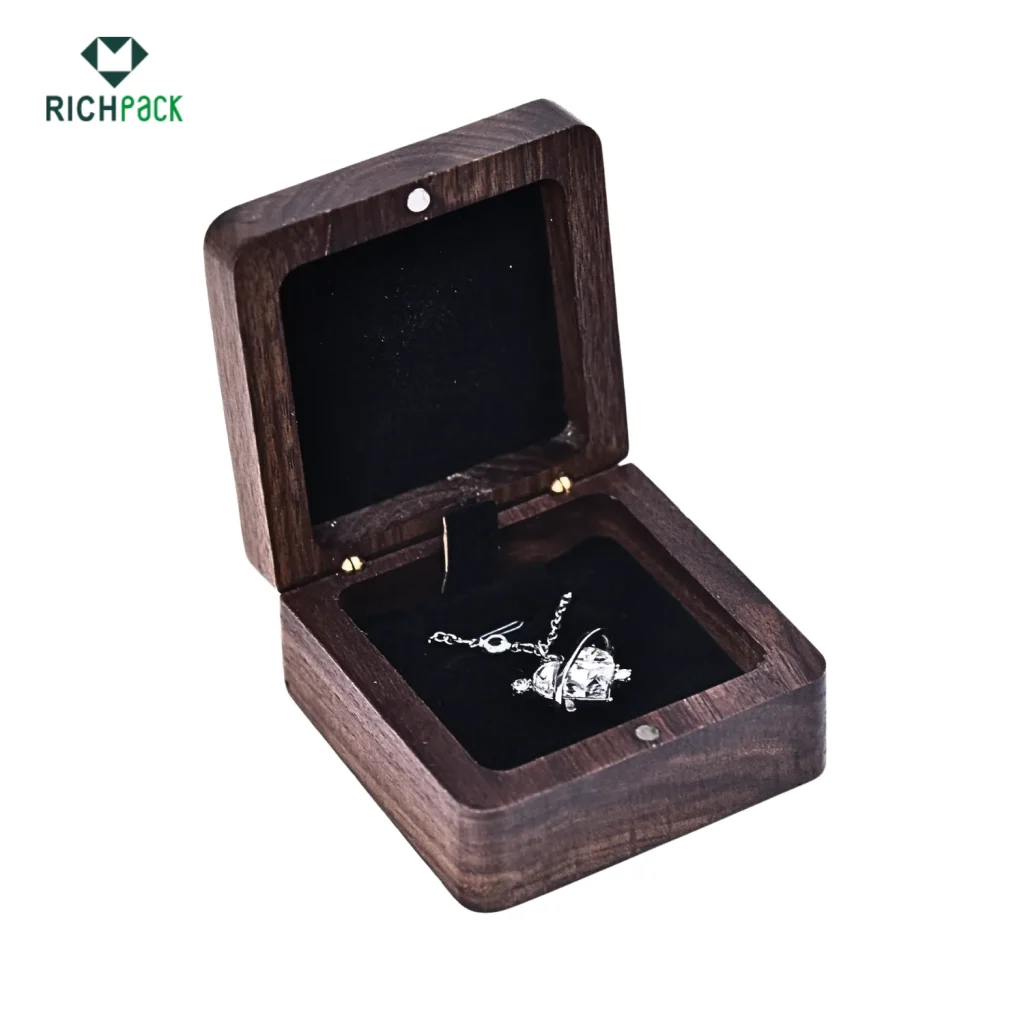
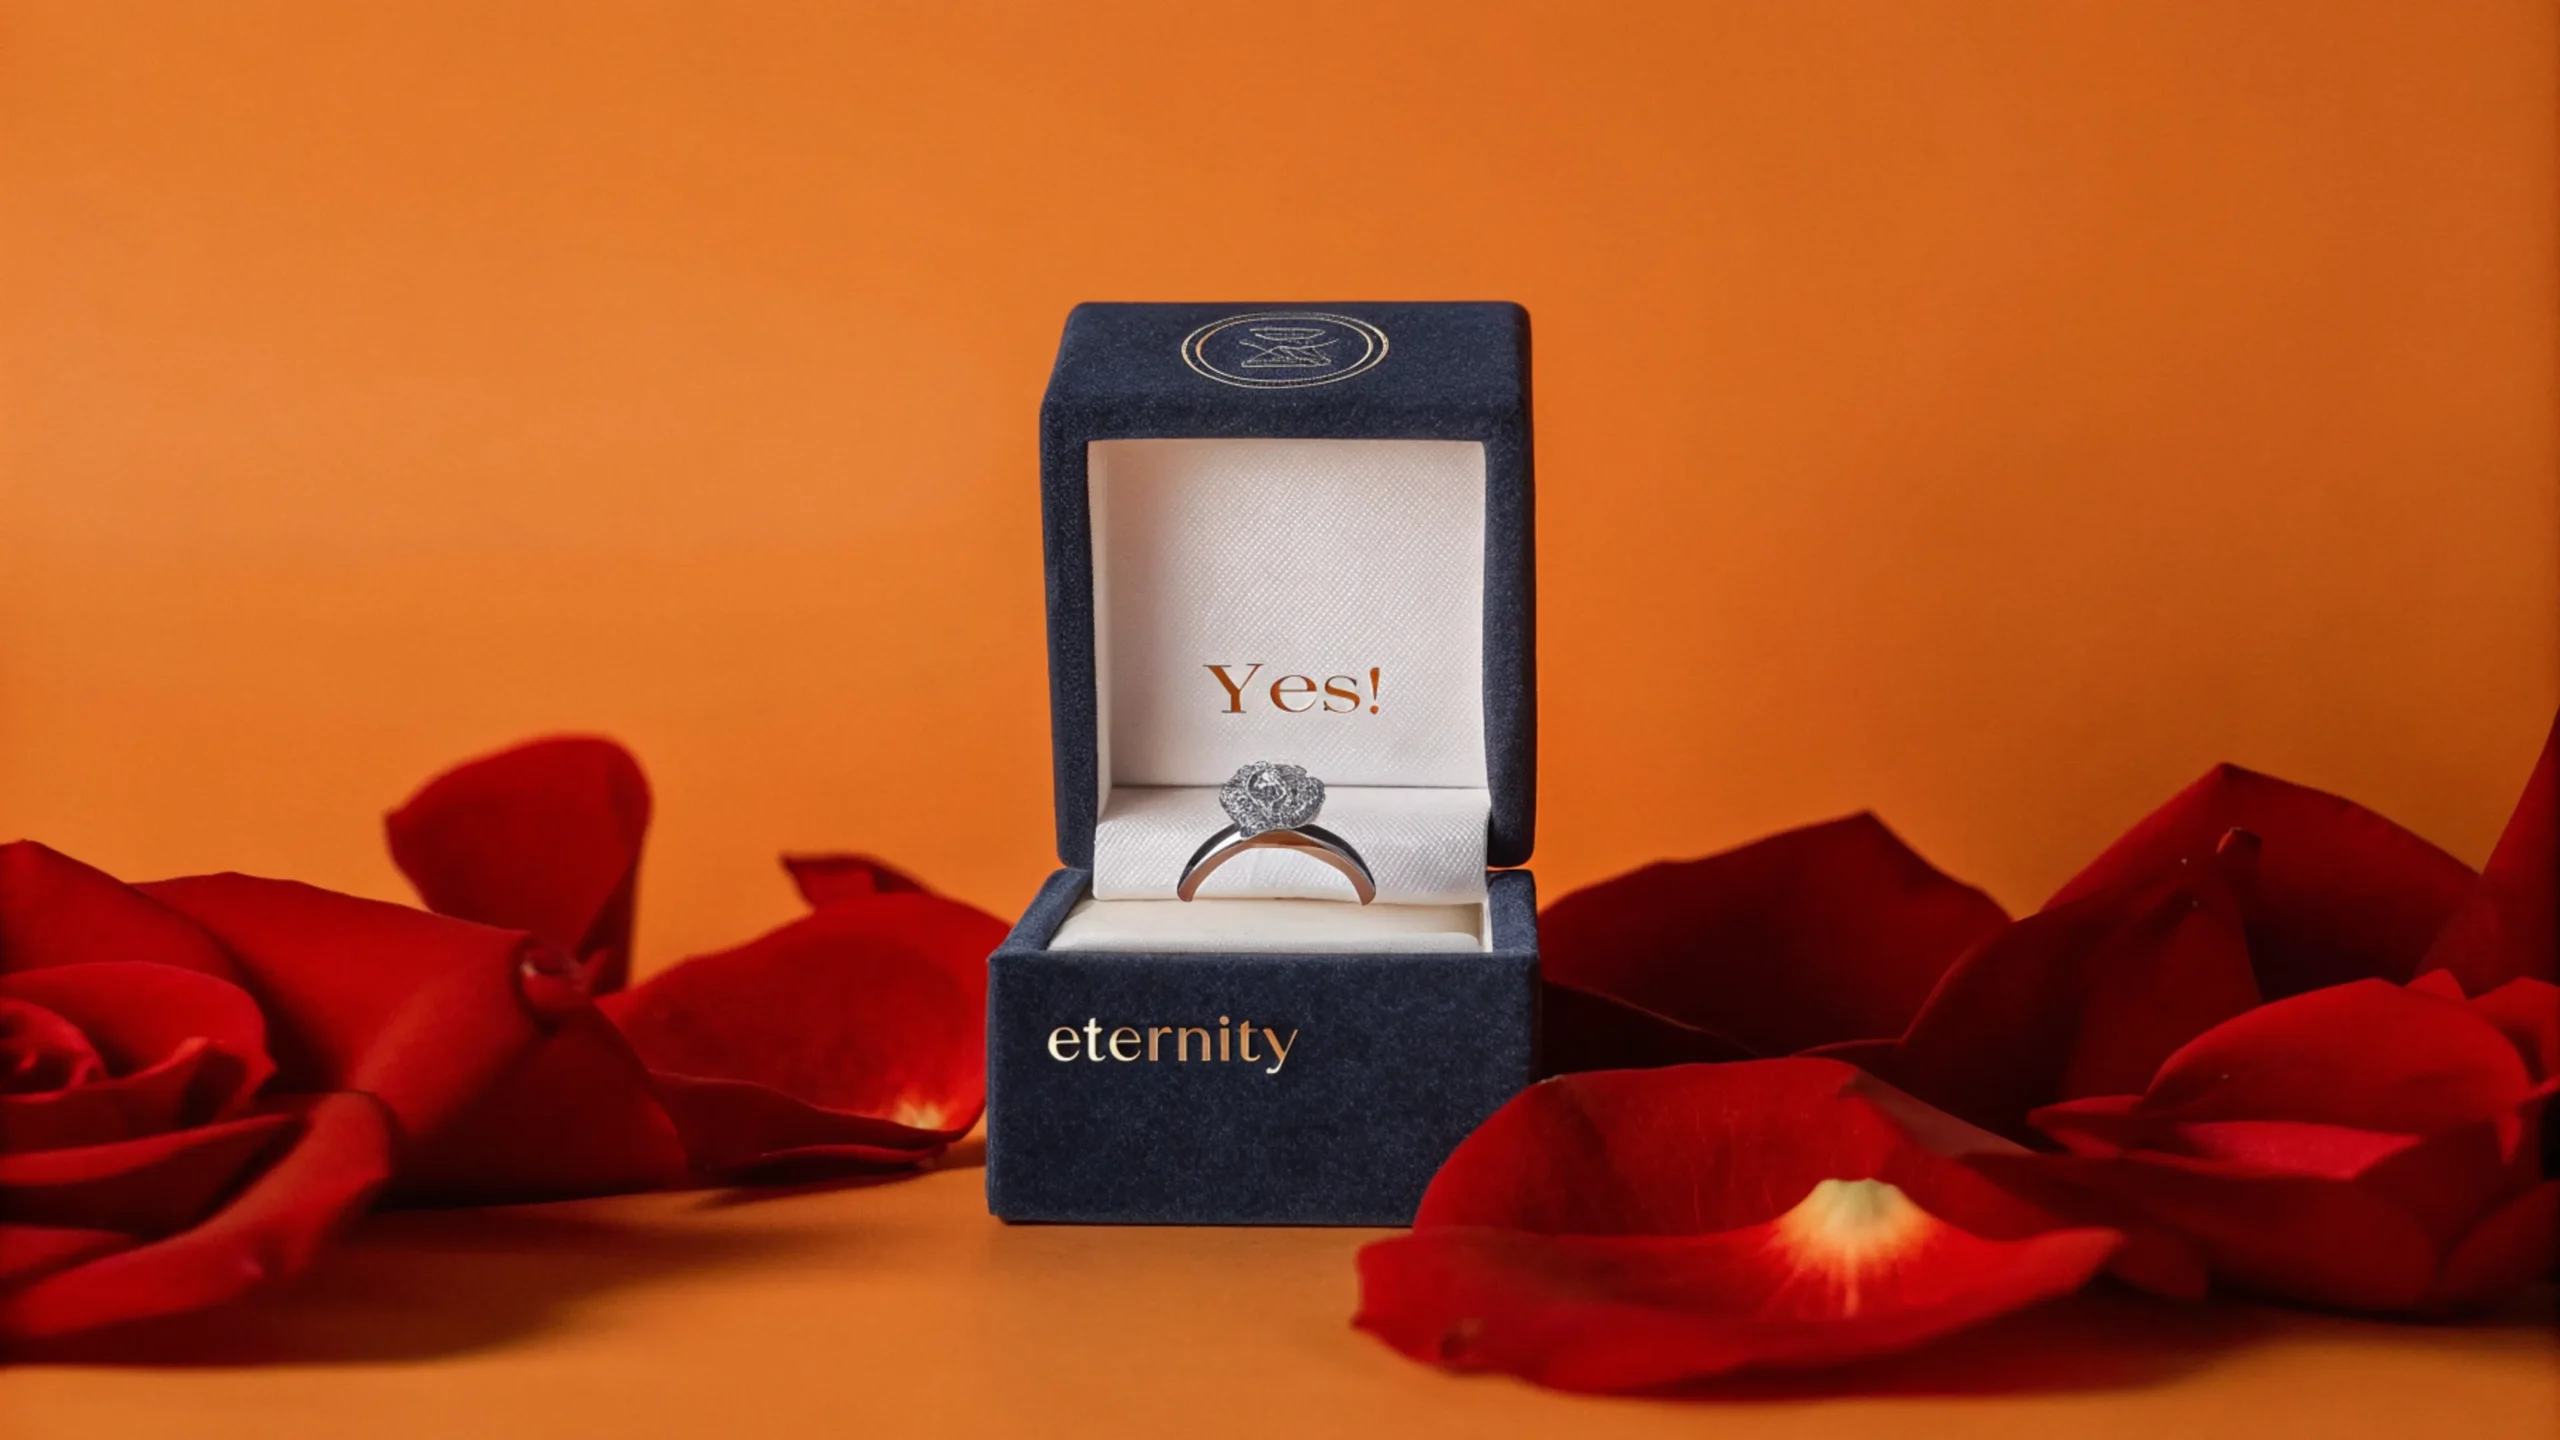
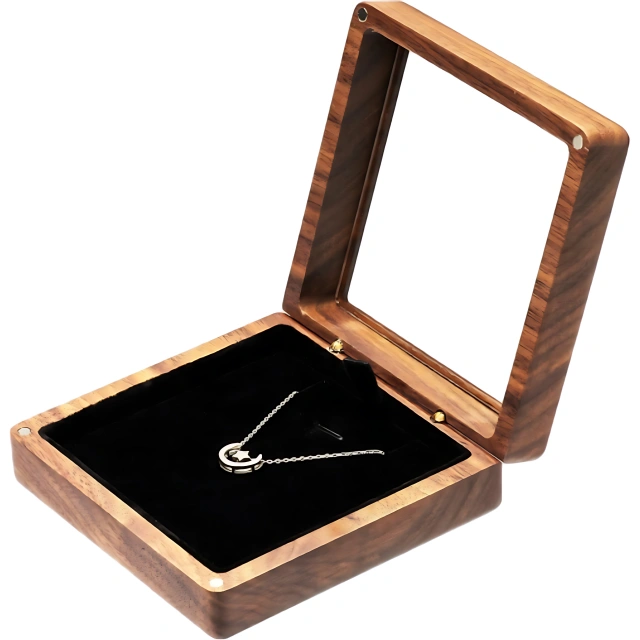
Alex finally found the one—the love of his life, Sophie, and the perfect custom ring box for proposal to make the moment unforgettable. When Sophie saw the unique engagement ring box—crafted from dark walnut with their anniversary date engraved inside—she gasped before even glimpsing the diamond. “I felt like it was made just for us,” she later… Continue reading How to Make a Small Wooden Jewelry Box
Guys! I’m Grace, and I’m absolutely obsessed with jewelry packaging. I’ve been on a quest to find the perfect “little homes” for my precious necklaces, and it’s been quite a journey. Today, I’m going to share all the details about my experiences with small necklace boxes and pass on the super useful tips I’ve learned… Continue reading How to Make a Small Wooden Jewelry Box
Richpack · Why is Dainty Jewellery's packaging the Center of Attention The global e-commerce market reached $3.3 trillion in 2023 and is expected to reach $5.4 trillion by 2026. U.S. online retail spending breaks through to a new high of $1.3 trillion in 2023, demonstrating the continued growth of online retail in the wake of… Continue reading How to Make a Small Wooden Jewelry Box
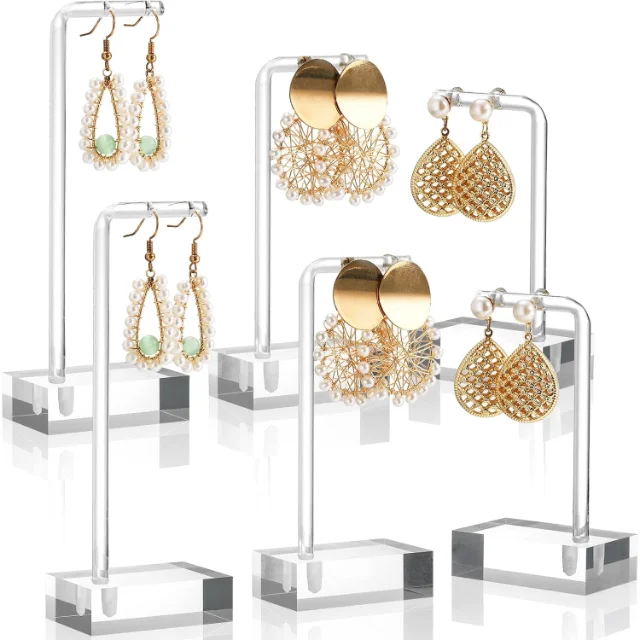
Space-Efficient Compact Acrylic Displays for Retail Counters | Sleek Display Solutions for Jewelry Stores Needing Minimalist Jewelry Showcases
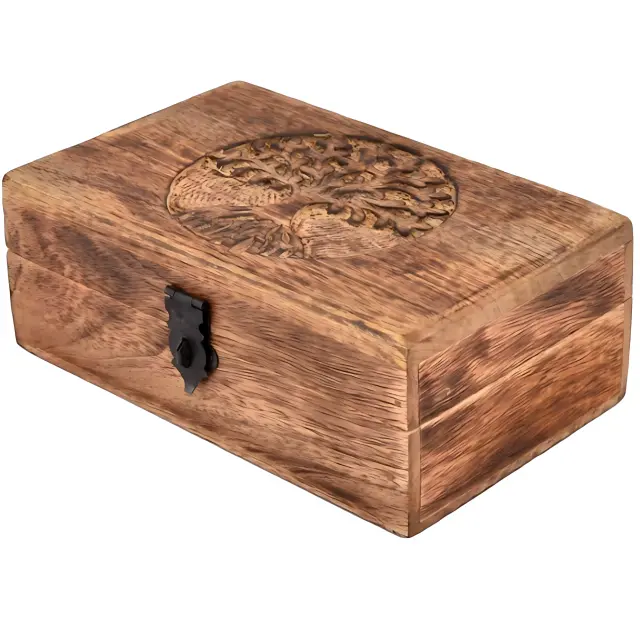
Wooden Keepsake Boxes – Elegant, Customizable Storage for Memories | Richpack
Uncover Artisanal Elegance in Men’s Wood Jewelry Box – Richpack’s Walnut Masterpiece
Affordable Jewelry Display Stands for Independent Jewelers | Tailored for Small Retailers Seeking Elegant, Custom Displays on a Budget
View More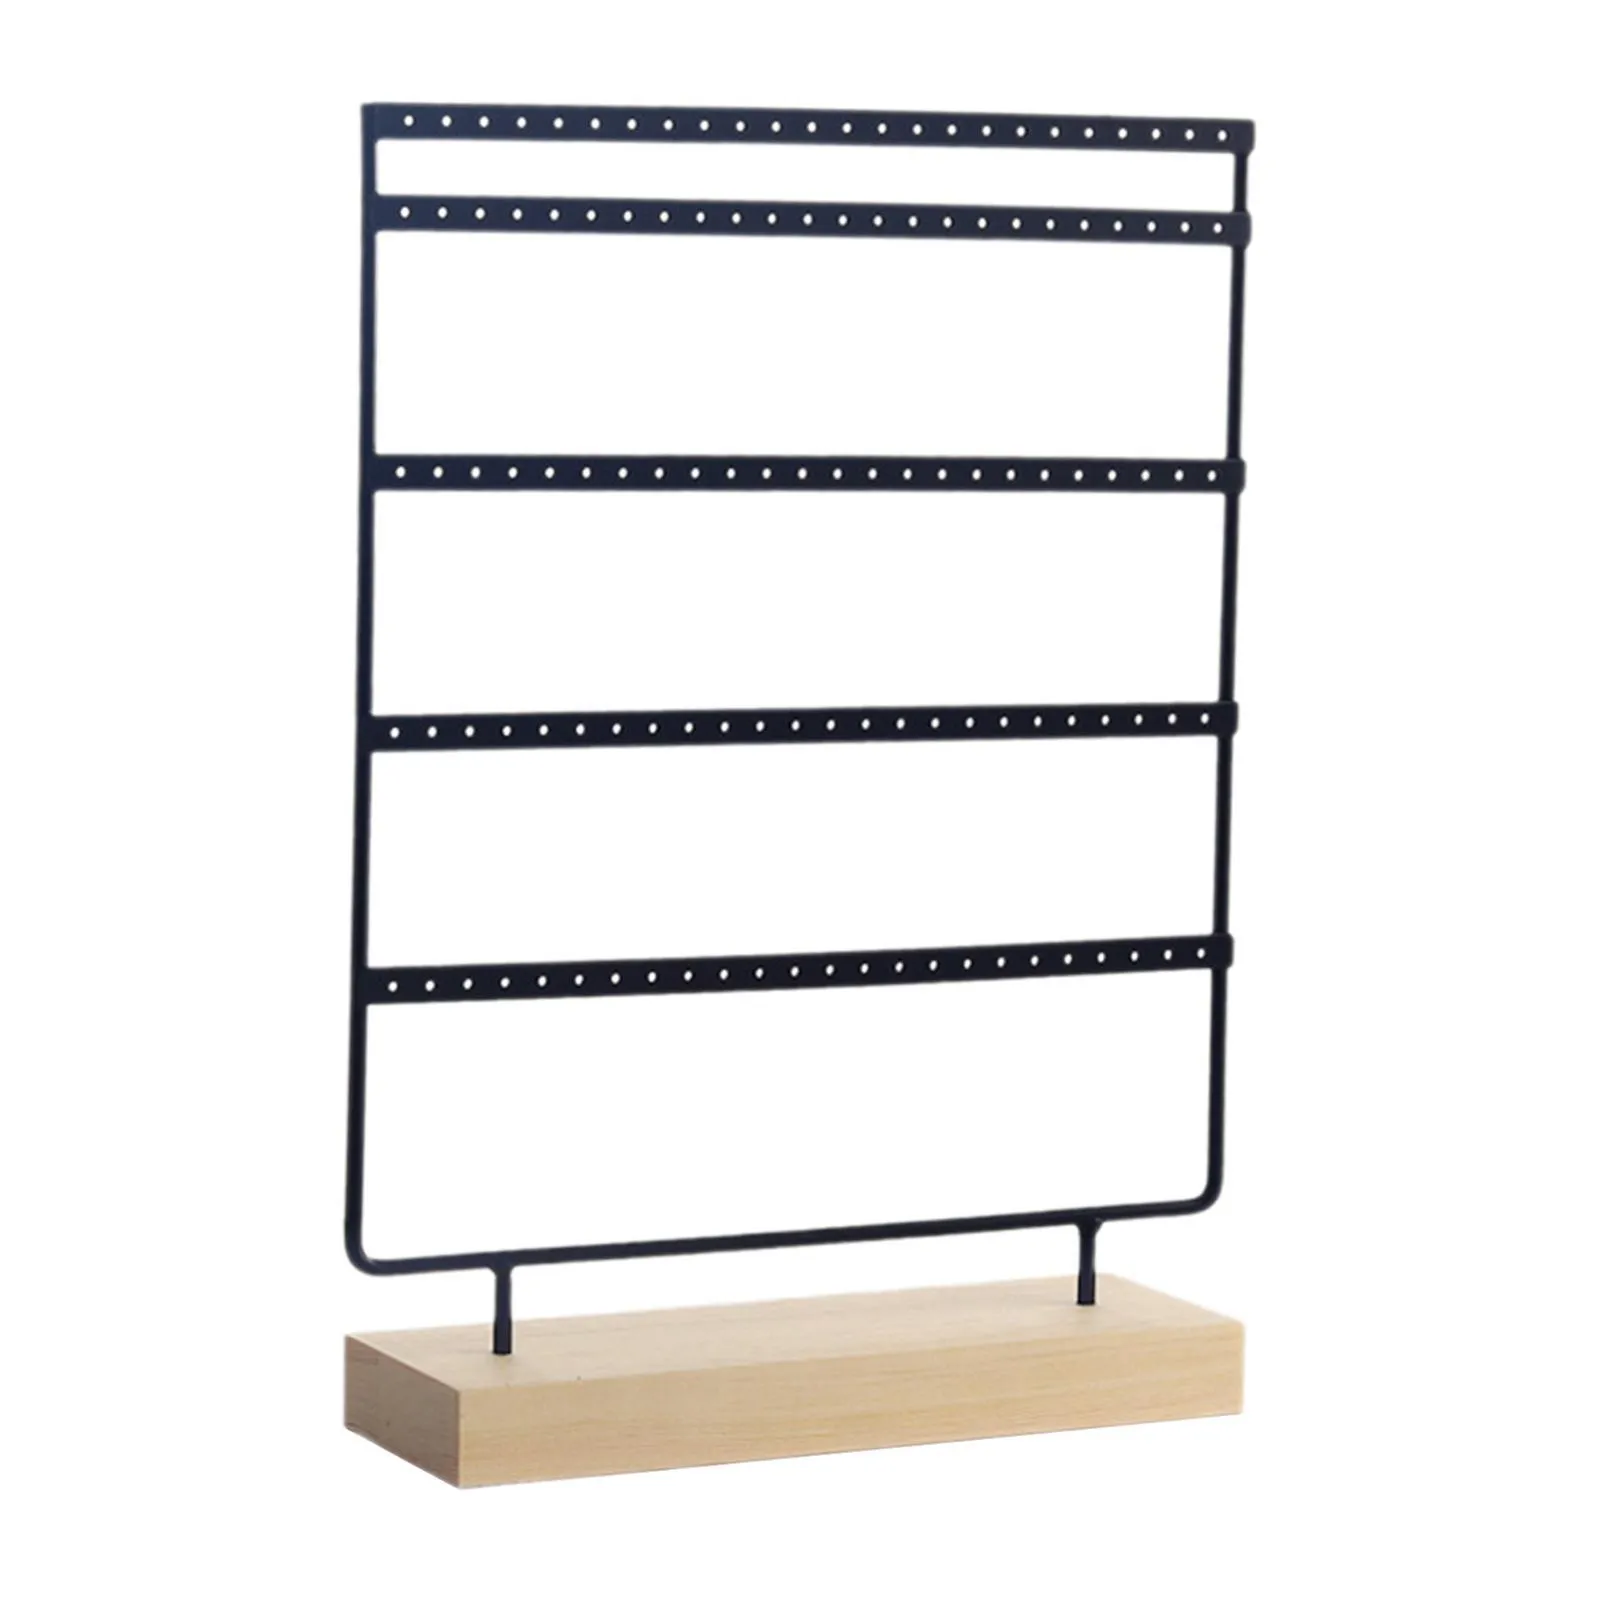
Creative Jewelry Organizing Hacks for Streamlined Storage – Innovative Solutions like the Snap-On Jewelry Box and More from Richpack
View More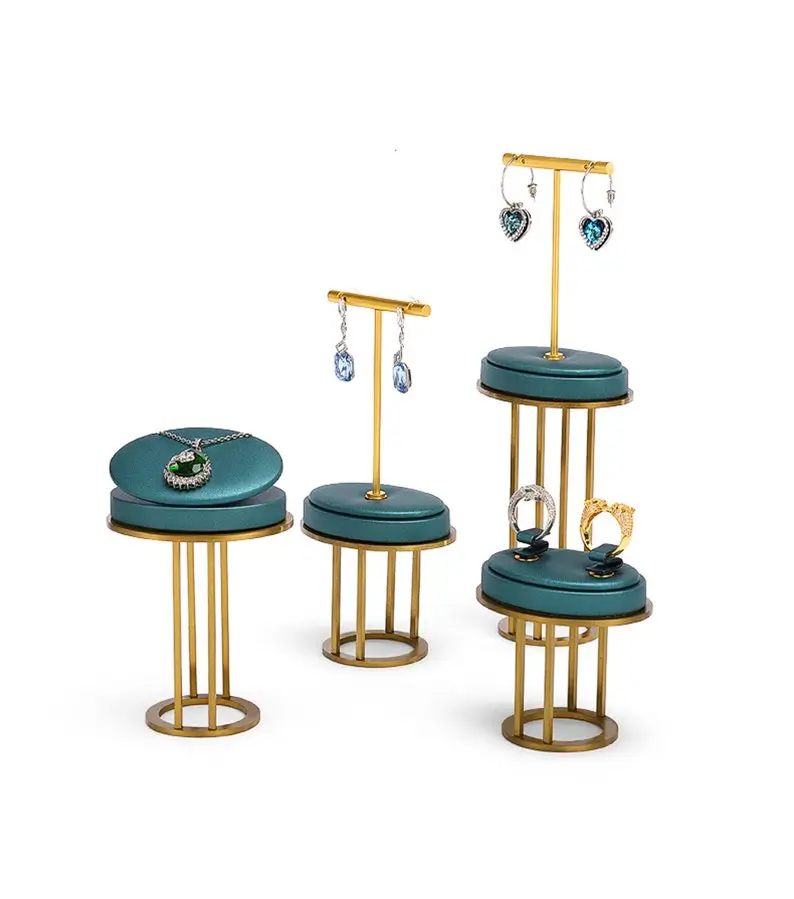
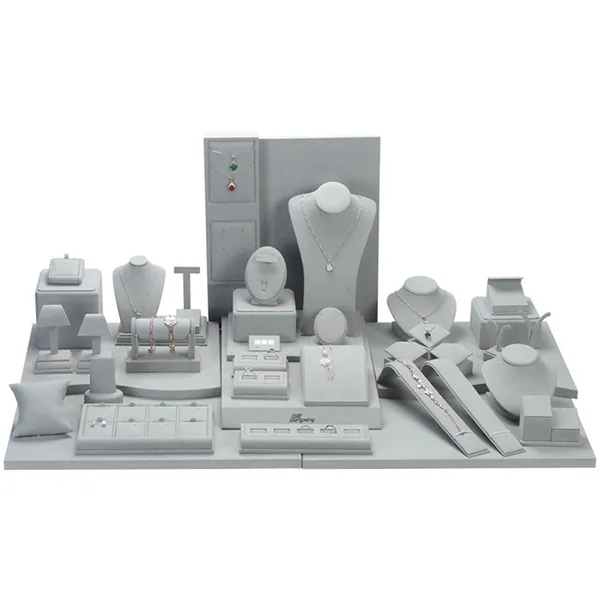
Custom Retail Jewelry Displays for Stunning Visual Merchandising – High-Quality Jewelry Display Stands for Retail and Retail Store Jewelry Displays
View MoreJust submit your email to get exclusive offers (reply within 12 hours)