

 PREV
PREV

How to Personalize Fancy Gift Boxes for Important Occasion
2025-04-03
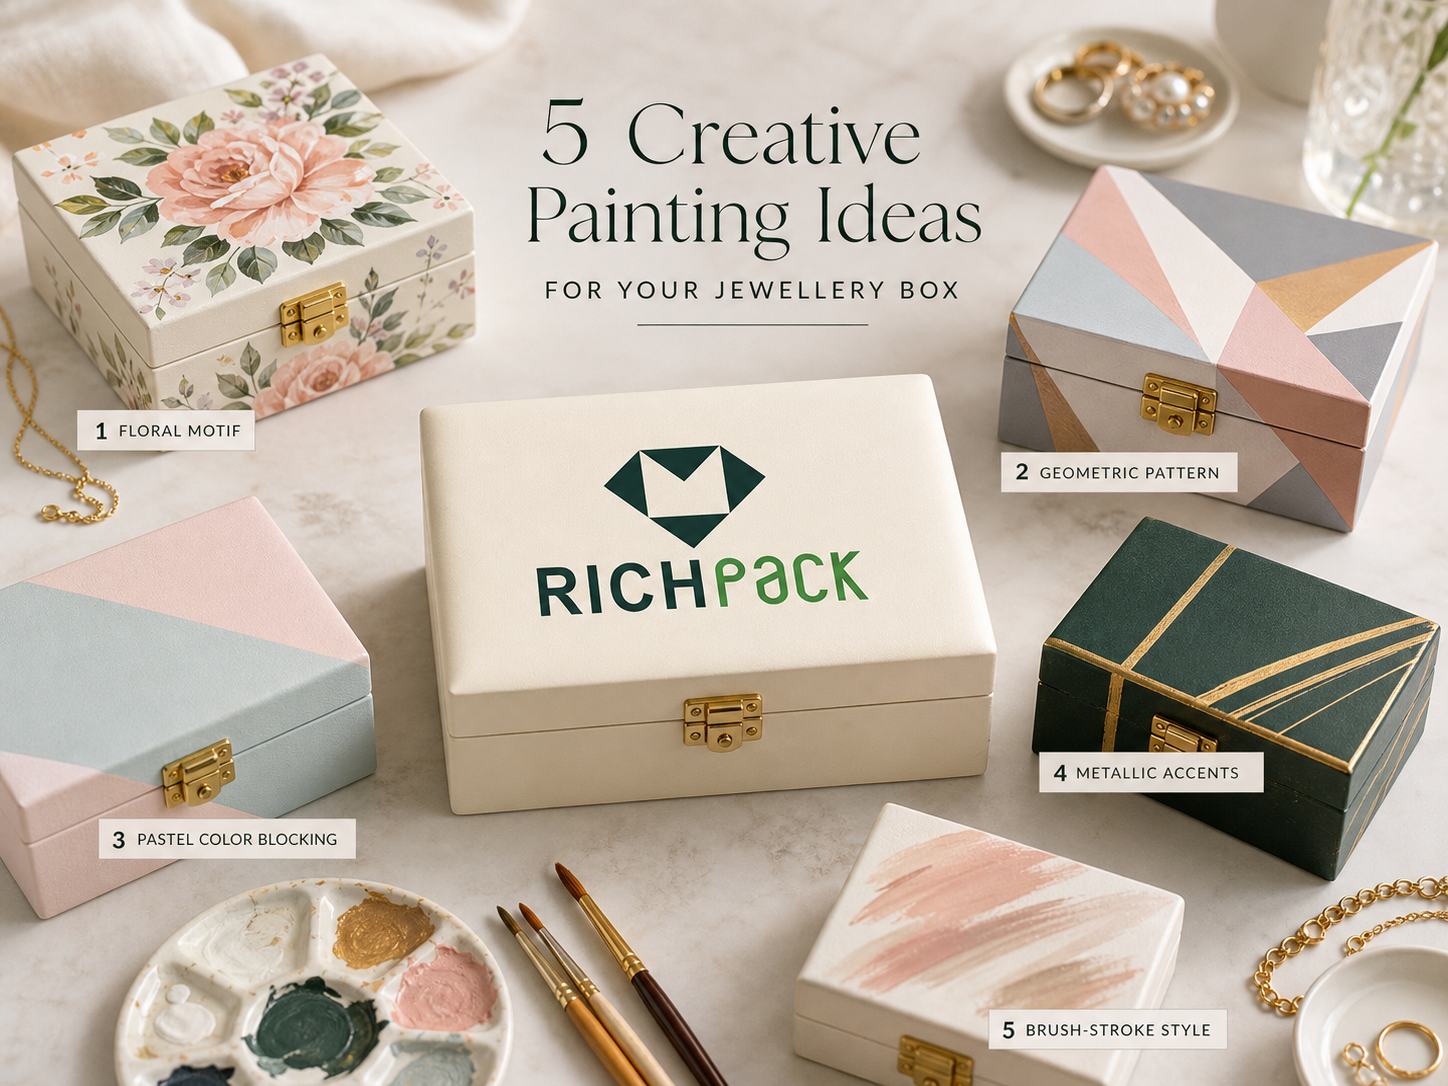



A small jewellery box gets judged before the clasp opens.
That is the awkward truth. The ring may be perfect. The pendant may be polished. But if the box feels sticky, smells like fresh coating, or has a logo that looks too big for the lid, the gift moment drops a notch.
The best jewellery box painting ideas start with three choices: the style you want, the box’s material, and a finish that will withstand handling.
The U.S. Consumer Product Safety Commission lists 0.009% as the lead limit for paint and similar surface coatings in many consumer contexts.
The EPA also advises better ventilation when using products that release VOCs.
So paint is not just decoration. Paint is touch, smell, safety, color, and first impression in one small surface.
You will find five practical directions here: floral, geometric, vintage, metallic, and monogram. I’ll also show where each one works, where it falls apart, and how a handmade idea can turn into a repeatable packaging look for a jewelry brand.
Use the painting style that fits the jewelry, not the loudest idea on your mood board. A pearl ring box, a travel jewellery case, and a holiday bracelet gift box all need a different level of color, shine, and detail.
| Idea | Best For | Visual Feel | Difficulty | Best Paint or Finish | Brand Packaging Potential |
| Floral hand painting | Bridal jewelry, keepsake gifts, soft collections | Romantic and personal | Medium | Acrylic detail paint with clear topcoat | Strong for limited editions, printed sleeves, and tissue patterns |
| Geometric color blocking | Modern jewelry brands and online sellers | Clean and graphic | Easy to medium | Acrylic, chalk paint, or spray paint with careful masking | Very strong because panels and logo zones are easy to repeat |
| Vintage distressed finish | Antique rings, lockets, pearls, heirloom pieces | Warm and collected | Medium | Chalk paint, wax, matte sealer | Strong for vintage ring boxes and story-led launches |
| Metallic accent painting | Holiday sets, watches, fine jewelry gifts | Polished and festive | Easy when restrained | Metallic acrylic, foil-effect paint, clear sealer | Strong when translated into foil stamping or metallic ink |
| Monogram or logo painting | Personalized gifts and branded boxes | Personal and intentional | Medium | Acrylic, stencil paint, paint pen, topcoat | Very strong for logo printing, debossing, foil, and batch customization |
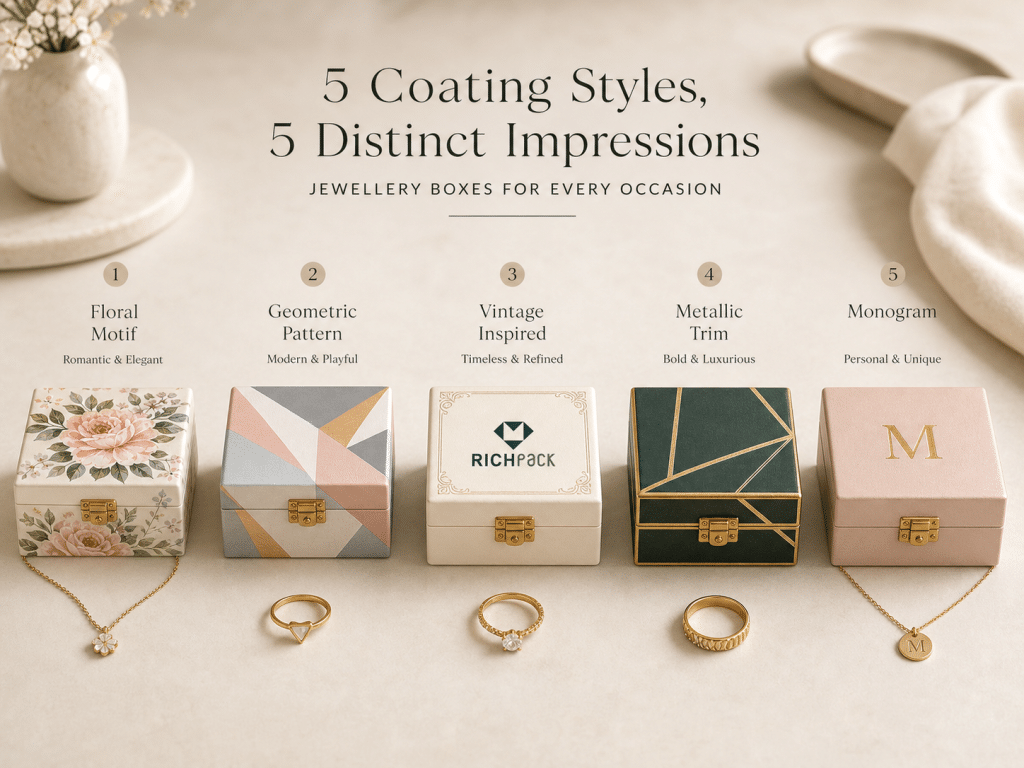
A good painted box does two jobs. It makes the jewelry feel cared for without stealing the spotlight.
That second part matters. A box can be pretty and still be wrong.
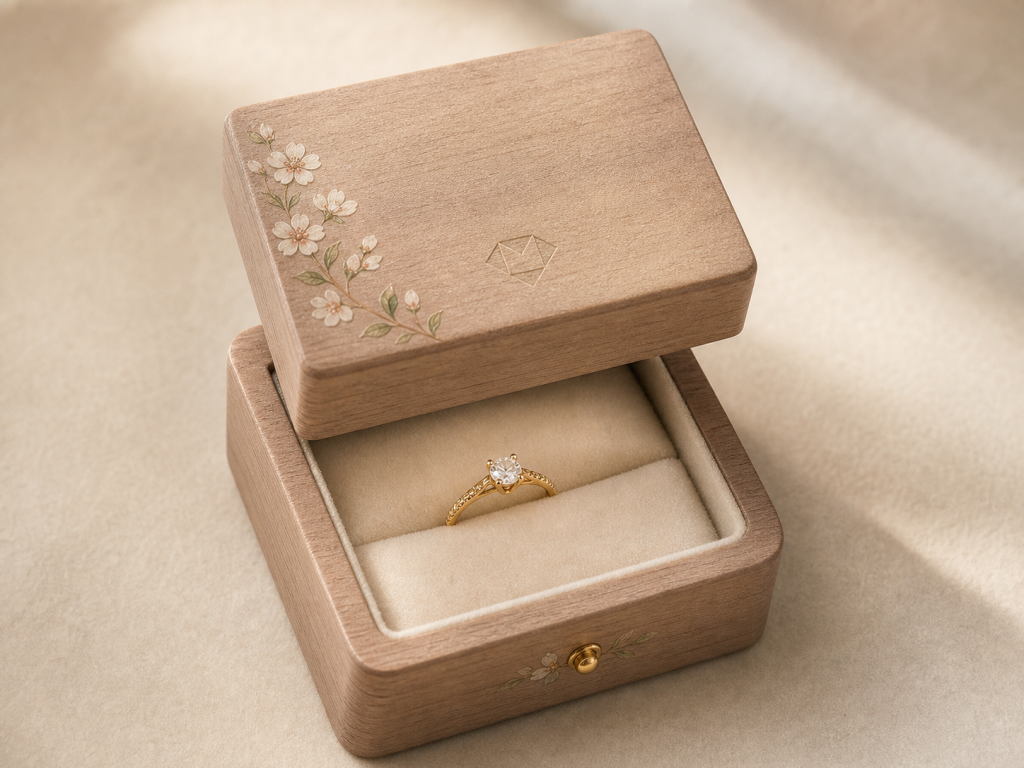
Floral hand painting works when the flowers act like a frame. Small blossoms around the lid edge, one corner, or a drawer pull usually look better than flowers across the whole box.
For bridal jewelry and keepsake gifts, soft colors do the heavy lifting:
The scale is the whole game. If the flower is larger than the pendant or ring inside, the eye goes to the box first. That is backwards.
A small vine near a ring slot can make an engagement ring feel more personal. A single painted bloom on a necklace box can make a spring collection feel giftable without turning the package into a craft project.
For a jewelry brand, floral artwork can move beyond the box. The same flower can become a printed sleeve, tissue pattern, thank-you card border, or seasonal outer carton. The original brushwork gives the idea warmth. Production gives it control.
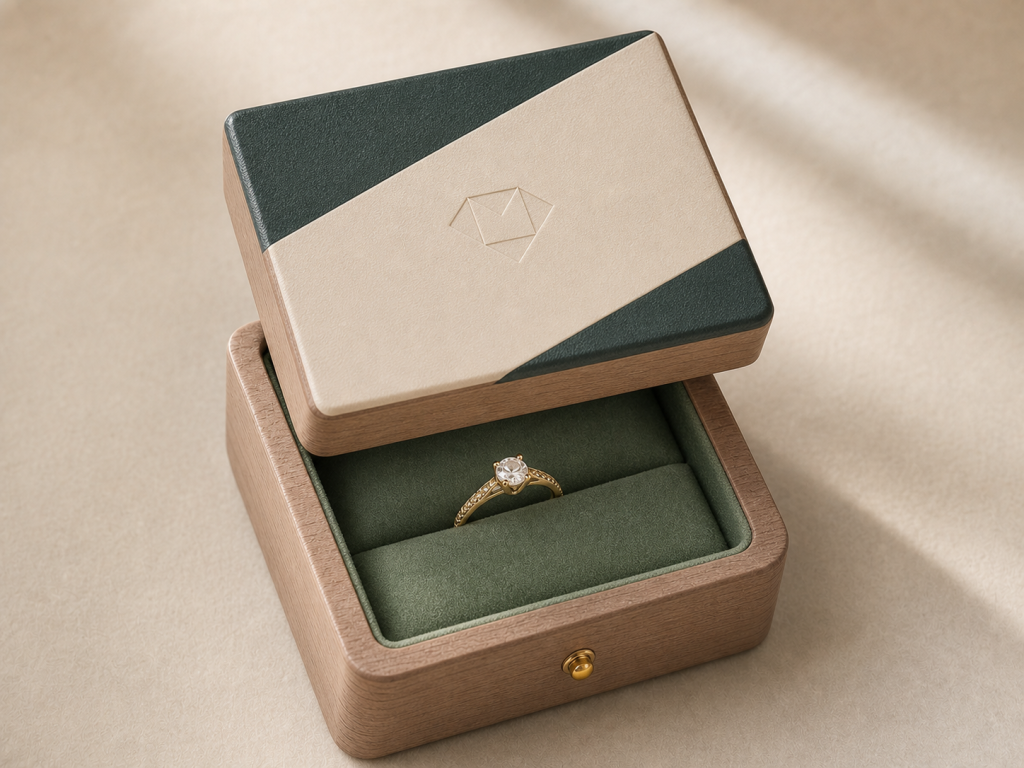
Geometric color blocking is the cleanest choice for a modern jewellery box. It gives you edges, panels, and a natural place for a logo.
Use painter’s tape for:
The best color pairs usually have one quiet shade and one accent. Black with champagne looks sharper than black with bright yellow. Ivory with olive feels calmer than white with neon green. Navy with soft gold works well for watches, men’s jewelry, and evening collections.
Here is the small thing buyers notice: tape bleed. Clean lines look premium. Fuzzy lines look rushed.
Press the tape edge down with a plastic card before painting. Pull the tape while the paint is still a little soft. If the paint fully hardens, the edge can lift.
For a jewelry brand, this style is easy to scale. Color blocks can become printed panels, wrapped paper panels, foil lines, or a rigid box layout with a fixed logo zone. A supplier can repeat panel size and color position across bulk boxes far more easily than freehand art.
A vintage distressed finish works when the jewelry already carries a little history. Antique rings, pearls, lockets, and heirloom-style pieces all fit the mood.
Do not sand the life out of the box. That is the common mistake.
Light wear should appear where real hands would touch the box: corners, drawer pulls, lid lip, feet, and hinge area. The inside should stay cleaner than the outside.
Good base colors include:
Use chalk-style paint for a softer matte surface. Add wax or a matte topcoat after distressing.
Working jewelers are picky about the inside for a reason. A rough drawer base can scratch a chain. A dyed lining can rub onto pale jewelry cards. A strong glue smell can make even a good ring box feel cheap.
For brand packaging, vintage should look intentional. Velvet lining, warm metallic logo stamping, and aged paper color can feel refined. Random scuffs and mismatched hardware can feel like a thrift flip.
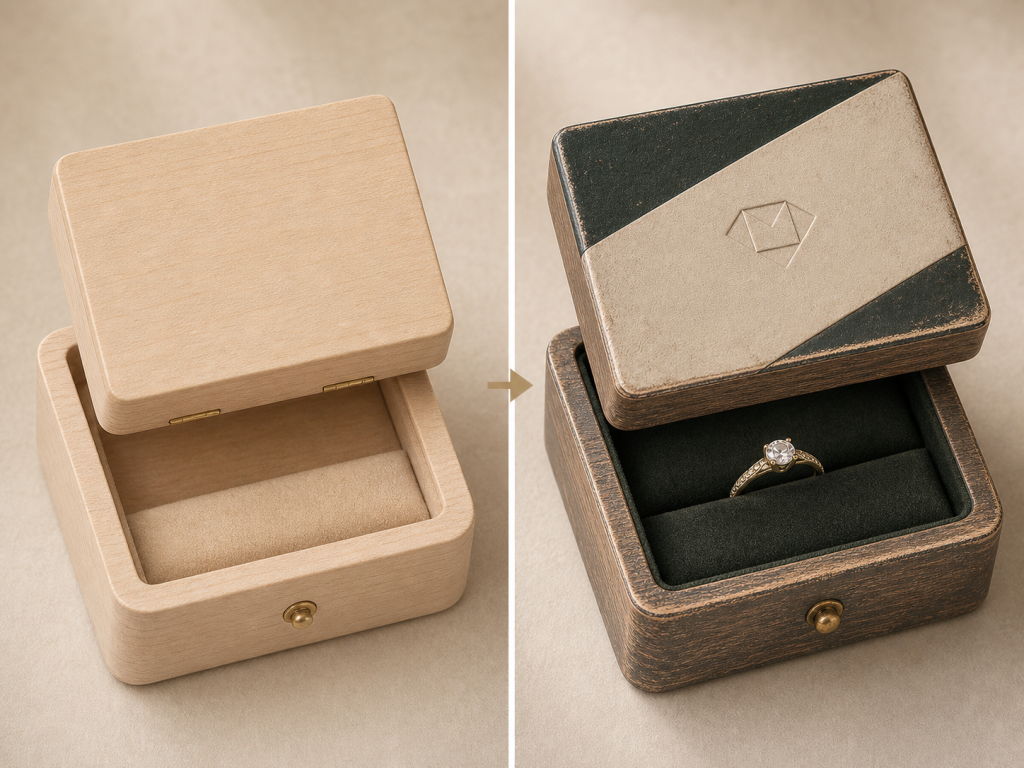
Metallic paint should behave like jewelry. A little can carry the whole look.
Use metallic accents on small surfaces:
Champagne gold, pale bronze, soft silver, and warm pewter usually look safer than bright craft gold. Bright yellow gold can look harsh under cool light. It can also make a low-cost box look louder instead of better.
One simple test helps. Place the painted box beside the jewelry under the same light you use for product photos. If the metallic trim reflects more than the stone, reduce it.
Holiday boxes often miss this. Gold appears on the lid, ribbon, sticker, card, tissue, and shopping bag. The customer sees shine everywhere and focuses nowhere.
For production, metallic paint often becomes foil stamping, metallic ink, edge detailing, or a metallic paper wrap. The result is cleaner, more durable, and easier to keep consistent in cartons.
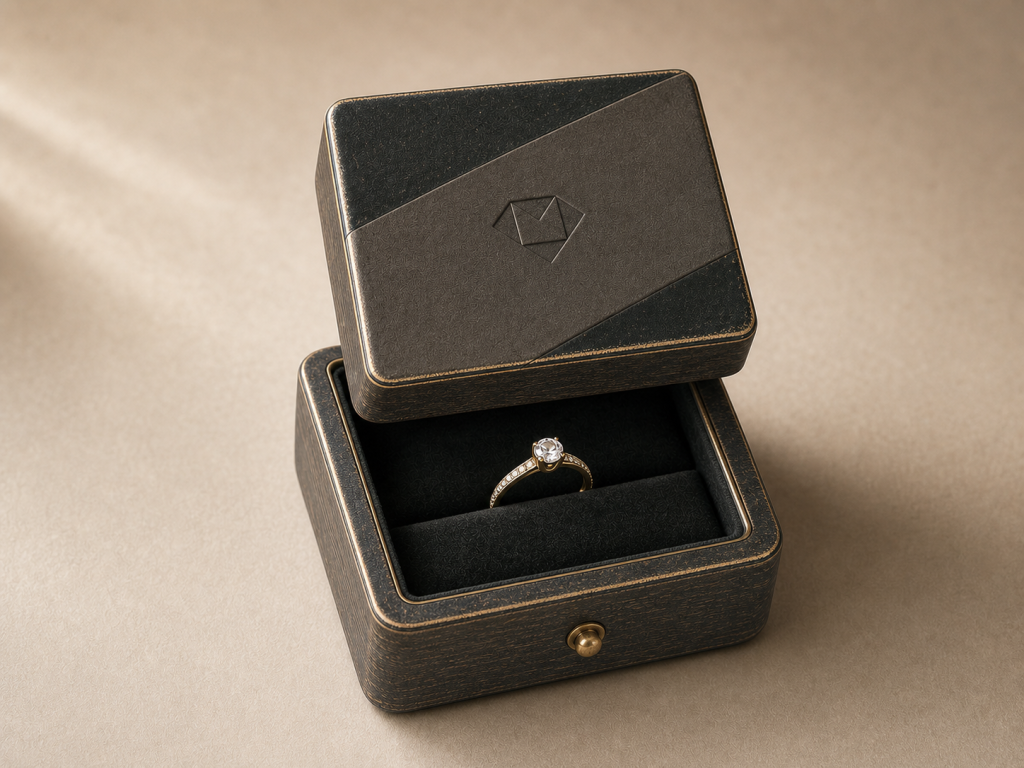
Monogram painting works because it solves a real gift problem. People want the box to feel made for one person.
Keep the mark small. A centered initial, two-letter monogram, date, or simple logo mark is enough.
Empty space is not wasted space. It is what makes the personalization feel calm.
For personal gifts, initials and dates work well. For retail packaging, a logo mark or short wordmark is safer. Large painted names can feel sweet for bridesmaid gifts, but they rarely work for resale packaging.
Use a stencil if the box is small. Freehand letters can look charming on a keepsake box. On a brand box, uneven letters usually read as a sample mistake.
When a brand moves from one painted monogram to bulk packaging, the method should change. Painted marks usually become pad printing, screen printing, foil stamping, debossing, or a printed paper wrap. The real question is not “Can we paint the logo?” It is “Which method gives the same look across the full order?”
Ask for a sample with the final logo size. Small lids punish oversized logos. A mark that looks balanced on a screen can feel cramped on a 2-inch ring box.
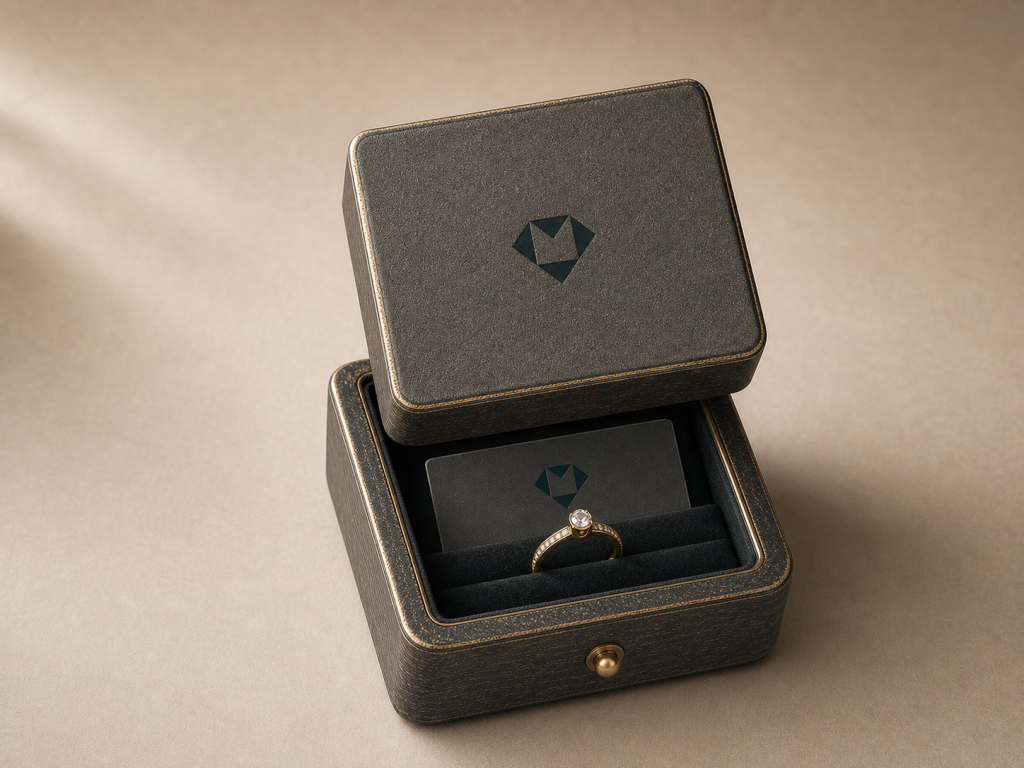
The best paints for a jewellery box are acrylic paint for fine details, chalk paint for a matte vintage look, and high-quality spray paint for a smooth, uniform finish. The right choice depends on the base material, because MDF, solid wood, and cardboard absorb paint in different ways.
That is where many paint jobs fail. People choose a color before they understand the surface.
| Base Material | How It Takes Paint | Primer Need | Best Paint Direction | Watch Out For |
| MDF | Absorbs paint through cut edges and can swell if too wet | High, especially on edges | Primer plus acrylic, chalk paint, or spray paint | Swollen edges, fuzzy corners, heavy brush marks |
| Solid Wood | Absorbs unevenly through grain and old finish | Medium to high if varnished | Sanding, primer, acrylic, chalk paint, stain-style finish | Grain bleed, old wax, uneven color |
| Cardboard | Absorbs fast and can warp with wet coats | Medium, use a light primer or sealed surface | Thin acrylic layers, spray paint from a distance, printed wrap | Warping, soft corners, visible moisture marks |
| Paper-wrapped rigid box | Depends on the coating and paper texture | Low to medium after testing | Light acrylic detail, surface paper, printed wrap | Peeling, scuffing, poor adhesion |
| Plastic or glossy coating | Paint sits on top instead of soaking in | High-bonding primer needed | Spray paint made for slick surfaces | Scratching, flaking, slow cure |
MDF is common in affordable jewellery boxes because it gives a smooth shape at a lower cost. The weak point is the edge. Cut edges drink paint faster than flat panels, so primer matters.
Solid wood feels warmer and can handle distressing better. It also carries grain, old varnish, wax, and natural color shifts. Sand lightly and test one hidden area before painting the full lid.
Cardboard and paperboard boxes need restraint. Too much wet paint can warp panels or soften corners. For these boxes, a printed wrap, light acrylic detail, or controlled spray finish usually looks cleaner than heavy brush painting.
| Paint or Finish | Best Use | Watch Out For |
| Acrylic paint | Flowers, monograms, tiny motifs, color details | Brush marks if applied too thick |
| Chalk paint | Vintage, matte, distressed boxes | Needs sealing if handled often |
| Spray paint | Smooth full-color coverage | Overspray, odor, uneven corners |
| Metallic paint | Borders, trim, small accents | Can look cheap across large areas |
| Paint pen | Initials, small lines, quick details | Uneven pressure can leave blobs |
| Clear topcoat | Scratch protection on the outside | Strong odor if used too close to the lining |
For craft paints, look for safety labeling. ASTM D4236 is a U.S. labeling standard for art materials that flags chronic health hazard information.
That does not mean every paint belongs inside a jewellery box. It is still a better start than an unlabeled bottle from a drawer.
Do not paint the jewelry-contact lining unless you know the material and coating. Paint can stay tacky, shed pigment, smell, or react with fabric glue.
Fine jewelry packaging has one quiet rule: the surface touching the jewelry should be boring in the best way. Soft, clean, low-odor, and stable wins.
Most bad makeovers fail before the first coat. The surface is oily, glossy, dusty, or still wearing old wax.
Use this cleaner process:
Thin coats matter. A thick coat hides detail, fills drawer gaps, and makes hinges sticky. On a small jewellery box, a little extra paint around the drawer edge can change how the box opens.
If the box has velvet, microfiber, or flocked lining, protect it before painting. Tape alone may not be enough because fine fibers catch paint mist. Use paper, low-tack tape, and patience.
Smell is the sneaky issue. The EPA advises more ventilation when using products that emit VOCs. A closed jewellery box traps odor, so a box can feel dry and still smell wrong.
Try a simple overnight test. Close the cured box with a clean white paper card inside. Open it the next morning. If the card smells, picks up color, or feels tacky, the box is not ready.
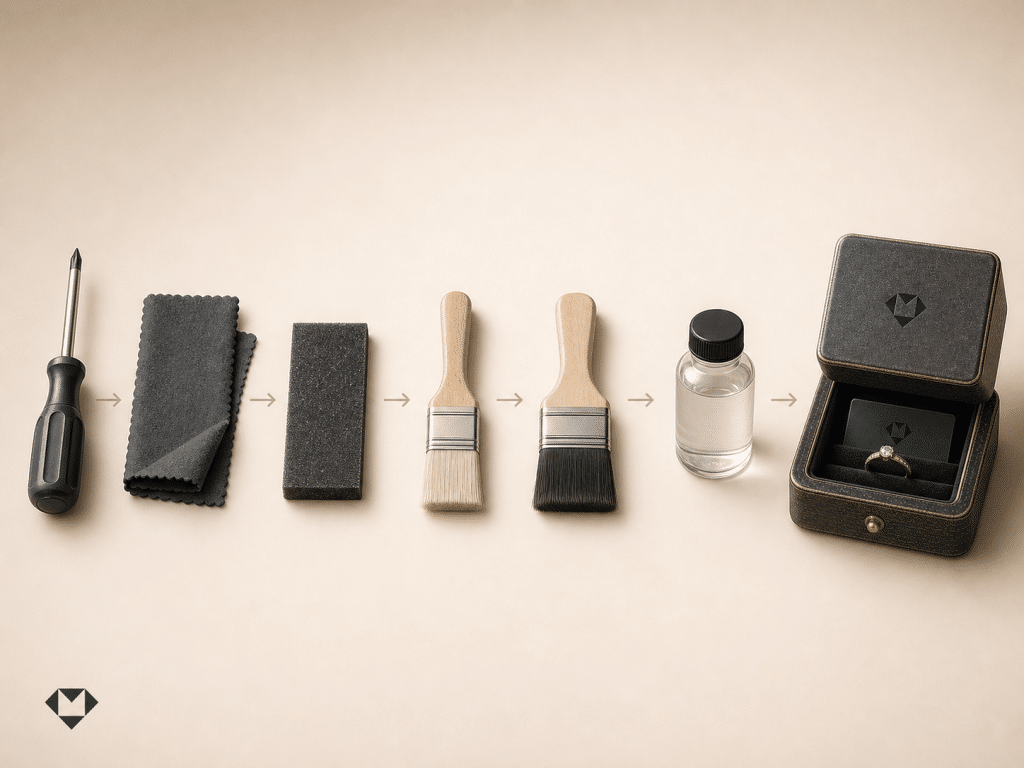
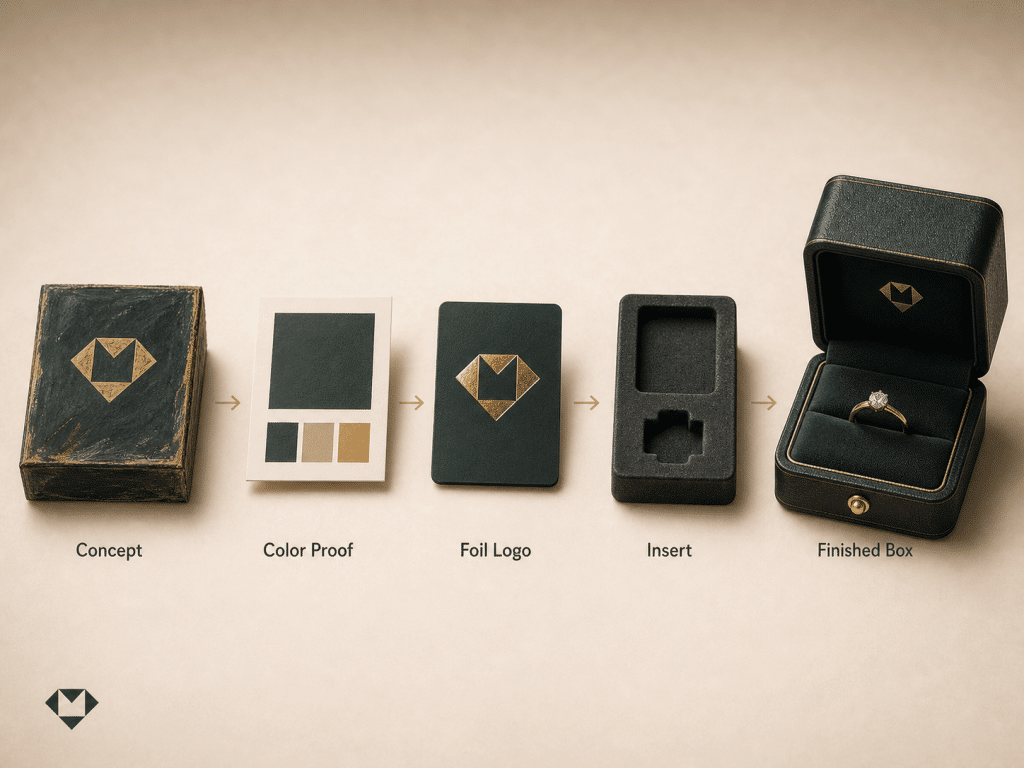
A painted box is a mood board. A custom jewelry box is a system.
That system needs repeatable color, a logo method, insert fit, lining choice, hinge feel, packing speed, and a sample that looks like the final order.
| DIY Idea | Brand Packaging Version | What to Check Before Bulk Order |
| Floral hand painting | Printed floral paper, sleeve artwork, tissue pattern | Pattern scale, color proof, logo readability |
| Geometric color blocking | Wrapped panels, printed color blocks, two-tone rigid box | Panel alignment, color drift, corner wrapping |
| Vintage distressed finish | Matte paper wrap, warm foil, velvet insert, aged color palette | Whether the effect looks intentional or not damaged |
| Metallic accent painting | Foil stamping, metallic ink, edge detail, metal hardware | Rub resistance, glare, logo sharpness |
| Monogram or logo painting | Foil, debossing, pad printing, screen printing | Logo size, position, surface compatibility |
A jewelry buyer may love a painted sample because it has hand energy. A warehouse team may hate the same sample if the finish scuffs in cartons or slows packing.
Both reactions matter.
In sample reviews, the failure points are usually small and annoying:
Ask for one pre-production sample before approving a larger run. Check it with the real jewelry, not a placeholder. Put the ring, necklace, bracelet, or earrings inside and open the box the way a customer would.
A good supplier brief should include:
For a one-off gift, a careful DIY finish is enough. For a launch, retail set, seasonal campaign, or wholesale program, use a packaging partner that can control structure and finish together.
Start with RichPack’s jewelry boxes if you need a full box direction. Use custom jewelry boxes with logo when the main issue is brand consistency.
If the painted idea needs structural work, RichPack’s package design and custom projects pages are better starting points than a stock catalog.
If the jewelry moves inside the box, choose custom jewelry box inserts before choosing lid artwork.
For smaller gift packaging, wholesale small jewelry gift boxes can help bridge from DIY inspiration to brand-ready presentation. For finish decisions, RichPack’s guide to jewelry box finishes gives a better production lens than paint alone.
The easiest mistake is painting too soon. Clean first. Sand if needed. Prime when the surface asks for it.
The second mistake is making the box more interesting than the jewelry. A box should build the moment, not steal it.
Avoid these problems:
A quick photo test catches many issues. Place the painted box next to the jewelry and take one phone photo under natural light. If your eye goes to the box first, simplify the box.
For sellers, ask whether the look can survive five moments:
If the answer is no, keep the DIY box for gifting and build a cleaner production version for the brand.
Use acrylic paint for small artwork, chalk paint for a matte or vintage look, and spray paint for smooth full coverage. Add a clear topcoat on the outside if the box will be handled often.
Do not paint jewelry-contact lining unless you know the coating is safe, dry, and stable. For fine jewelry, the inside surface should stay soft, clean, and low-odor.
Sand glossy, varnished, or slick surfaces lightly before painting. Sanding gives primer and paint something to grip.
Do not aggressively sand unknown old paint indoors. If the box is vintage and already painted, treat the old coating with care and avoid creating dust unless you know what the coating is.
Seal the outside with a clear topcoat that matches the paint type. Matte topcoat works well for vintage boxes. Satin or gloss can work for cleaner modern styles.
Let the coating cure before closing the box with jewelry inside. A finish can feel dry on the surface but still trap odor in a closed box.
Use fewer colors, cleaner edges, and smaller details. Leave empty space around the artwork or logo.
For a premium look, match the outside finish with the inside lining. A soft velvet or microfiber insert can make a simple painted lid feel far more polished.
Yes, but the method usually changes. A hand-painted flower can become printed artwork. A painted monogram can become foil stamping, debossing, screen printing, or pad printing.
For larger orders, ask for a real sample with the final logo size, lining, insert, and finish. That sample should be checked with the actual jewelry before production starts.
The best jewellery box painting ideas start with the jewellery, not the paint. Floral painting adds softness. Geometric color blocking gives a clean, modern look.
Vintage distressing creates warmth. Metallic accents add value when used lightly. Monograms make the box feel personal.
Prep decides whether the result feels polished. Clean the surface, understand the base material, sand glossy areas, use thin coats, protect the lining, and let the finish cure before jewelry goes inside.
For one gift, a painted box can be charming. For a jewelry brand, the smarter move is to turn the idea into a repeatable packaging system: stable color, clean logo method, protective insert, low-odor materials, and a sample that proves the box works before the order scales.
If your painted concept is ready to become brand packaging, RichPack can help turn the idea into custom jewelry boxes, inserts, gift boxes, and finished samples that fit the jewelry instead of just decorating the outside.


2025-04-03

2025-04-09
2024-12-24
2025-08-05
2025-04-30
2024-12-11
Chic Earring Gift Boxes: Exceptionally Secure and Ultra – Fashionable Jewelry box for Every Earring Ensemble
View More
Elegant Necklace Display Stand for Showcasing Your Jewelry Collection – Customizable Jewellery Necklace Display Stands Perfect for Commercial or Domestic Use
View More
Jewellery Gift Box Necklace White | Custom Packaging by Richpack
View More
Luxurious Jewellery Box for Earrings and Rings | Gold Jewelry Boxes Custom Sizes & Materials Earring Jewelry Box Design by Richpack
View More
Simple Design Packaging Solutions of How to Cover Books with Paper Bags | Eco-Friendly and Stylish Solutions for Book Protection
View More
Slider Paper Gift Box With Handle – 9x9x3.5cm Cardboard Drawer Jewelry Box With Handle
View More

