


Jewelry packaging size is the finished box’s length, width, and height, specified separately for its exterior and interior. Choose the size around the jewelry’s display position, installed insert, and lid clearance, then confirm the assembled fit with a physical sample.
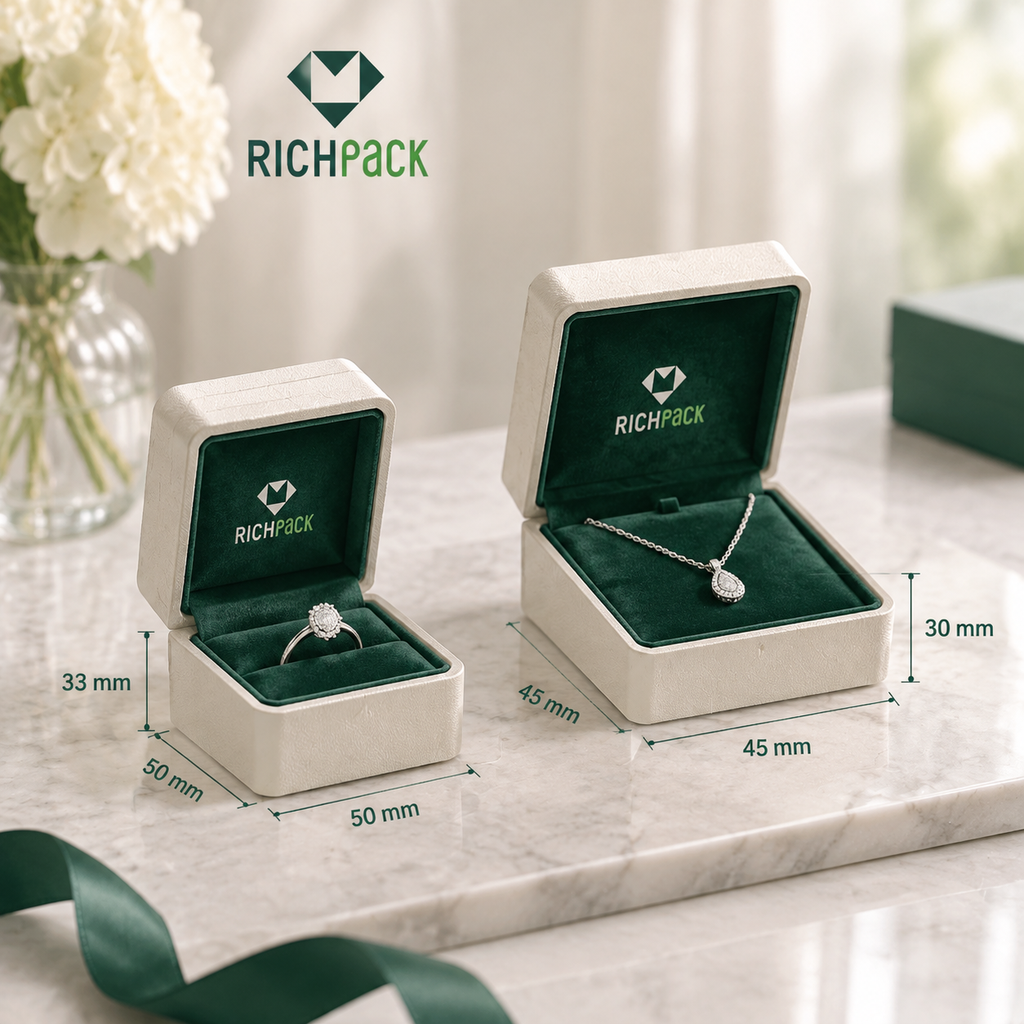
Reference box dimensions provide a starting point for selection. Examples include a compact ring box at 50 × 50 × 33 mm and a larger ring box at 59 × 59 × 38 mm, measured externally. The table compares nine example configurations with exterior and interior dimensions listed separately. Use these figures as planning references; confirm the finished box and insert with your actual jewelry.
| Jewelry type / catalog example | Exterior L × W × H (mm) | Exterior (in, approx.) | Published interior (mm) | Main fit check |
| Compact ring | 50 × 50 × 33 | 1.97 × 1.97 × 1.30 | 45 × 45 × 30 | Setting height and ring removal |
| XL ring | 59 × 59 × 38 | 2.32 × 2.32 × 1.50 | 53 × 53 × 35 | Taller or wider ring configuration |
| Stud earrings / charms | 50 × 50 × 22 | 1.97 × 1.97 × 0.87 | 44 × 44 × 20 | Post and backing clearance |
| Earrings / pendant | 65 × 65 × 25 | 2.56 × 2.56 × 0.98 | 59 × 59 × 23 | Drop length or pendant relief |
| Necklace / bangle | 86 × 86 × 26 | 3.39 × 3.39 × 1.02 | 82 × 82 × 23 | Rigid shape and lift-out path |
| Watch / bangle | 90 × 90 × 57 | 3.54 × 3.54 × 2.24 | 86 × 86 × 55 | Watch, support and closed-lid height |
| Jewelry set | 130 × 130 × 32 | 5.12 × 5.12 × 1.26 | 124 × 124 × 27 | Separate zones for every item |
| Chain bracelet | 225 × 50 × 22 | 8.86 × 1.97 × 0.87 | 220 × 46 × 19 | Clasp position and natural chain path |
| Oblong necklace | 225 × 85 × 27 | 8.86 × 3.35 × 1.06 | 220 × 80 × 25 | Supported chain route and clasp |
Measurement scope: All dimensions follow the source’s length × width × height order. Inch values are rounded conversions from millimeters. The published interior is a box reference, not a guarantee of space above the installed insert. For example, the compact ring box lists a 45 × 45 × 30 mm interior and a separate 15 mm foam depth. The foam profile and ring slot still determine where the jewelry sits. Request a section drawing or inspect the sample before interpreting interior height as free headroom. Hoops, cuffs, and unusual sets may need profiles beyond these examples.
For a product-led comparison of available formats, browse RichPack’s jewelry box collection after defining the fit your piece needs. The collection is a first-party commercial resource, not a substitute for checking the final inside dimensions and insert.
This guide uses those benchmarks to compare jewelry types, then explains installed fit, collection size families, and sample approval so you can prepare a usable box specification.
Start with the jewelry’s resting shape and presentation angle. The same category can need a different box when its setting, chain length, clasp, or display position changes.
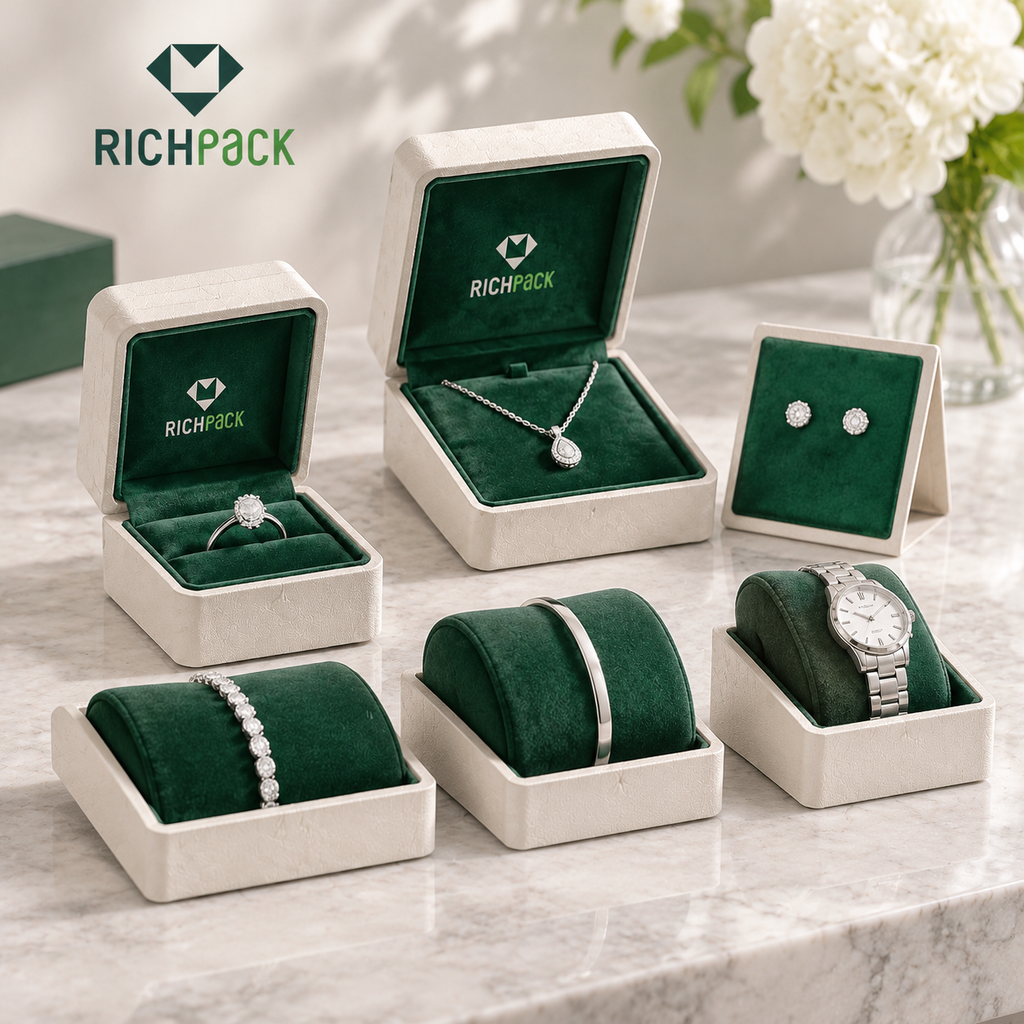
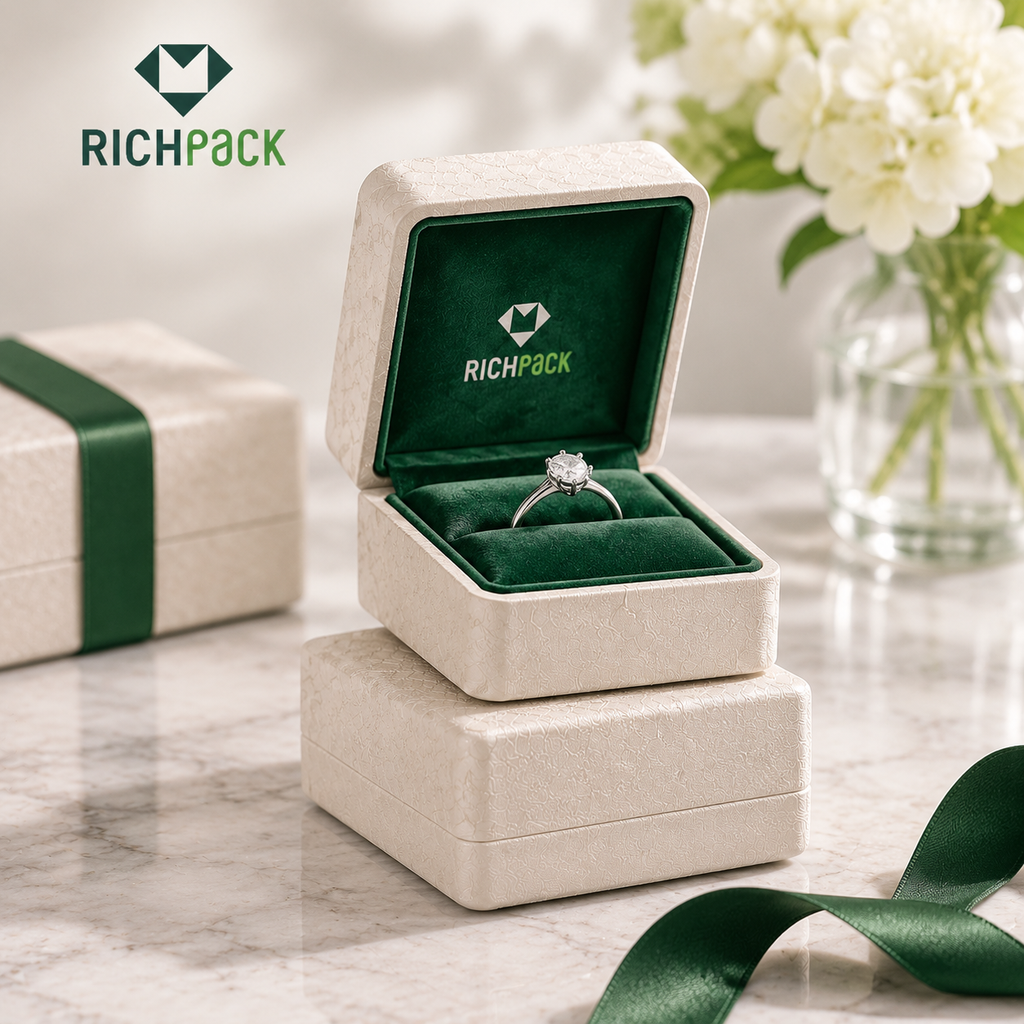
A ring box usually uses a compact footprint, while its depth depends on the ring’s tallest point and the insert. Check the center stone, prongs, shoulders, and band width against the usable cavity. A ring slot should hold the band upright without making removal awkward. For a pair or bridal set, plan the layout around both rings and the way they will be shown together.
For a RichPack example, our Pink Velvet Ring Gift Box is described with a 2.15 × 2.15 × 1.65 in exterior silhouette, approximately 54.6 × 54.6 × 41.9 mm. Those dimensions describe the case; its usable cavity and setting clearance must be confirmed separately for your ring.
Studs, hoops, and drop earrings should not be treated as one fit. Studs need room for their posts and backs. Hoops need enough width for their diameter and closure. Long drops need vertical clearance and a position that prevents the pair from overlapping. Choose a card, pad, or hanging insert only after deciding how the earrings should face when the box opens.
A pendant-only presentation can use a compact footprint if the pendant rests securely on a pad or card. If the chain is part of the display, the box also needs a route for the chain and a place for its clasp. Pendant relief and bail height matter because they can contact the lid even when the pendant’s front face appears small.
A full necklace often needs an elongated display path, while a pendant necklace may be arranged more compactly if the chain is supported. Decide whether the necklace will lie on a card, follow a channel, or be arranged around a central pendant. Check the clasp and chain path as part of the fit; a box that holds the pendant but leaves the chain loose does not solve the full packaging task. If a shared outer format is under consideration, compare each insert layout with the actual necklace before reusing it.
A flexible chain bracelet can lie in a narrow channel, follow a card, or coil on a cushion. Its total length matters less than how the clasp and links sit in the chosen arrangement. Leave enough room for the bracelet to rest naturally, while keeping the closure accessible for the customer.
Rigid bangles and cuffs need a profile that follows their shape, opening, and width. The insert should support the piece without making the customer flex it or pull it against the box wall. For an open cuff, check the opening as well as the outside curve because the insert may need to pass through or sit inside that opening.
A watch box needs space for the case, crown, strap or bracelet, and pillow as one assembly. A pillow can change both the occupied footprint and the overall height. Try the actual watch on the intended pillow, close the box, then inspect the crown and crystal area for contact. One watch pillow profile should not be assumed to fit every case or strap.
Plan a gift set around its full layout rather than averaging the dimensions of its pieces. Assign a zone to each ring, pair of earrings, pendant, or chain, then check whether dividers or pads keep them separated. The finished arrangement sets the footprint and lid depth. A set that combines a necklace and earrings may need more space for the chain route than the jewelry pieces’ individual footprints suggest.
A listed box measurement is useful only when you know what it measures. For product fit, the relevant space is the interior that remains after the final insert is installed; for storage or shipping planning, the outside footprint matters too.
Inside dimensions describe the cavity available to the product and insert. Outside dimensions describe the box’s overall footprint, including its walls and exterior finish. Those measurements answer different questions: use the inside to assess jewelry fit, and the outside to plan display, storage, or the next packaging layer.
For a broader comparison of published box measurements, see our jewelry box dimension references. Treat any listed size as a reference for its stated box and measurement scope, then check your own assembled fit.
When requesting or comparing a specification, label both sets of dimensions and state whether the insert is included. A product may fit within a box’s outside length and width while still hitting a wall, pad, or lid inside it.
Record length and width with the box in its intended presentation orientation, then identify depth from the base toward the closed lid. A drawer box, hinged box, and upright display box can present the same object in different orientations. State which side faces the customer when opened so the measurement order remains clear across drawings, samples, and reorders.
For a step-by-step measurement method, see our jewelry box measuring guide. Use that process to document the box; use the fit checks in this guide to decide whether the assembled package works for a specific piece.
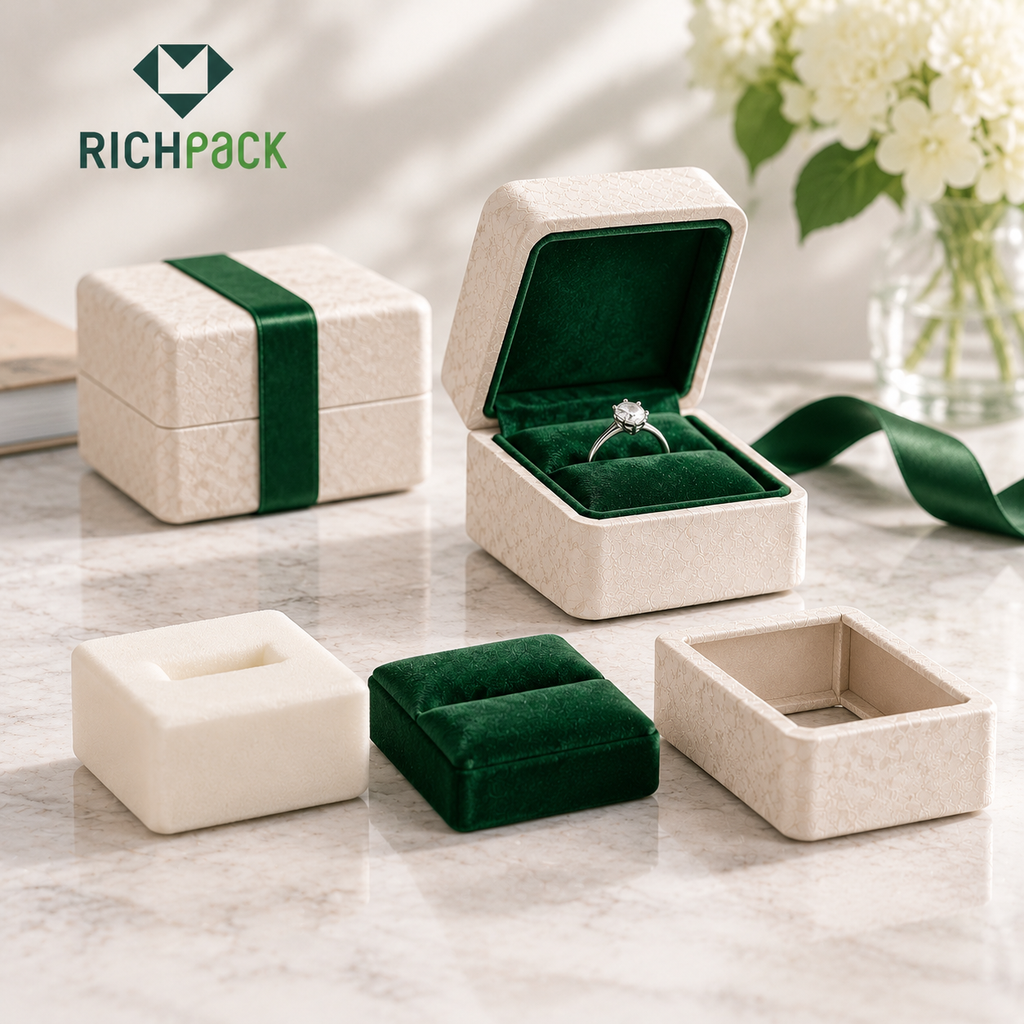
Usable interior space is the room available in the final box-and-insert configuration. A ring slot, earring pad, necklace board, bracelet cushion, or watch pillow changes where the jewelry sits. Confirm the insert and its installed position before comparing cavity dimensions.
RichPack’s insert options include custom die-cut EVA foam, velvet and suede, cardboard, and molded-pulp or recycled-paper alternatives. Our published customization process includes physical prototyping before production. For a sizing brief, ask us to compare the complete insert construction with the actual jewelry; a material name alone does not specify its finished thickness or fit.
Insert construction changes the dimensions you need to approve. Compare the supporting core, covering, and installed position together, especially when changing materials while retaining the same outer box.
| Insert option | Size detail to specify | Check on the finished sample |
| EVA foam | Material grade or density, core thickness, cutout shape and depth | Retention and removal force; cavity position relative to the lid |
| Velvet or suede over a core | Core material, covering thickness, seams and wrapped edges | Finished opening and support height; measure without flattening the pile |
| Paperboard or molded-pulp alternative | Board thickness and folds, or the molded profile | Actual pocket dimensions, support height, and separation between pieces |
A covering adds to the surfaces it lines. Illustrative geometry: adding 1 mm of covering to each of two opposing faces reduces a rigid opening’s width by 2 mm, before considering compression or other layers. This example explains the geometry; it is not a measured RichPack fabric thickness or tolerance. Recheck a foam-to-paper insert change with the jewelry installed, and confirm the complete assembly’s recycling requirements for the target market.
If a base box may serve several SKUs, review every box-and-insert combination as its own assembly. Our custom jewelry box insert options can help you compare insert formats for the jewelry types in your assortment; the final fit still needs to be checked with the actual product.
The highest feature can determine whether the lid closes cleanly. Check raised stones and prongs on rings, the crown on a watch, a thick clasp, or a dimensional pendant. Look for contact with the lid and for an insert that compresses or shifts when the box closes. Do not approve a drawing from the flat product outline alone when height affects the fit.
Dimensional tolerance is the permitted variation from an agreed nominal size. Measurement uncertainty describes how confidently a measurement is known. Fit clearance is the space remaining around the installed jewelry. Specify these separately: a drawing’s tolerance is not a universal allowance to add to every ring box.
For a hypothetical rigid cavity, assume a finished opening of 54 ± 1 mm and a jewelry width of 50 ± 0.5 mm. The smallest opening is 53 mm and the largest item is 50.5 mm, leaving 2.5 mm total width clearance. That is across the whole opening, not per side. These are teaching assumptions, not an industry rule, an order tolerance, or proof of protection. A foam slot intentionally gripping a ring needs its own retention and removal criteria.
Agree the acceptable variation for the finished interior, insert cutout, support height, and lid position with the manufacturer. Record measurement points and tool resolution separately, and avoid compressing soft coverings during checks. If measurement uncertainty could use up the available clearance, improve the measurement or revise the fit before approval.
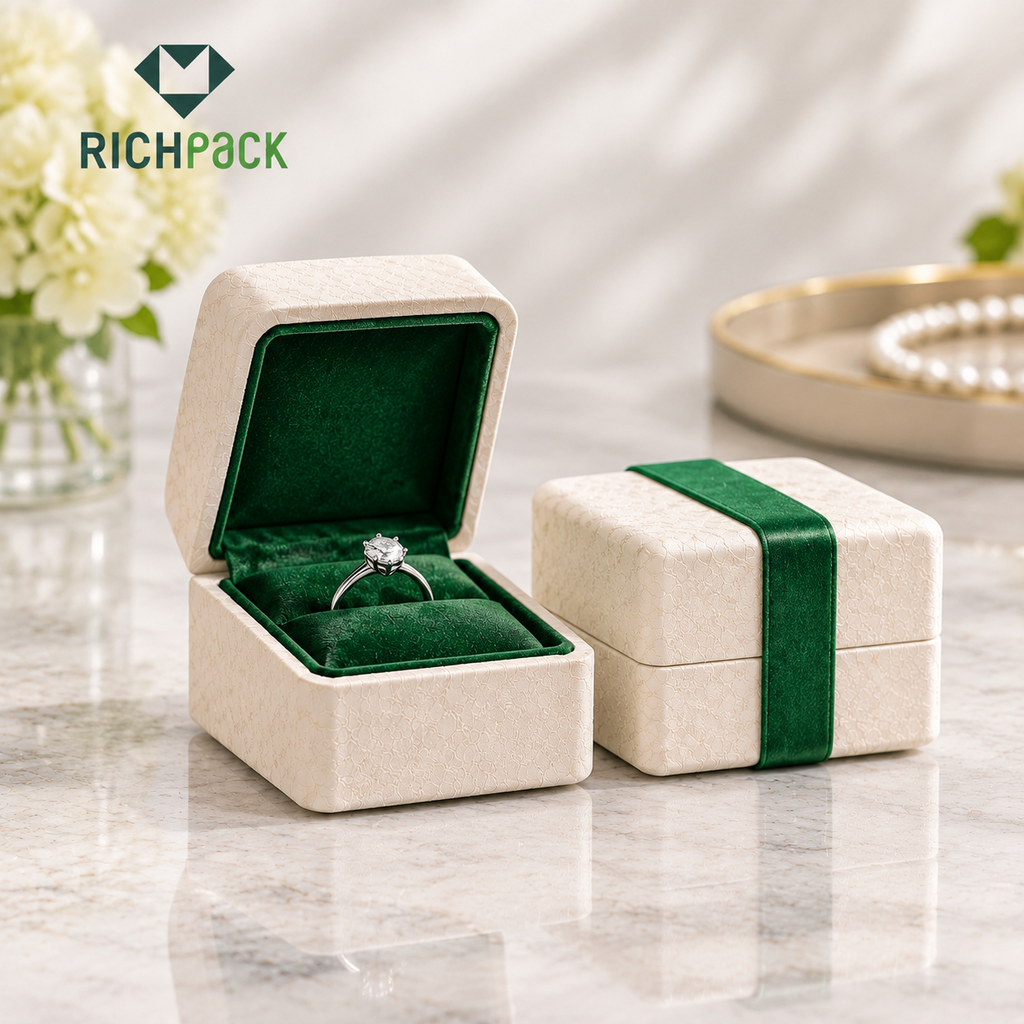
The piece should stay in its intended position during ordinary handling, but the customer also needs a practical way to remove it. Check whether fingers can reach the band, clasp, card edge, or pillow without pulling on a delicate setting or snagging a chain. If a tighter slot holds the item but makes removal difficult, revise the insert or presentation position and test the sample again.
A collection can share some box formats when the products and inserts genuinely fit. Build size families around related product shapes, then test the largest or most complex item assigned to each family. One outer box with different inserts may work for several SKUs, but that decision should be based on the assembled fit.
For each proposed family, identify the piece with the tallest feature, widest footprint, longest display path, or most demanding insert. Use that SKU to set the first sample brief. It is a planning reference, not proof that every smaller item will look well presented in the same cavity; check the other representative pieces for position and retention too.
A shared outer format can simplify a packaging range if each insert supports its assigned product. A ring slot and a flat earring pad occupy the box differently. A necklace card may also need a different orientation from a bracelet cushion. Compare each finished combination instead of assuming that an insert swap alone guarantees fit.
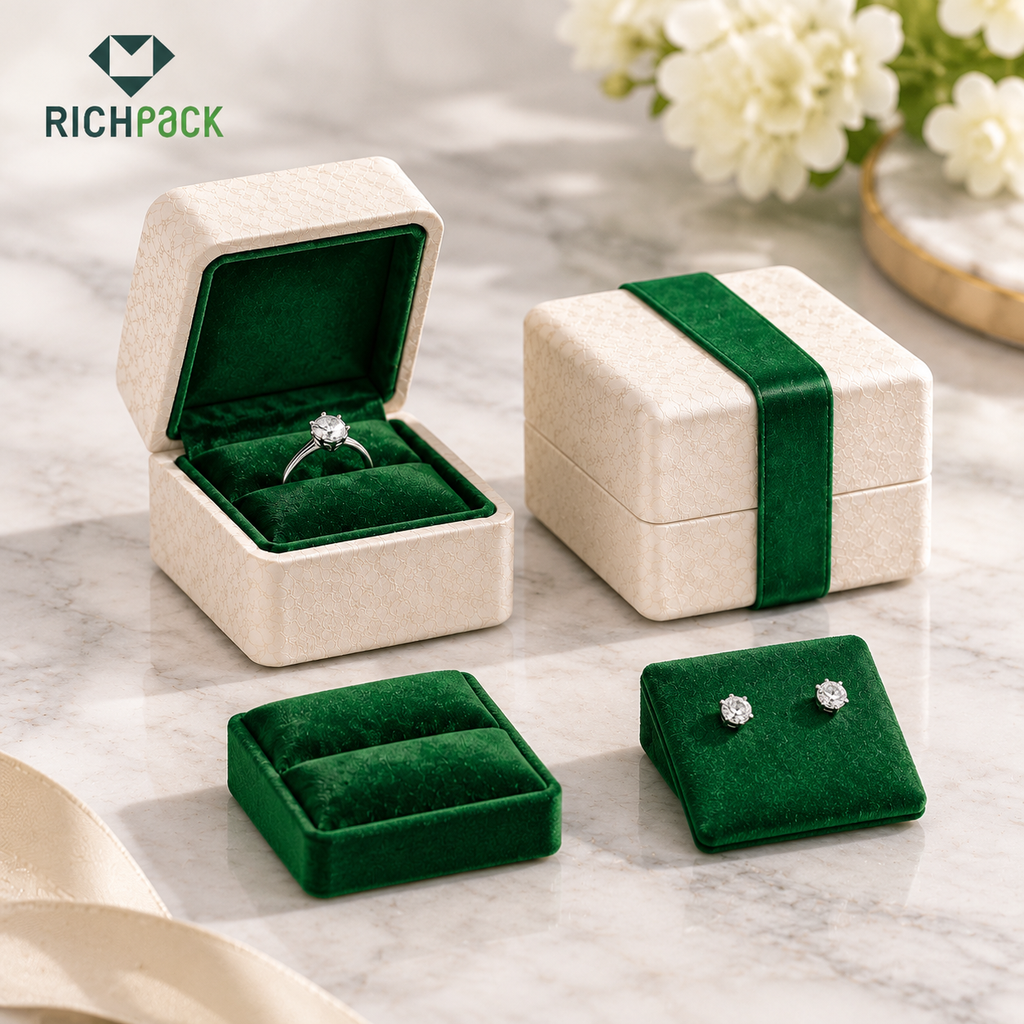
If boxes will be displayed together, compare their closed heights and how the products appear when opened. A coordinated range can use different footprints while keeping a consistent presentation. Check the display setup your team actually uses, such as a counter tray or shelf, and make sure the opening direction leaves the jewelry visible.
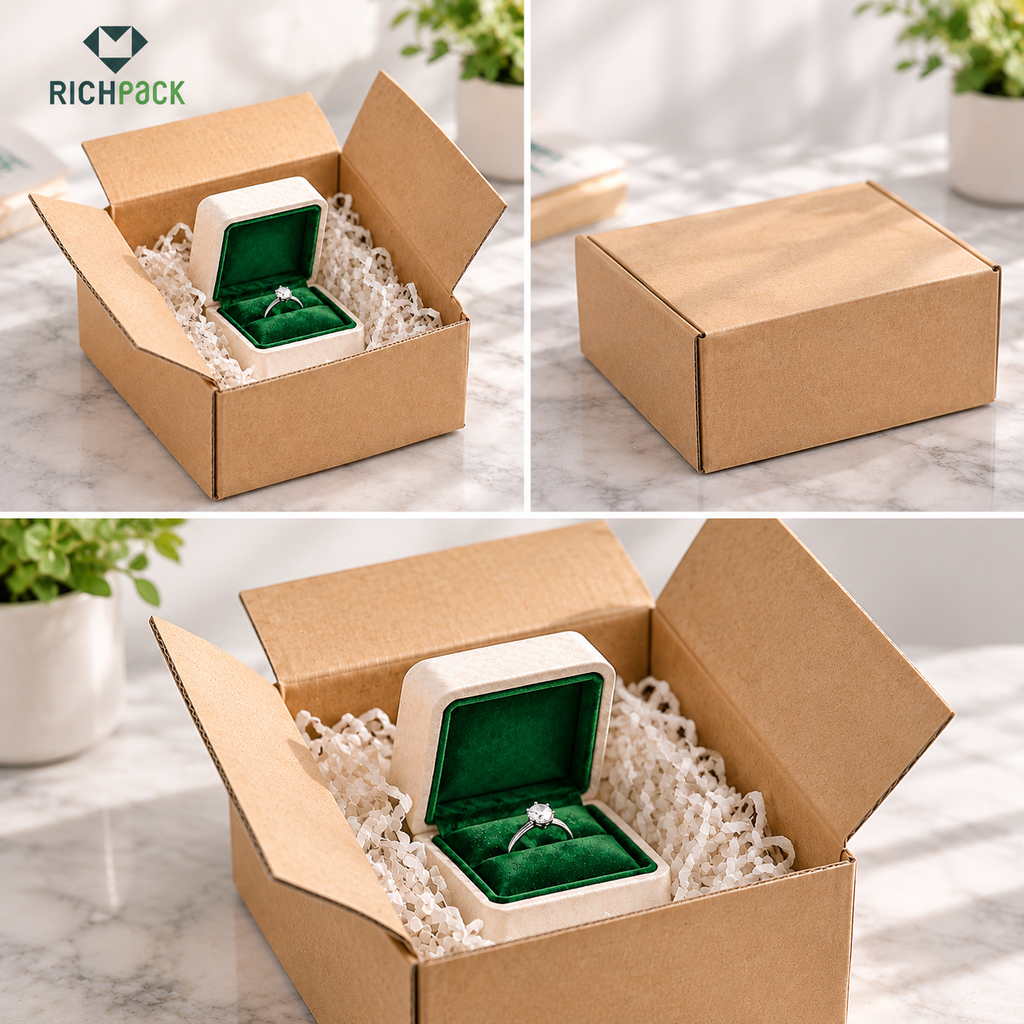
The presentation box holds and displays the jewelry. A mailer or outer shipper provides another packaging layer for delivery. Plan each layer separately, then check how the presentation box sits inside its shipping pack with the protective materials your order uses. Box dimensions alone do not establish a carrier rate or transit-test result.
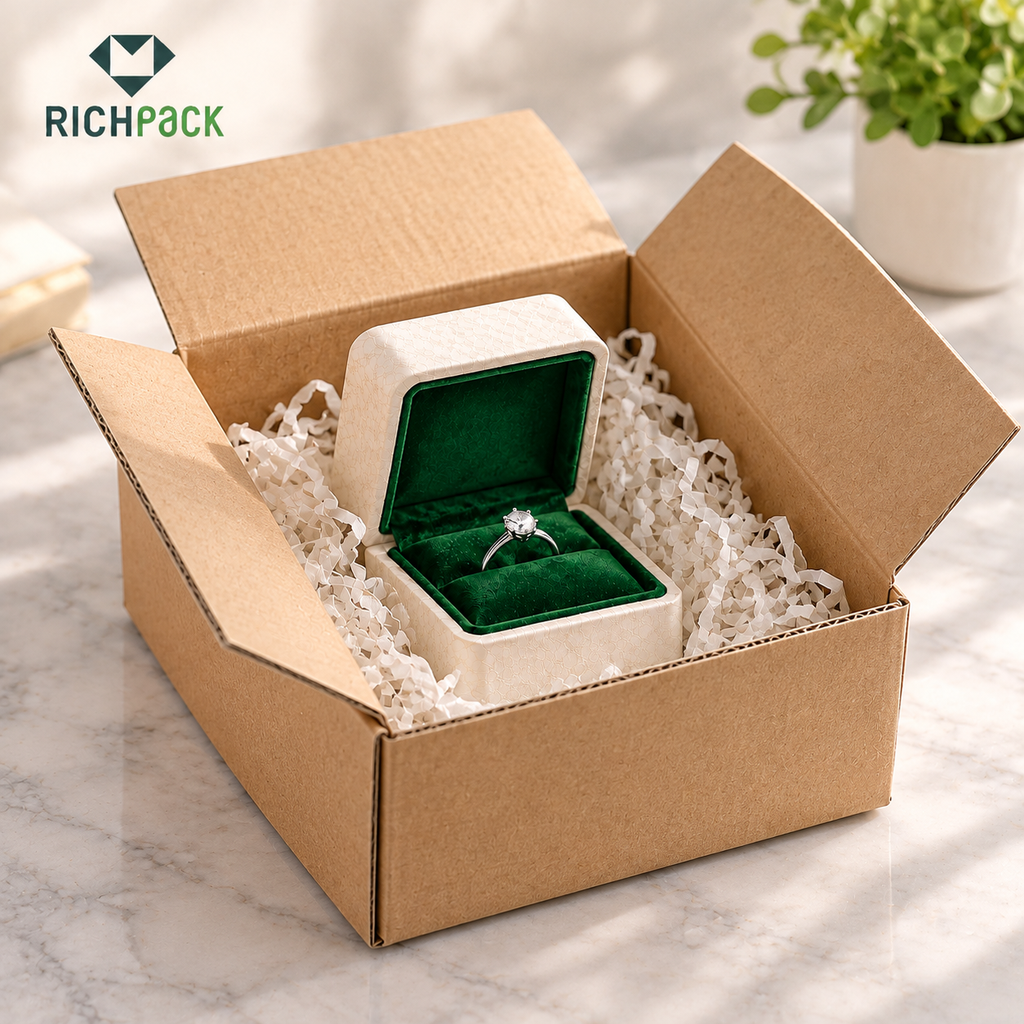
Consider a stock format when its verified interior and available insert work for the product and presentation. A custom format may be appropriate when the jewelry has an unusual profile, a multi-piece layout, or a brand presentation requirement that available formats cannot meet. Compare the actual sample, approved dimensions, insert, material, and order terms before committing. RichPack’s custom jewelry boxes with logo page describes a first-party packaging option; specific project scope and commercial terms must be confirmed for each order.
Review a physical sample with the actual jewelry and the final insert before approving the production specification. That check can reveal lid contact, shifting, or difficult removal that a drawing or outside dimension cannot show.
Select the largest or most complex SKU assigned to each proposed format, then place it in the sample with its intended insert. If one family covers several distinct shapes, include a sample for each insert configuration. This is a practical buyer check, not a claim about a RichPack test protocol.
Place the piece as the customer should find it. Check that it rests in the intended orientation and that the insert supports it without forcing the jewelry into a slot or bending a chain. Repeat the placement after removing the item once so the check reflects normal handling.
Close the box with the jewelry installed. Inspect tall settings, crowns, pendant relief, clasps, and the insert for contact or visible compression. Open it again and check whether anything shifted during closure. Record any adjustment needed to the cavity, insert, or product position.
Move the closed presentation box through the handling steps relevant to your own workflow, then open it and inspect the jewelry’s position. Make sure the item can be removed without snagging and that the first view matches the intended display. This simple fit check is not a substitute for a formal distribution or transit test.
Keep the approved box drawing or specification with the SKU family, interior and exterior dimensions, insert version, material and finish, sample revision, approver, and exceptions. That record gives your team a reference for reorders and makes it easier to spot a change before it reaches a new batch.
A jewelry box has no single universal size for every product. Published Boston ECO examples include 50 × 50 × 33 mm for a compact ring box and 225 × 85 × 27 mm for an oblong necklace box, both exterior dimensions. Use them as catalog benchmarks, then confirm the finished interior and insert with your jewelry.
Choose the profile from the way the necklace will be presented. A pendant-only layout may be compact; a full chain display needs room for the chain route and clasp, plus an insert that supports them. Check the assembled interior with the actual necklace before approval.
It should hold the jewelry and installed insert in the intended position, allow the lid to close without contact, and leave a practical way to remove the piece. The required size depends on the jewelry’s shape and presentation, so a general label such as “small” or “medium” is not enough to approve a fit.
Sometimes. One outer format may serve more than one item when the insert and orientation support each piece. Check each assembled combination for fit, lid clearance, retention, and removal before treating it as a shared box family.
Measure both when specifying a box. Use the inside dimensions to assess the jewelry and installed insert. Use the outside dimensions for storage, display planning, or the next packaging layer. State whether the insert is included in the dimensions you provide.
Yes. Use the actual jewelry and final insert to check placement, closure, contact, movement, and removal. Record the approved sample and specification so the production version can be compared with what your team reviewed.
Choose a starting profile from the jewelry’s shape, confirm the usable interior with the final insert, and approve the assembled fit with a physical sample. Record both inside and outside dimensions so the presentation box, collection plan, and shipping pack each have the information they need. If a stock format cannot meet the fit or presentation requirements, discuss a custom option with RichPack after defining the product, insert, and sample criteria.


 PREV
