Maintaining the pristine condition and aesthetic appeal of your cherished jewellery collection often begins with the box it calls home. Over time, the felt lining inside a jewellery box can become worn, stained, or simply outdated, diminishing the presentation and protection it offers. When this happens, understanding the best way to get felt out of a jewellery box and whether to clean, repair, or replace it entirely becomes crucial. This comprehensive guide will explore various methods for managing felt lining, from effective cleaning techniques to seamless removal and relining processes, ensuring your jewellery remains beautifully housed and protected.
A clean, attractive jewellery box not only preserves the beauty of your pieces but also adds significant value to your brand if you are a professional jeweller. By keeping the felt lining in excellent condition, you uphold the elegance and functionality of your packaging, making it worthy of the precious items it contains.
Understanding Felt Lining in Jewellery Boxes
Felt lining plays a critical role in both protecting and presenting jewellery. Understanding its unique properties and benefits is key to maintaining your jewellery box effectively.
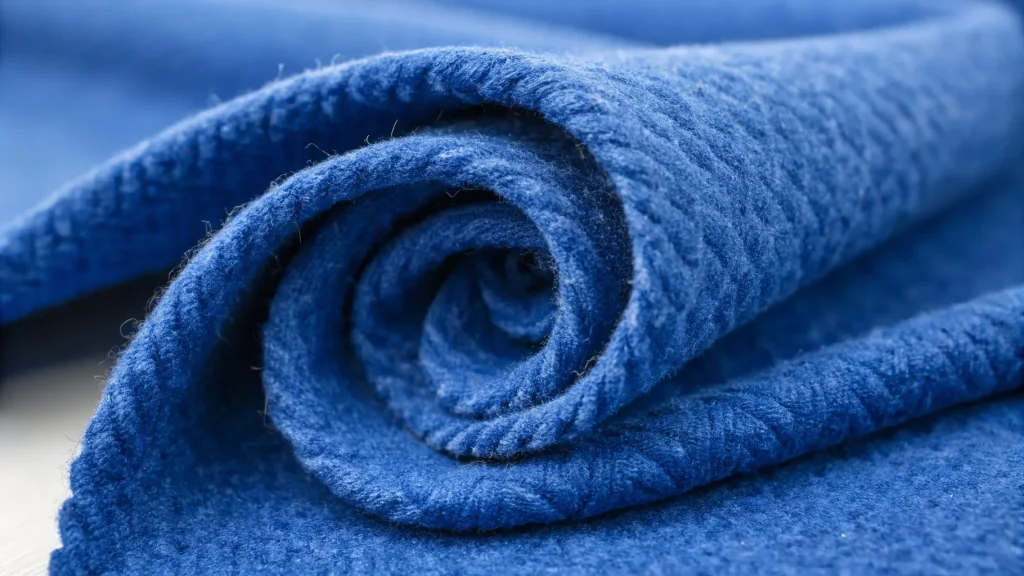
Felt Material Properties
Felt is a textile material commonly crafted from fibres such as wool, synthetic fibres, or a blend of both. Its dense structure is achieved through a process called felting, where fibres are compressed and interlocked using heat, moisture, and pressure. This interlocking process gives felt its characteristic durability and softness. The non-abrasive texture of felt makes it an ideal choice for lining jewellery boxes, as its fibres can absorb shock and prevent scratches on delicate jewellery surfaces. Furthermore, felt possesses excellent insulation properties, offering protection against temperature fluctuations. Felt is also available in various colours and thicknesses, allowing for customisation to align with a brand’s visual identity. Westpack, for instance, offers a range of felt materials suited to diverse jewellery packaging requirements.
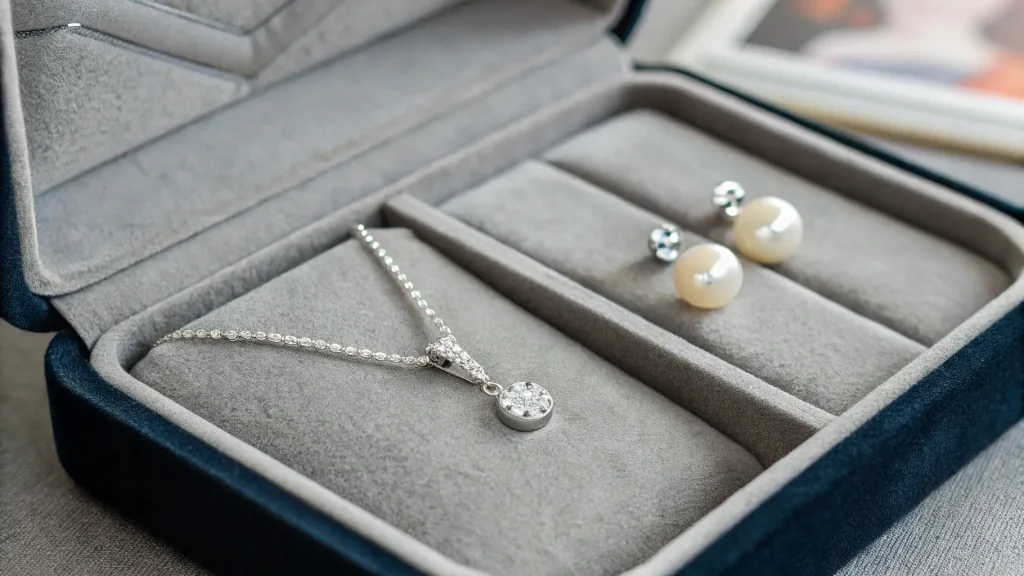
Benefits of Felt in Jewellery Boxes
One of the most significant advantages of felt lining is its protective quality. The soft texture of felt provides a cushion for jewellery, greatly reducing the risk of damage from accidental knocks or drops. Its non-abrasive surface ensures that your jewellery remains scratch-free, helping to maintain its pristine condition. Beyond physical protection, felt also exhibits excellent moisture-wicking properties, absorbing any moisture that might enter the box and thereby preventing tarnish and corrosion, which is particularly vital for metals like silver that are sensitive to humidity.
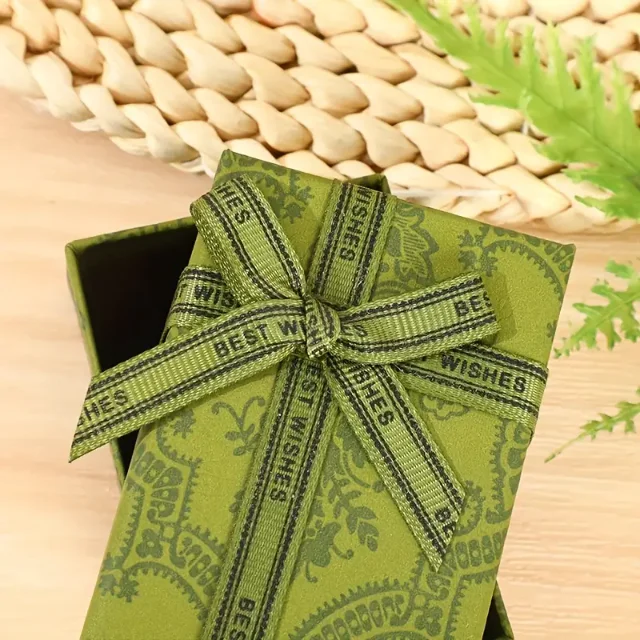
Beyond functionality, felt lining significantly enhances the presentation of jewellery. Its smooth, luxurious feel adds an elegant touch that elevates the perceived value of the items it holds. By selecting felt colours that complement your brand’s visual identity, you create a cohesive and professional display that reinforces your brand’s presence.
Despite these benefits, felt can suffer from wear, stains, and general age, necessitating cleaning or even complete replacement. Dirty felt in a jewellery box can be detrimental, especially for professional jewellers.
Section 1: The Best Way to Get Felt Out of a Jewellery Box (Removal)
When the felt lining in your jewellery box is beyond cleaning or repair, removing it is the next logical step. Traditional methods involving scraping and sanding can be arduous and ineffective, often leaving behind stubborn residue and potentially damaging the wood. Fortunately, there are more efficient and less damaging ways to achieve a clean slate for relining.
Method 1: Water Saturation (Highly Recommended for Glued Felt)
For felt lining that is old, dirty, and stubbornly glued to wood, the water saturation method stands out as an exceptionally effective and simple approach. This method capitalises on the fact that many older glues, particularly animal hide-based glues, are water-soluble.
Supplies Needed:
Room temperature water
Something to pierce and lift the liner: An awl, an eyelet screw tool, or even a fork can be used.
Scrub sponge or a similar scrubbing tool (e.g., green scrubby pads, steel wool).
Step-by-Step Process:
Saturate the Felt Liner: Pour room temperature water onto the felt liner. Allow the water to fully penetrate until the felt is thoroughly soaked.
Drain Excess Water: Pour out any remaining water from the box or drawer.
Allow to Sit: Let the wet felt sit for approximately 2-3 minutes to give the water time to break down the glue.
Pierce and Lift: Use your chosen piercing tool (awl, fork, etc.) to pierce the felt. Once pierced, gently lift the felt upwards. The glue should have softened and begun to break apart, allowing the liner to release. If the felt resists, apply a little more water and wait a moment longer. For very old felt, a combination of the tool and hand-pulling may work best to prevent shredding.
Clean Residue: After the felt liner is removed, you may find some glue residue remaining on the wood. Use a scrubber with hot water and gently scrub the surface. This step is usually quick and requires minimal effort. Some users have found fine steel wool or green scrubby pads effective for this stage.
Real-Life Examples of Success:
This water saturation method has been praised by numerous DIY enthusiasts who previously struggled with traditional scraping methods.
Cutlery Boxes: One user successfully removed felt from an old sectioned cutlery box, finding the method effective for scraping off residue after soaking.
Dressers and Cabinets: Many have used this technique for dresser drawers with “dank, nasty felt liners”. One individual noted that after finding this method, the felt was “mostly removed” in just 10 minutes, making the drawer usable. Another saved a beautiful French china cabinet from being abandoned due to glue residue, using soapy water to liquify the glue.
Antique Dry Sinks: An antique dry sink drawer with felt glued on all four sides, which had resisted scraping by multiple people, was successfully cleaned using warm water soaks and scrubbing pads.
Machinist’s Toolboxes: Even nasty, dirty green felt in a wooden machinist’s toolbox was easily peeled off after filling the drawers with warm water.
Chess Tables and Puzzle Tables: This method has worked wonders for felt-lined drawers in second-hand chess tables and large puzzle tables, significantly reducing the time and effort required for removal.
Ornate Edges: For felt stuck to ornate edges, where sanding was not an option, the water and scrubby sponge method proved effective without damaging the wood.
This technique drastically reduces the effort compared to dry scraping, often making the process feel “like butter”. It eliminates the need for harsh chemicals and extensive sanding, leaving the wood clean and ready for relining or refinishing.
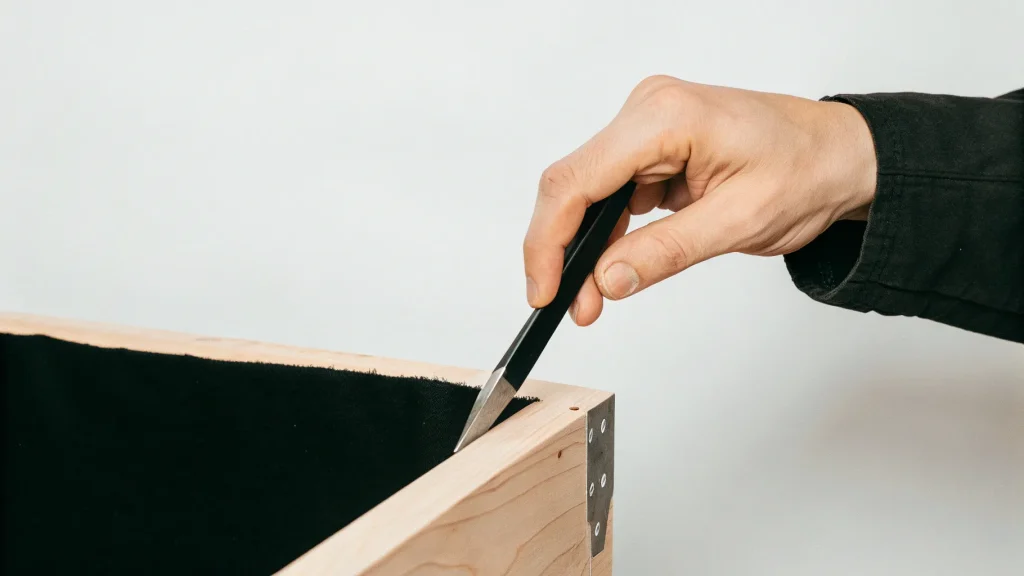
Method 2: Gentle Prying (for Removable or Lightly Adhered Pieces)
Sometimes, felt lining isn’t heavily glued in, or certain sections are designed to be removed for maintenance or replacement. This is particularly true for separate pieces that serve as templates for new lining.
Process:
Identify Removable Sections: Examine the jewellery box to identify if any felt-covered pieces, such as dividers, side panels, or ring holders, are separate and can be carefully lifted.
Gently Pry: Use a painter’s tool or a similar thin, flat object to gently insert into the edges of the felt. Slowly and carefully pry the felt off, working around the edges. The aim is to avoid damaging the underlying surface or any adjacent paintwork.
Save as Templates: If you plan to reline the box, save these removed felt pieces, cardboard backings, or foam inserts as templates for cutting new material. This ensures precise sizing for the replacement lining. If the old felt was stick-on with adhesive, simply peel it off the foam or cardboard pieces.
While this method is simpler for loosely attached felt, the water saturation method is generally superior for truly stubborn, old, or extensively glued felt.
If your felt lining is generally in good condition but has accumulated dust or minor stains, a full removal might be overkill. Gentle cleaning can often restore its appearance.
Precautions Before Cleaning:
Felt is a soft, compressed matting fibre, but it is not inherently strong. Excessive wetness or abrasive cleaning can cause it to bead up and break down, leaving immediately visible damage. Therefore, extreme care and patience are essential when cleaning feels.
Avoid Excessive Water: Never pour water or cleaners directly onto the felt. Felt is different from velvet and cannot tolerate being immensely moist; for details on specific cleaning methods for velvet, which share some principles, see our comprehensive guide.
No Abrasive Tools: Do not use old toothbrushes, harsh scrubbing brushes, or any other abrasive tools, as these will destroy the felt.
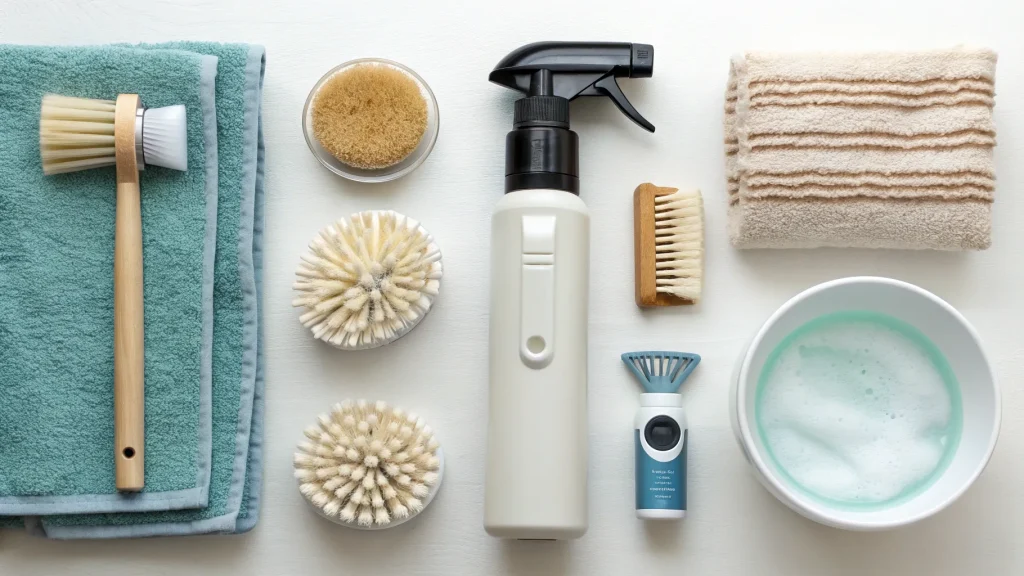
Necessary Supplies:
Soft brush (soft-bristled brush or lint roller)
Microfiber cloth
Mild detergent (gentle soap like dish or hand soap)
Small bowl and clean water
Small handheld vacuum with a brush attachment (optional)
Cotton swab or cotton pad/ball
Paper towel or sponge
Upholstery cleaner or clothing stain remover (for tougher stains)
Coconut oil (for sticky stains)
Rice or cat litter (for excess moisture)
Oscillating fan (for drying)
Rubbing alcohol (light mist for drying and sanitising)
Step-by-Step Cleaning Process:
Remove All Jewellery: Before you begin, carefully remove all jewellery from the box and store it in a safe place.
Dusting the Felt Surfaces:
Start by gently removing any loose debris, dust, or pet hairs.
Use a soft-bristled brush or a lint roller to lift dirt without damaging the felt.
A small handheld vacuum with a brush attachment can also be used, but ensure it is set to a low suction setting to prevent damage. Regular dusting prevents dirt from becoming embedded.
Spot-Cleaning Stains:
For light stains, prepare a mild soapy solution by mixing warm water with a drop of gentle dish or hand soap in a small bowl.
Dip a clean cloth or cotton swab into the solution, wring it out well so it’s only lightly damp, and gently dab at the stain. Avoid soaking the felt.
Pat the area with a dry cloth to remove any excess moisture. Repeat this process if necessary for stubborn stains.
For Tougher Stains: For medium to heavy stains, spray an upholstery cleaner or clothing stain remover onto a lightly damp paper towel or sponge. Dab the stained surface repeatedly instead of rubbing until the stain lifts.
For Stickiness: If you encounter sticky residue, such as candy, begin with soapy water to cover the surface. Then, apply a pinch of coconut oil to the tip of a cotton swab and gently rub the sticky area in light, swift counter-clockwise circles, ensuring the oil remains on the surface and isn’t rubbed into the fabric. Repeat this until the stickiness is no longer tactile. Finish by dabbing the area with soapy water using a sponge or cotton ball; this helps the medium act as a “magnet” for any remaining stickiness.
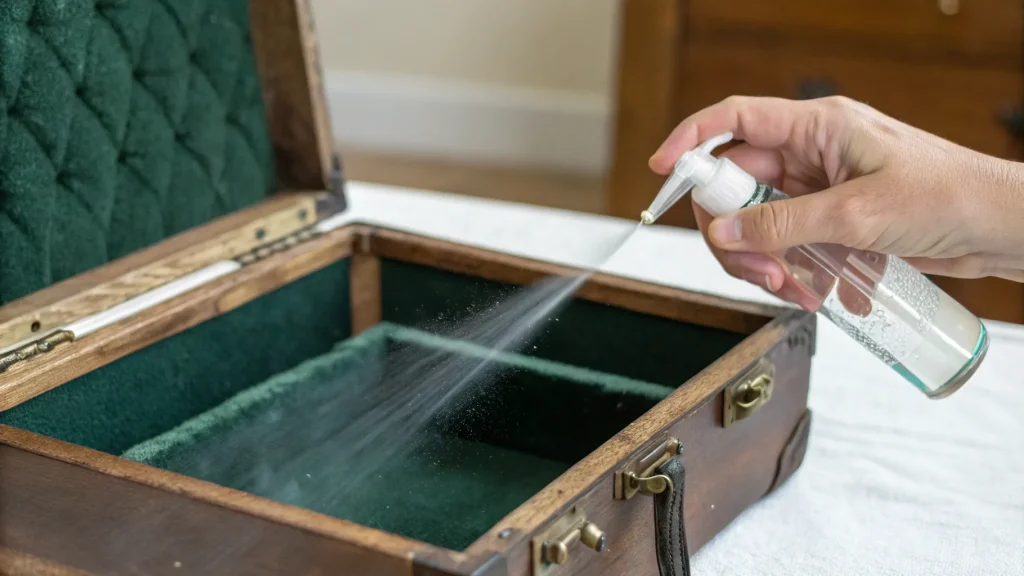
Drying and Airing Out:
After spot-cleaning, leave the jewellery box open in a well-ventilated area to ensure any remaining moisture evaporates.
Avoid direct sunlight, as this can cause the felt colours to fade.
To speed up drying, you can use a fan or place the box near an open window, but protect it from dampness.
If the felt surface becomes too moist, place a tablespoon of rice or cat litter over the affected area for several hours, checking periodically, as these materials help absorb excess moisture.
Finally, a light mist of rubbing alcohol over the felt surface can aid in drying and help prevent bacterial growth, but avoid drenching the area. Ensure the box is completely dry before closing it.
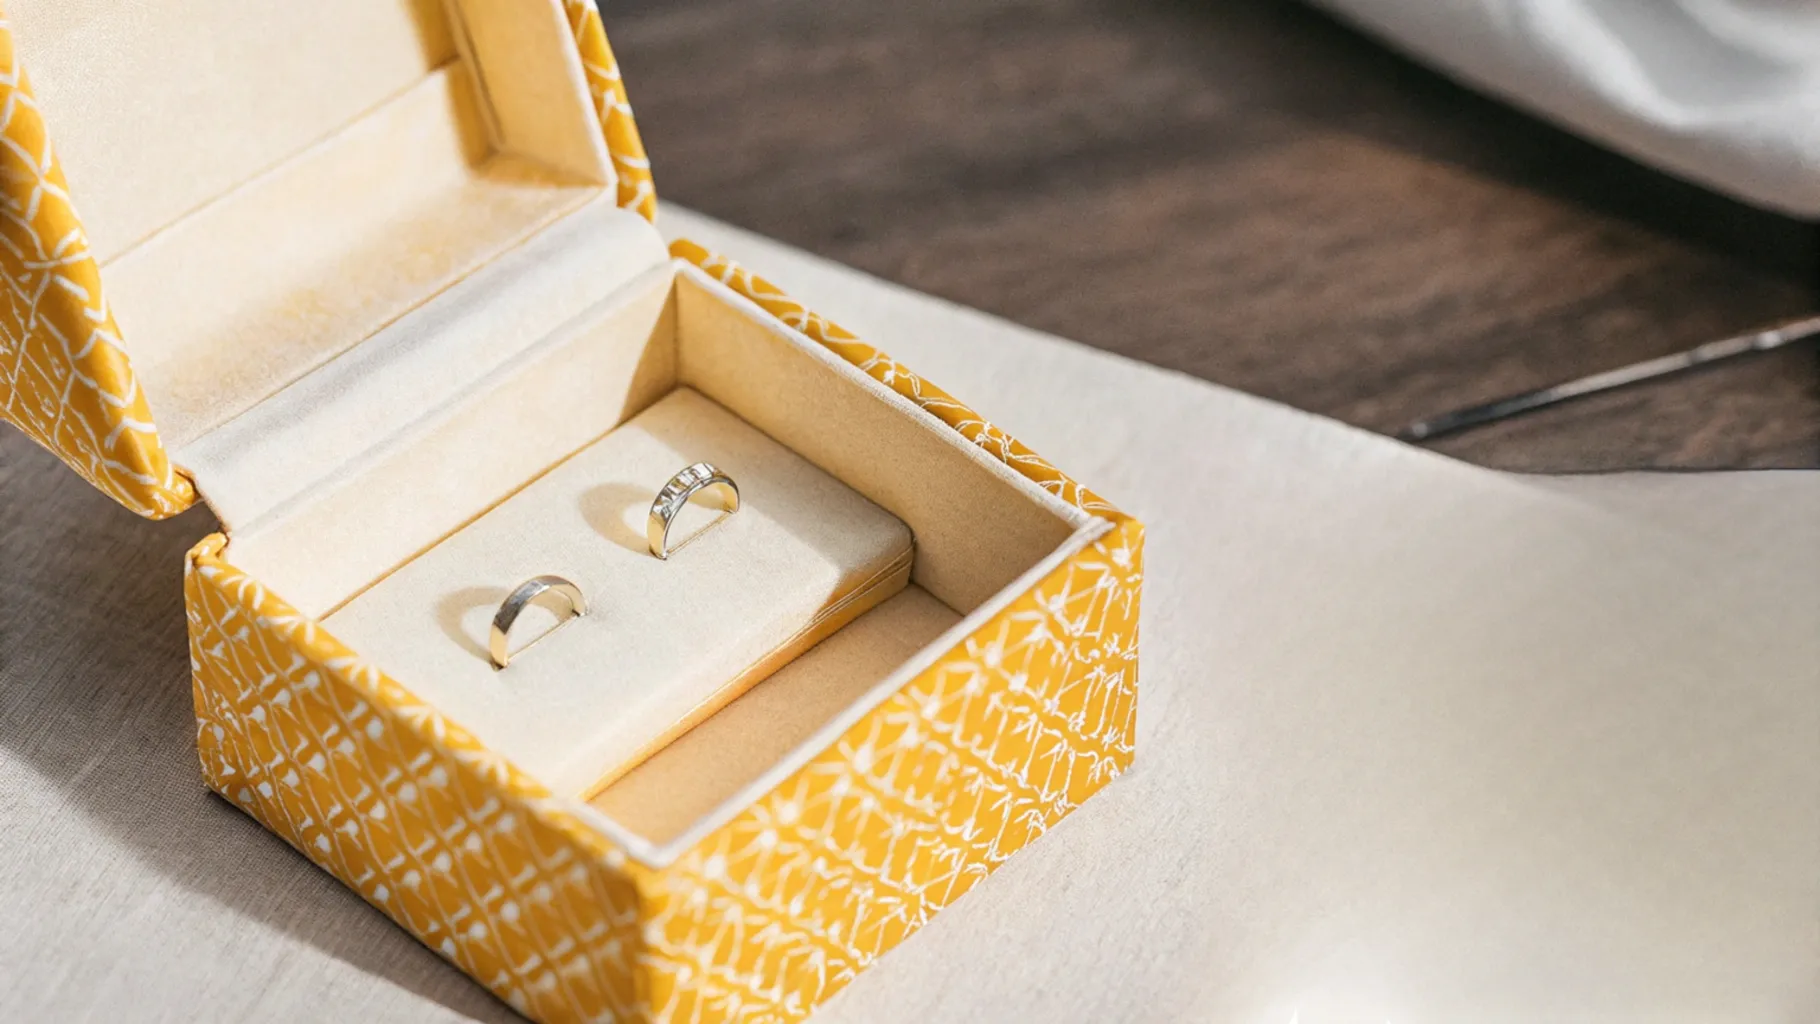
Section 3: Relining Your Jewellery Box with New Felt
Once the old felt has been successfully removed, or if you’re working with a new box, relining it with fresh felt can completely revitalise its appearance and protective qualities.
Key Materials and Tools:
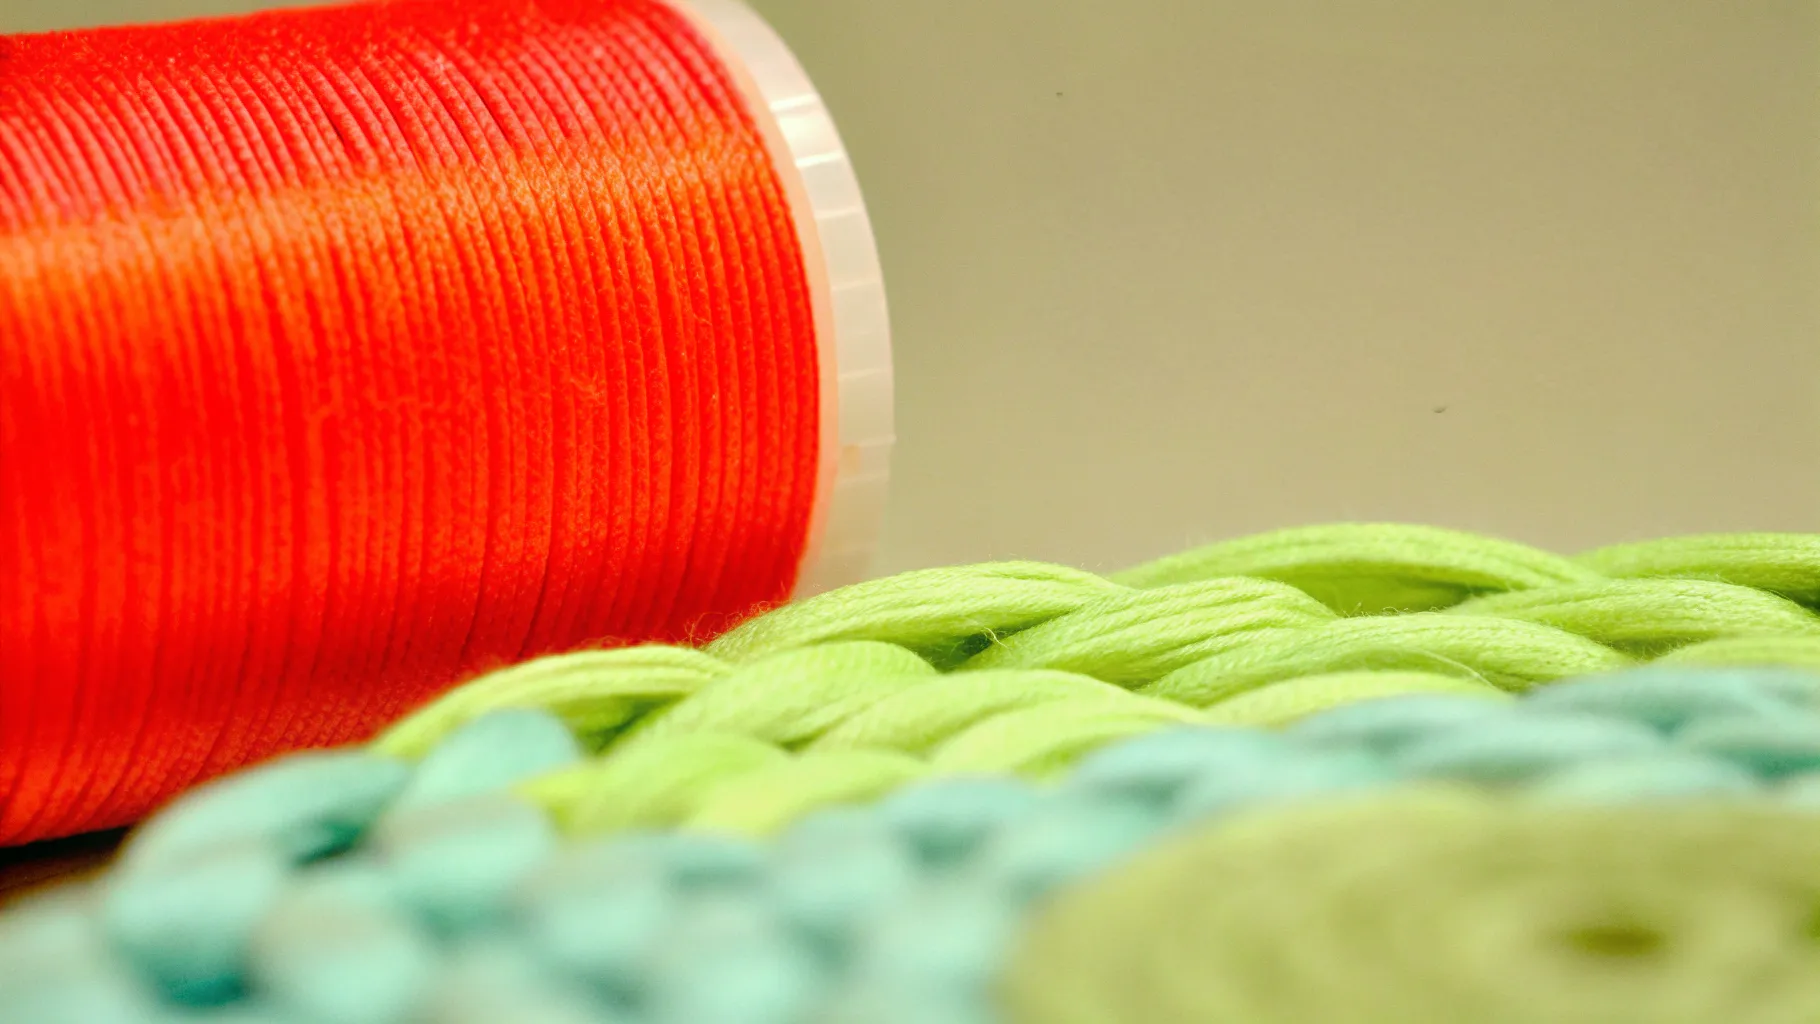
New Felt: Choose felt made from wool, synthetic fibres, or a blend, considering durability, softness, and colour to match your aesthetic or brand. The sources also mention that self-adhesive felt can be used.
Templates: Use the old felt pieces you removed, or create new templates from accessible materials like cereal box cardboard. Thin, hard plastic baking sheets can also be used for templates.
Double-sided carpet tape: Opt for the smooth variety, avoiding fibre-reinforced types.
Quick-drying glue: For permanent adhesion.
Hair curlers: (Optional) If you plan to create ring holders, foam hair curlers without wires are an excellent DIY solution.
Tools: Exacto knife, steel ruler, cutting board, scissors, ballpoint pen, painter tool (for prying), and potentially an electric carving knife (for cutting foam curlers easily).
Step-by-Step Relining Process:
Prepare Templates:
If you save the old felt pieces or cardboard backings, use them directly as templates.
Alternatively, measure the lengths and widths of each section you intend to line (bottom, sides, dividers).
Cut the cereal box cardboard or thin plastic sheets to these precise measurements. Cardboard is often easier to cut than plastic.
Cut New Felt Pieces:
Place your templates onto the new felt.
Cut the felt, allowing for a small overlap (e.g., a little more than 1/8″ or 4mm border) around the edges of your template pieces. This overlap is crucial for folding the felt over the edges of the cardboard/plastic to prevent the raw edge from being visible when installed.
Trim the felt at the corners to create a mitered effect when folded, ensuring full coverage without bulky overlaps.
Adhere Felt to Templates:
If using self-adhesive felt, simply peel off the backing and apply to your cardboard or plastic templates.
For regular felt, completely cover one side of your template with double-sided carpet tape. Press the felt onto this sticky side.
Remove the paper from the other side of the tape and carefully fold the felt overlap over the edges of the template, pressing it firmly onto the tape. For extra adhesion, double-sided tape can be used on the overlap, though it might not always be necessary.
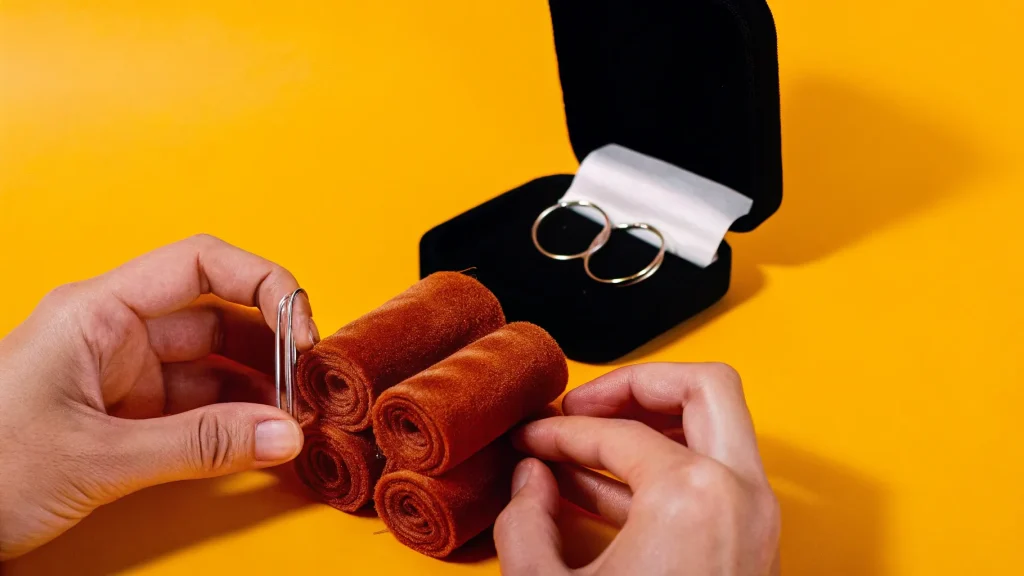
Prepare Ring Holders (Optional, using hair curlers):
If you’re making ring holders, start with foam hair curlers and remove the internal wires. This is done by pulling the wire out slightly, sliding off the plastic piece, then pulling the wire completely out the other side.
Measure and cut the curlers to the appropriate length to fit across your jewellery box section. An electric cutting knife (like one used for carving a turkey) is highly effective for cutting foam cleanly and consistently. Ensure all curlers are the same length.
Wrap each curler with felt, making sure the felt is even with the ends of the curler to prevent the foam colour from showing through. The seam where the felt joins should be positioned on the bottom for a neat finish.
Dry Fit All Components:
Before applying any permanent glue, dry fit all your felt-covered pieces into the jewellery box. This step is critical to ensure everything fits perfectly and is positioned exactly where it needs to be.
Make any necessary small adjustments by trimming edges with scissors. For instance, if a side piece is too high, trim a little from the bottom edge (the part that won’t be seen).
Permanent Installation:
Once you are satisfied with the dry fit, begin gluing the pieces into place. For those looking for additional details, you can find further guidance on lining a jewellery box, with tips that also apply to felt.
Apply a thin line of quick-drying glue (like a quick and thick tight bond) to the areas where the felt-covered pieces will adhere. Be precise and avoid applying too much glue, as it can squeeze out and ruin the velvet or felt. Apply glue about halfway down the area to prevent it from seeping up.
For dividers, apply glue to the ends of the ring holders and the inside edges of the wooden divider piece. If using clamps, apply barely any pressure to avoid wrinkling the felt or velvet.
When inserting ring holders, ensure the felt seam is on the bottom. Some gentle squishing and finagling might be needed to get the pieces to settle perfectly.
Use a steel ruler or similar tool to press down around the edges of the felt pieces as you install them, ensuring good adhesion and a flat finish.
Remember to account for the thickness of the felt itself when sizing your plastic fillers or foam, as this can impact the overall fit. This meticulous approach ensures a professional and long-lasting finish for your revitalised jewellery box.
Maintaining and Caring for Your Felt-Lined Jewellery Box
Even after cleaning or relining, regular maintenance is vital to preserve the appearance and functionality of your felt-lined jewellery box.
Regular Maintenance Routines:
Dusting: Gently dust the exterior and interior of your box with a soft, lint-free cloth regularly. For the felt lining, a small handheld vacuum with a brush attachment can safely remove dust.
Monthly Cleaning: Once a month, use a slightly damp cloth with mild soap to clean the box’s exterior, always drying it thoroughly afterwards. For the felt lining, consider a specialty fabric cleaner or a homemade solution of water and a small amount of dish soap applied with a damp cloth.
Inspect Hardware: Check hinges and clasps monthly. A small drop of light machine oil can keep them operating smoothly, and avoid excessive force to prevent misalignment or breakage.
Avoiding Common Damages:
Sunlight Exposure: Keep your jewellery box away from direct sunlight, as it can cause both the exterior and interior felt colours to fade over time.
Humidity: Avoid humid environments, which can lead to mould or mildew growth within the felt lining. Felt’s moisture-wicking properties help, but preventing excessive humidity is best.
Gentle Handling: Always handle your jewellery box with clean hands. Oils and dirt from hands can transfer to the felt, degrading its quality. Place the box on stable, flat surfaces to prevent accidental drops.
Storage Practices: Avoid placing heavy objects on top of your jewellery box, as this can warp the lid and compromise its structural integrity. Similarly, do not overfill the box; each compartment should comfortably accommodate its contents without forcing the lid shut.
By adhering to these maintenance guidelines, you can significantly extend the lifespan of your felt-lined jewellery box, ensuring it remains a safe and attractive haven for your precious collection.
The Importance of Professional Packaging
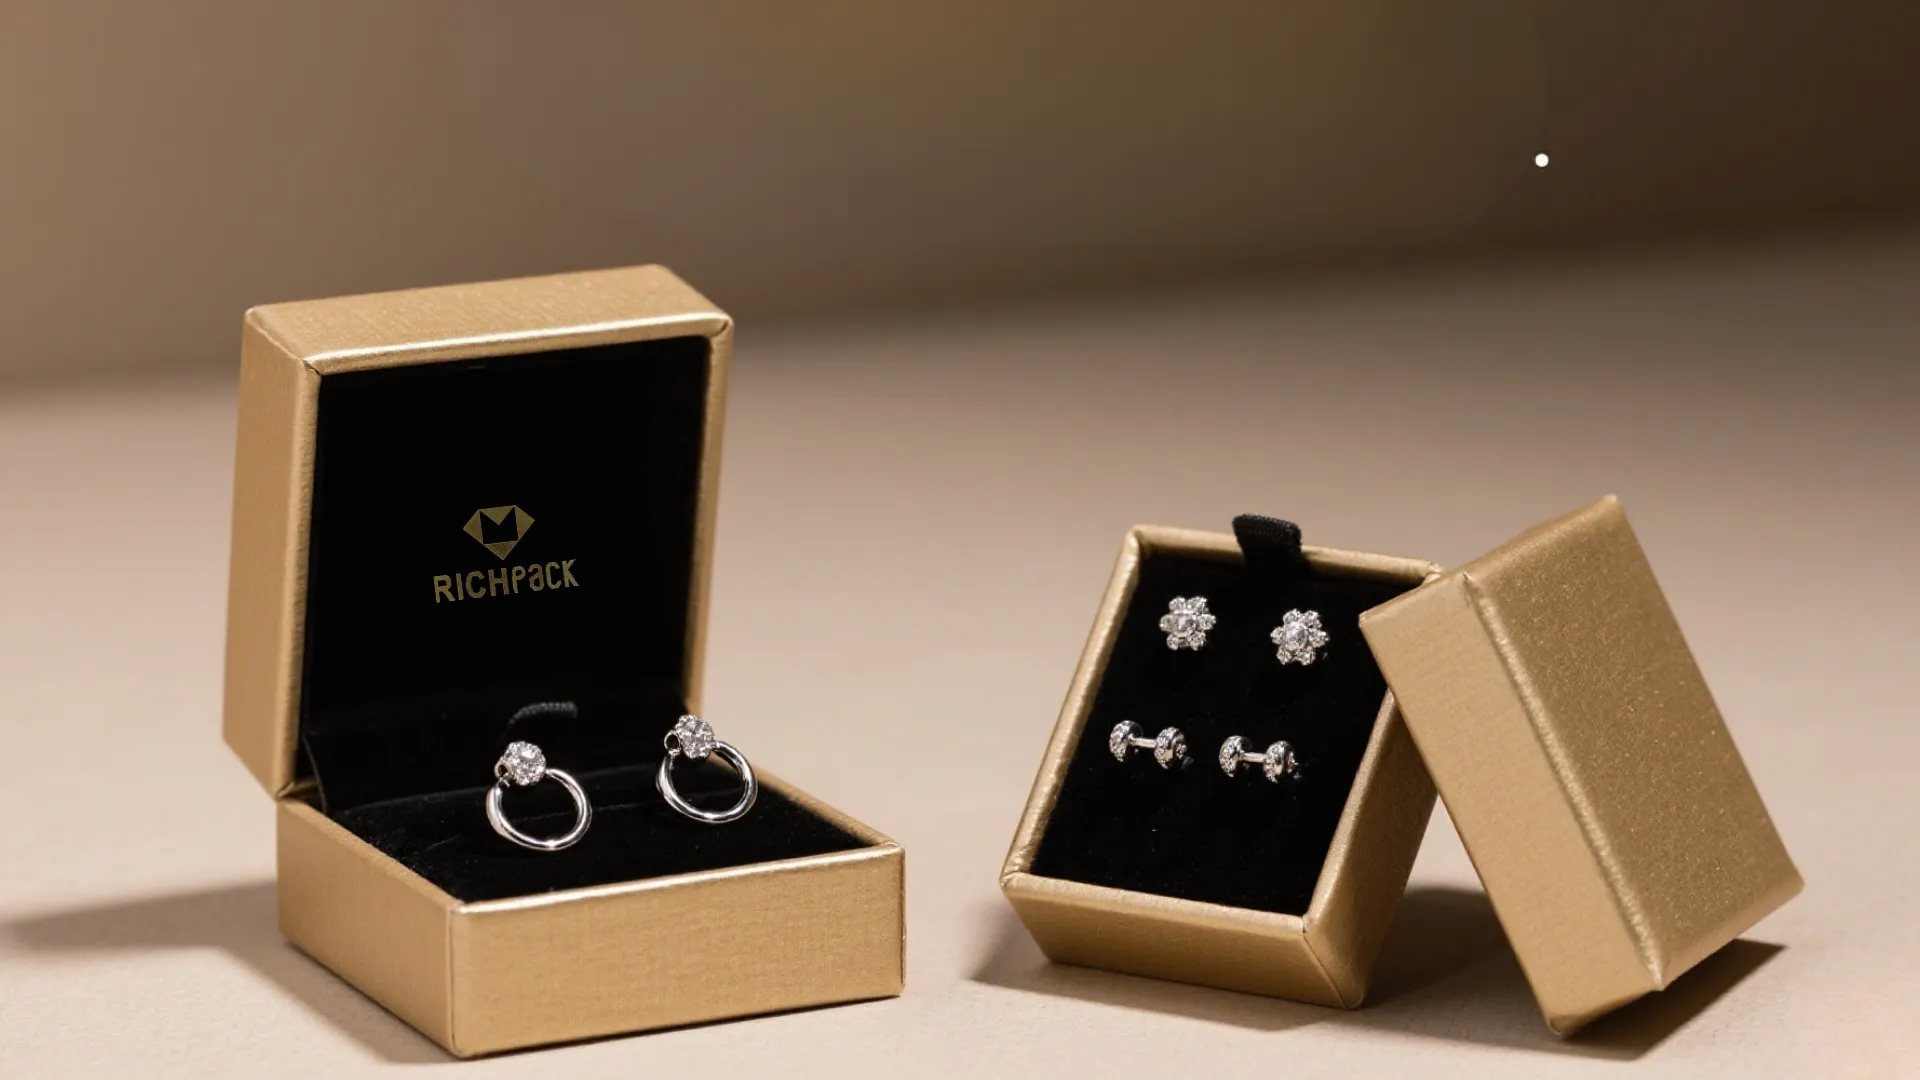
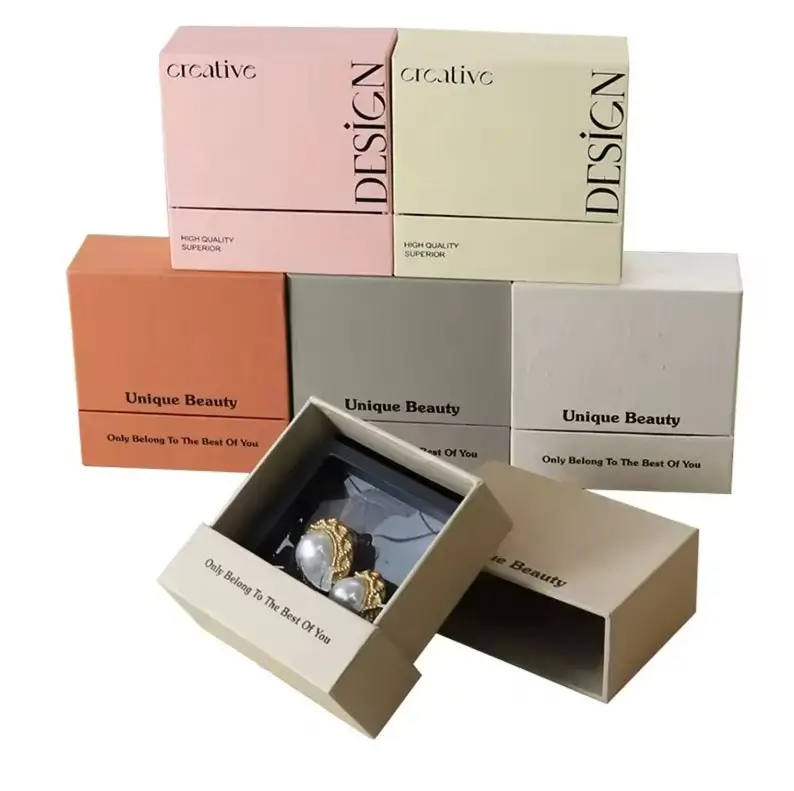
For jewellery brands, the packaging is an extension of your product and your brand identity. Richpack’s quality jewellery packaging, for instance, is designed to enhance your brand’s visual identity while keeping your pieces well-protected. You can learn more about quality packaging and how it impacts brand perception. A clean, elegant, and well-maintained jewellery box, whether achieved through careful cleaning, restoration, or professional relining, elevates the presentation of your items and reinforces the perceived value of your brand.
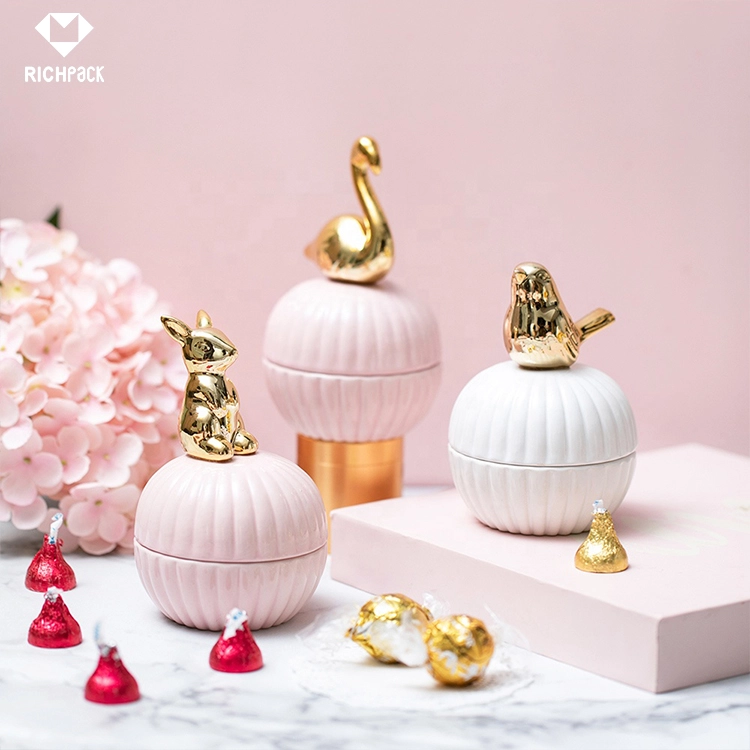
Richpack packaging offers a wide array of packaging solutions, including custom-designed options for jewellery, watches, or glasses that extend beyond their standard stock assortment. You can discover various jewellery box options in their collections. They provide extensive experience in delivering unique solutions to leading brands, ensuring a consistent and professional display that strengthens your brand’s recognition. From various felt materials to bespoke box designs, these options help create a distinct look that preserves the quality and aesthetics of your products.
To explore how high-quality packaging can further enhance your brand and protect your valuable items, you can find more information about Westpack’s comprehensive offerings and contact customer service for advice or queries.
Conclusion
Whether you choose to meticulously clean, carefully remove, or completely reline your jewellery box, the goal remains the same: to provide a beautiful and protective home for your precious items. By following these expert tips and techniques, you can ensure your felt-lined jewellery box continues to serve its purpose with elegance and functionality. For those requiring larger quantities or bespoke designs, we invite you to inquire about our wholesale and custom jewellery packaging services to meet your brand’s unique needs.
Can I reuse old felt as a template for new lining?
Yes, saved old felt pieces or cardboard backings from removed felt can be used as templates for cutting new felt accurately.
How do I clean sticky residue from felt lining?
Use soapy water first, then gently rub with a pinch of coconut oil on a cotton swab, and finish by dabbing with soapy water to remove stickiness.
Is it safe to use water to remove glued felt?
Yes, water saturation works well as many old glues (like animal hide-based ones) are water-soluble, making felt removal easier without harsh chemicals.
What’s the best way to dry felt after cleaning?
Leave the jewellery box open in a well – ventilated area, avoid direct sunlight, and use a fan or rice/cat litter to absorb excess moisture if needed.
 PREV
PREV