PREV
PREV
10 Best Jewelry Display Solutions for Retail Success
2024-11-04

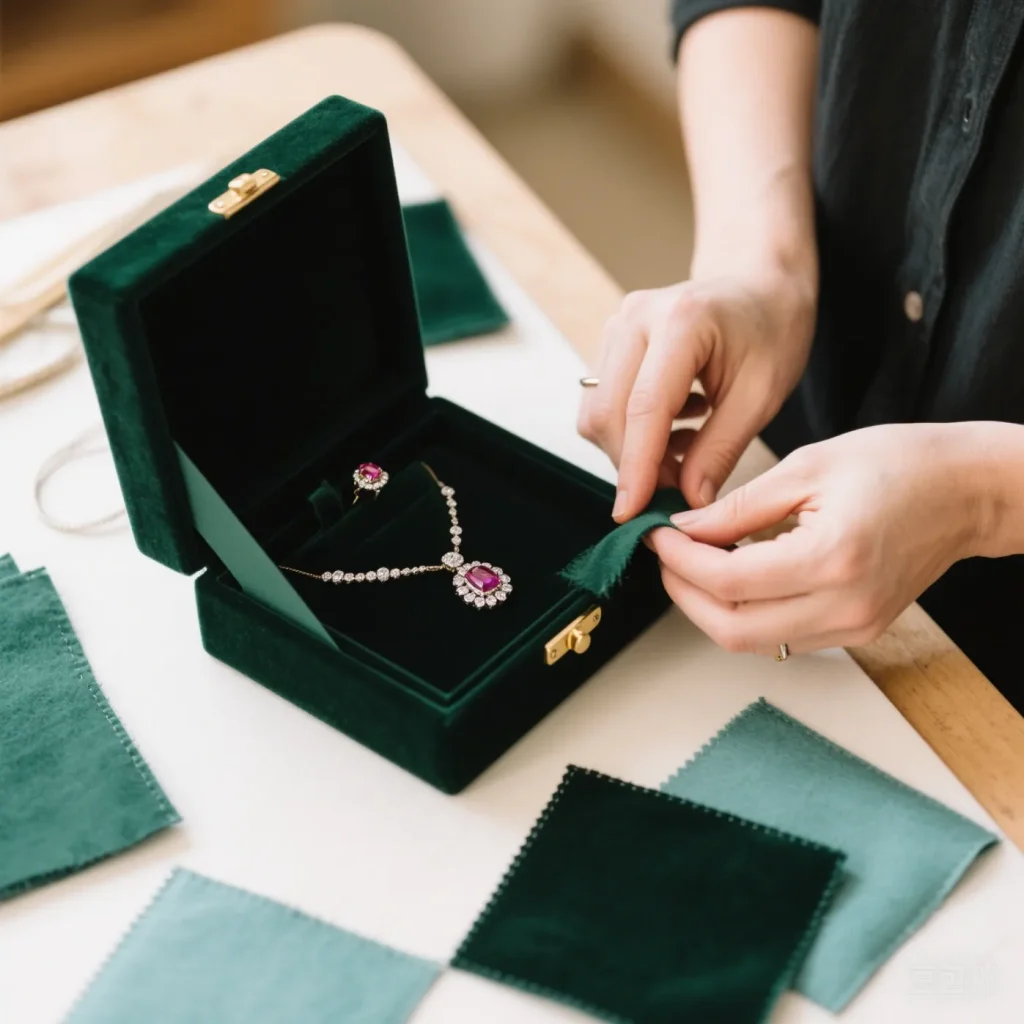
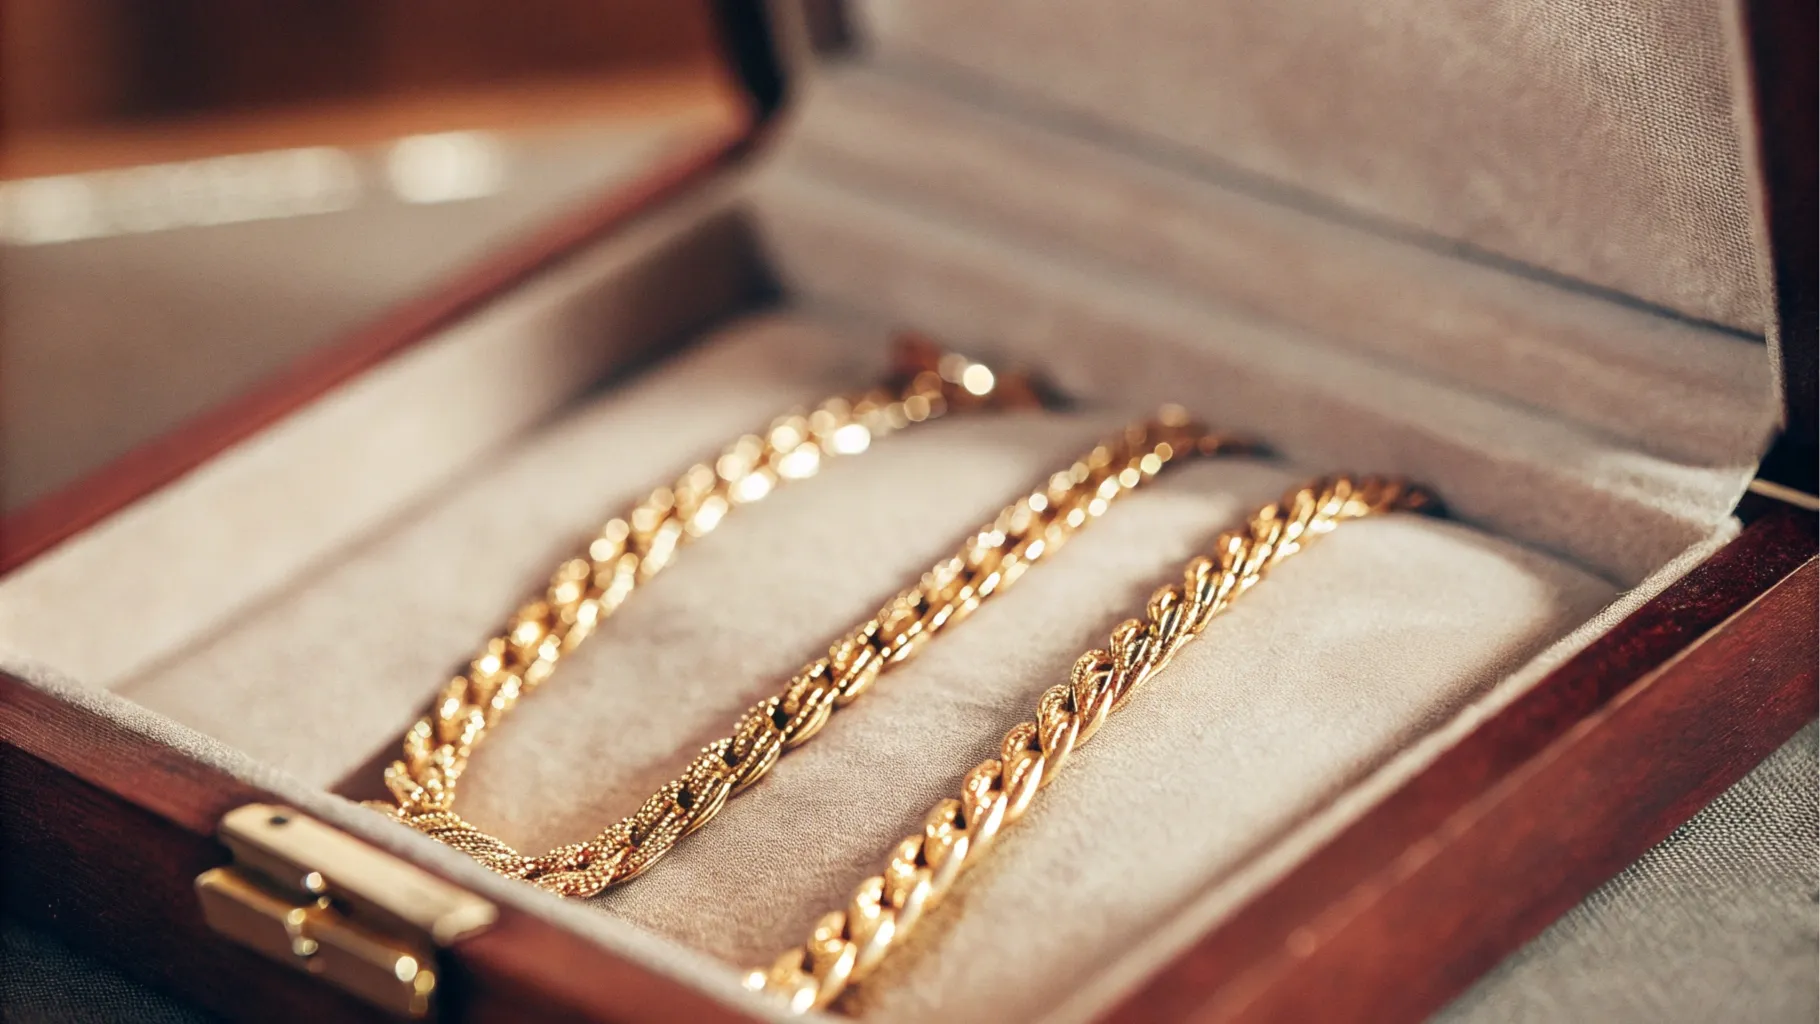
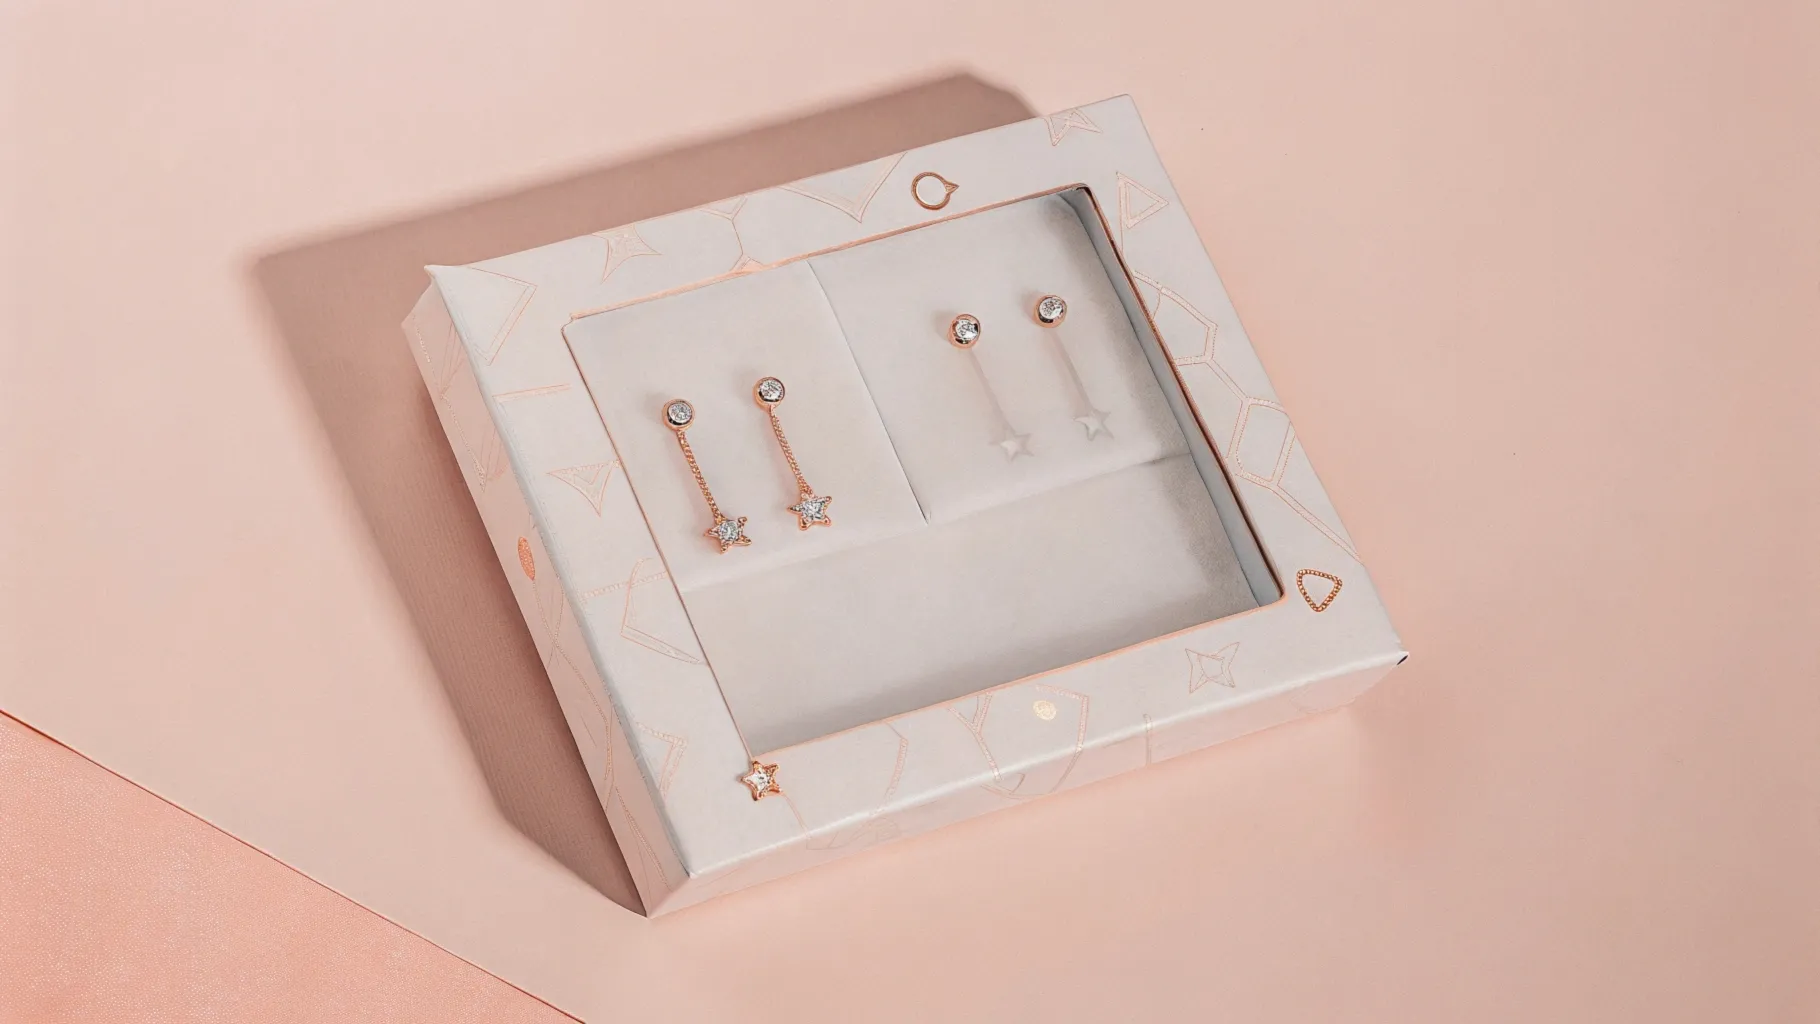
A jewelry box with velvet can help you preserve your cherished pieces. However, to truly protect your jewelry and enhance the overall look of the box, lining it with velvet is an excellent option. Lining your jewelry box with velvet adds elegance and protects your treasures from damage. This guide shows you how to do it step by step—for a luxurious, scratch-free storage solution that lasts.
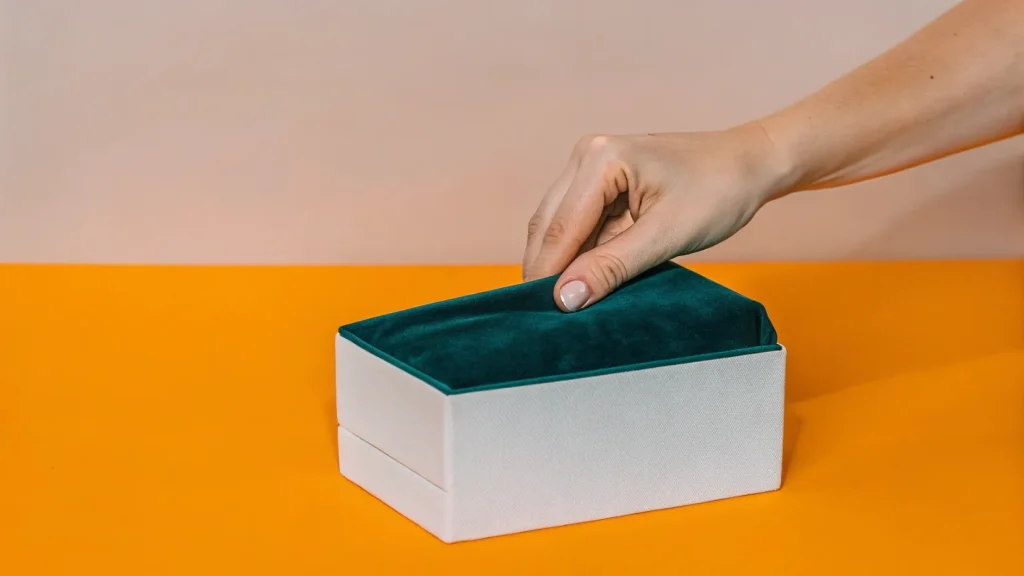
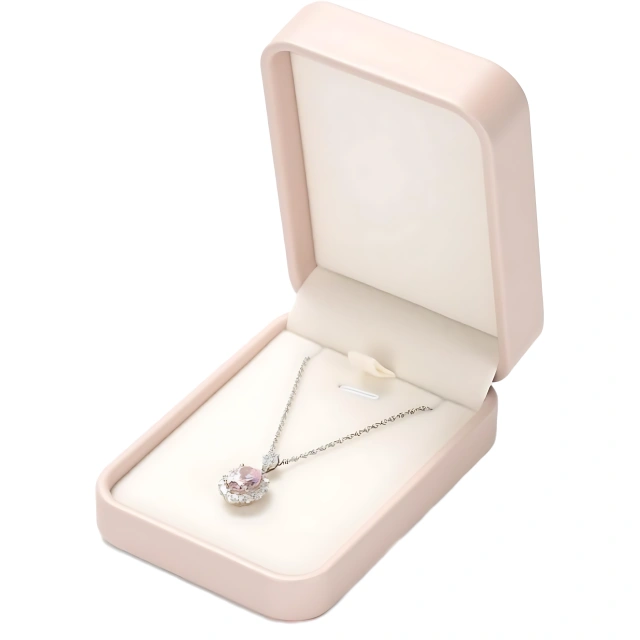
Velvet has long been a favored material for lining jewelry boxes because of its luxurious feel and protective properties. The fabric’s soft texture ensures that delicate jewelry items, such as rings, necklaces, and earrings, are not scratched or tarnished. Additionally, velvet provides a rich, elegant look that enhances the overall aesthetic of the jewelry box.
Velvet is also highly durable, ensuring that the lining will last for years. The material’s ability to hold its shape and color makes it ideal for jewelry boxes that are regularly opened and closed. By lining your jewelry box with velvet, you’re not only protecting your jewelry but also adding a personalized touch to your storage solution.
If you are looking for a more professional solution than DIY lining, custom jewelry packaging can help you achieve a cleaner finish, better protection, and a more premium brand presentation. From velvet lining and inserts to logo printing and box sizing, the packaging can be tailored to your product and brand style.
Before you start, it’s essential to gather the necessary materials. The right tools will ensure the process goes smoothly, resulting in a professional-looking finish. Here’s what you’ll need:、
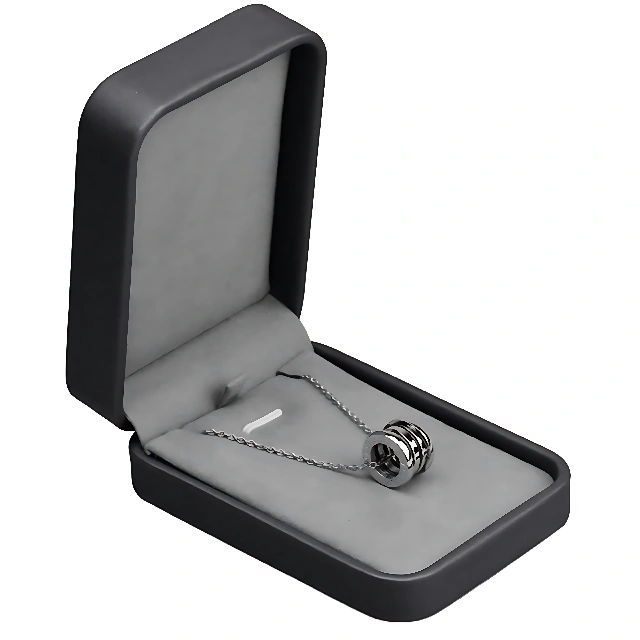
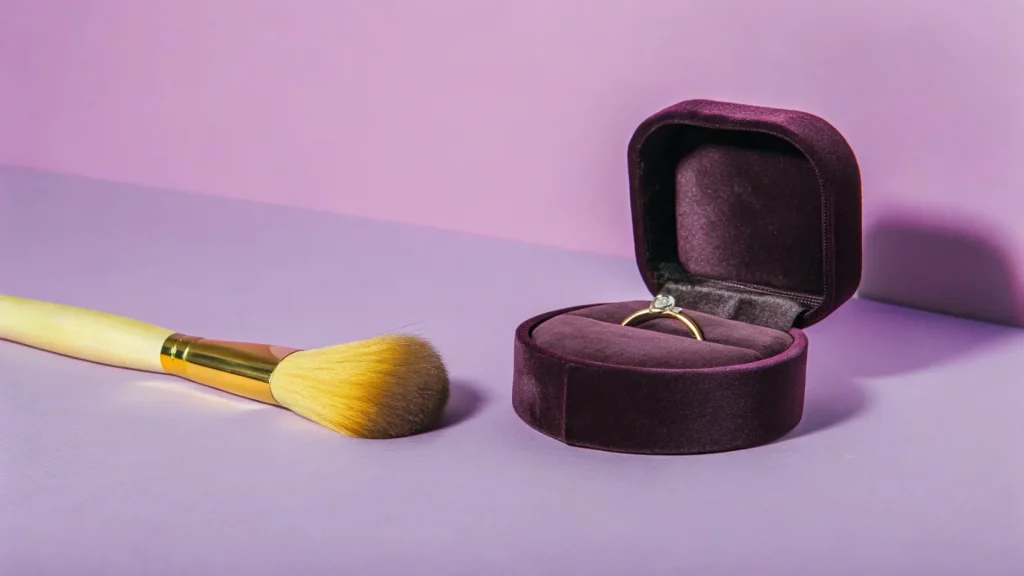
– Velvet fabric: Choose a soft, high-quality velvet that suits the color and style of your box. You can opt for traditional deep colors like rich burgundy, navy blue, or emerald green, or go for a more neutral tone like gray or beige.
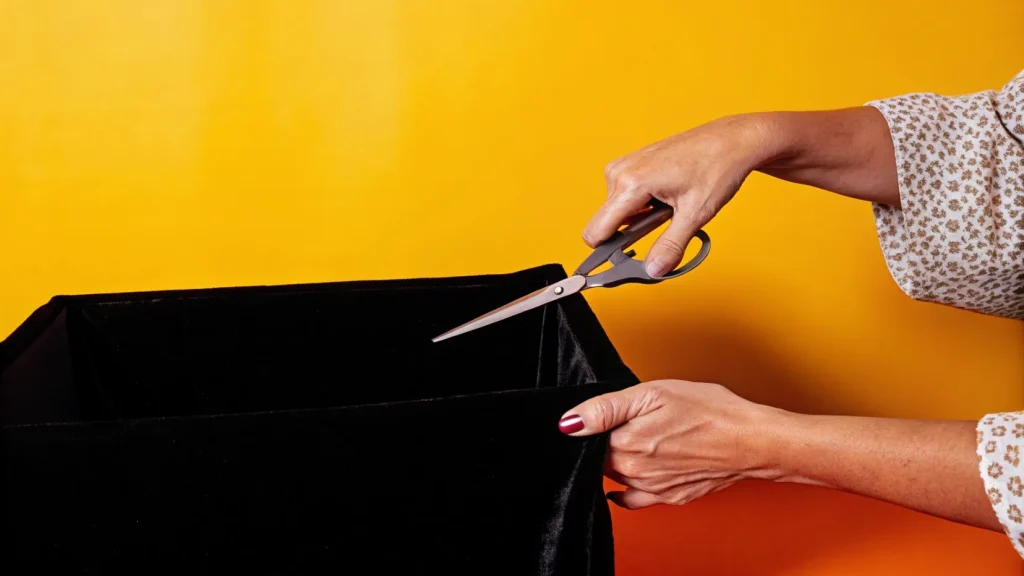
– Scissors: To trim the velvet to the correct size.
– Glue or adhesive: Fabric glue or a spray adhesive designed for fabric is ideal. Ensure it is strong enough to hold the velvet in place but not too sticky to create messes.
– Measuring tape or ruler: To measure the correct dimensions of your jewelry box.
– Pencil or chalk: For marking the fabric before cutting.
– Sharp craft knife: For any detailed cuts or trimming.
– Brush or sponge: To apply the glue evenly.
Having everything ready before you begin will ensure a smooth process and prevent unnecessary interruptions. The tactile experience of opening a jewellery box significantly influences how customers perceive value. Different lining materials offer distinct sensations and aesthetic appeals. While velvet is often associated with traditional luxury, other soft fabrics provide modern elegance and customization options. Making the right choice depends on your brand’s identity and the message you wish to convey. Discover which option provides a more premium feel by comparing velvety vs. soft fabric linings in this insightful analysis..
3. How Much Velvet Fabric Do You Need?
For lining a large DIY jewelry box, you’ll typically need about one yard of velvet fabric. This amount should provide enough material to cover both the interior base and any dividers or compartments, with a bit extra in case you’d like to double-layer for extra plushness or need to account for minor measuring errors.
If your jewelry box features multiple levels or additional storage trays, consider purchasing a little extra—better to have too much than to run short mid-project. Velvet is usually sold by the yard in most fabric stores and online retailers like Joann Fabrics or Mood Fabrics, so you can easily find a color and quality that suits your project. Be sure to check the width of the fabric roll—most standard widths are more than sufficient for typical DIY sizing.
This ensures complete coverage and a consistent, luxurious finish throughout your jewelry box.
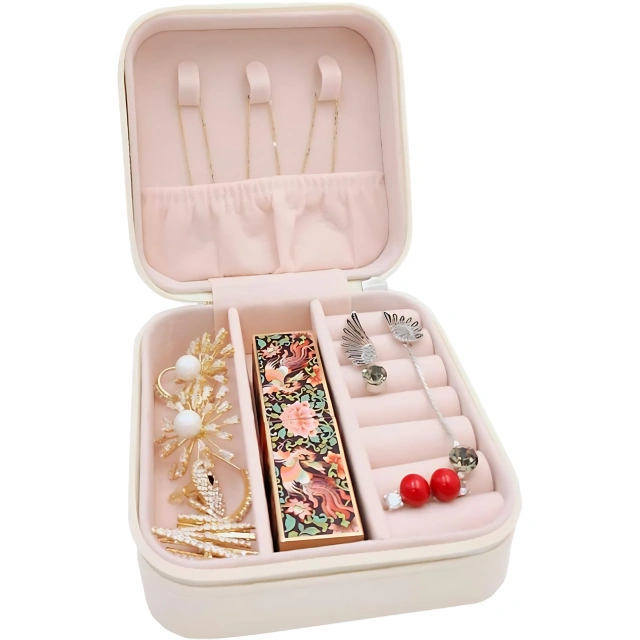
Creating custom compartments and lining your jewelry box with velvet is a practical way to elevate both its appearance and functionality. By crafting interior sections from foam board and cardboard, you can maximize storage and protect each piece of jewelry with a soft, luxurious finish. Here’s how to build and line the inside of your jewelry box step by step:
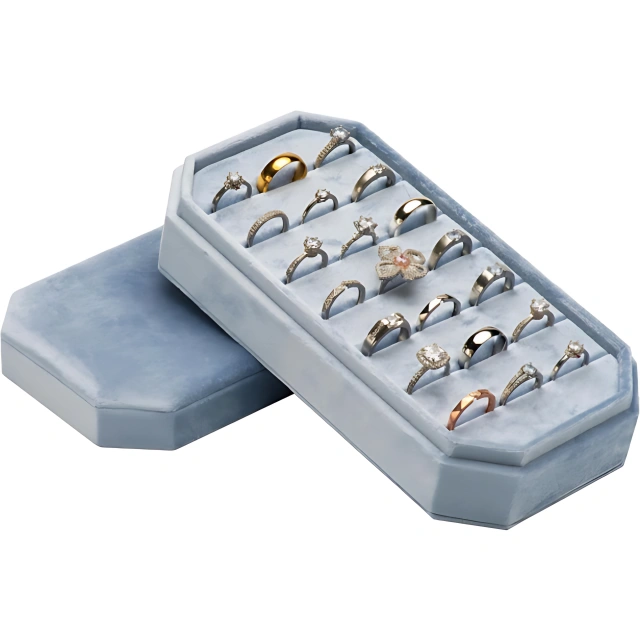
Start by envisioning how you’d like to organize your jewelry. Sketch a design that includes sections for rings, necklaces, earrings, and any other pieces in your collection. This will guide your cutting and assembly for a tailored fit.
Using a measuring tape or ruler, note down the internal dimensions of your jewelry box and the compartments you need. Trace these measurements onto a foam board or sturdy cardboard using a pencil or chalk. Carefully cut out each piece with sharp scissors or a craft knife for precise edges.
Arrange your cut pieces inside the jewelry box to ensure they fit snugly. Make any necessary adjustments for a perfect fit—foam board is easy to trim if needed. Once satisfied with the configuration, secure the dividers and compartment bases with fabric glue, Elmer’s Glue-All, or a hot glue gun. Hold each piece in place until the adhesive sets.
Lay the velvet fabric over each individual compartment piece, tracing and trimming so there is just enough overhang to wrap neatly around the edges. This minimizes bulk and results in crisp corners.
Using a brush or a sponge, carefully apply a thin, even layer of fabric glue or spray adhesive to each foam or cardboard piece. Gently smooth the velvet onto the adhesive, pressing out any wrinkles or bubbles. Fold the fabric edges under for a seamless finish, gluing them to the underside of each component.
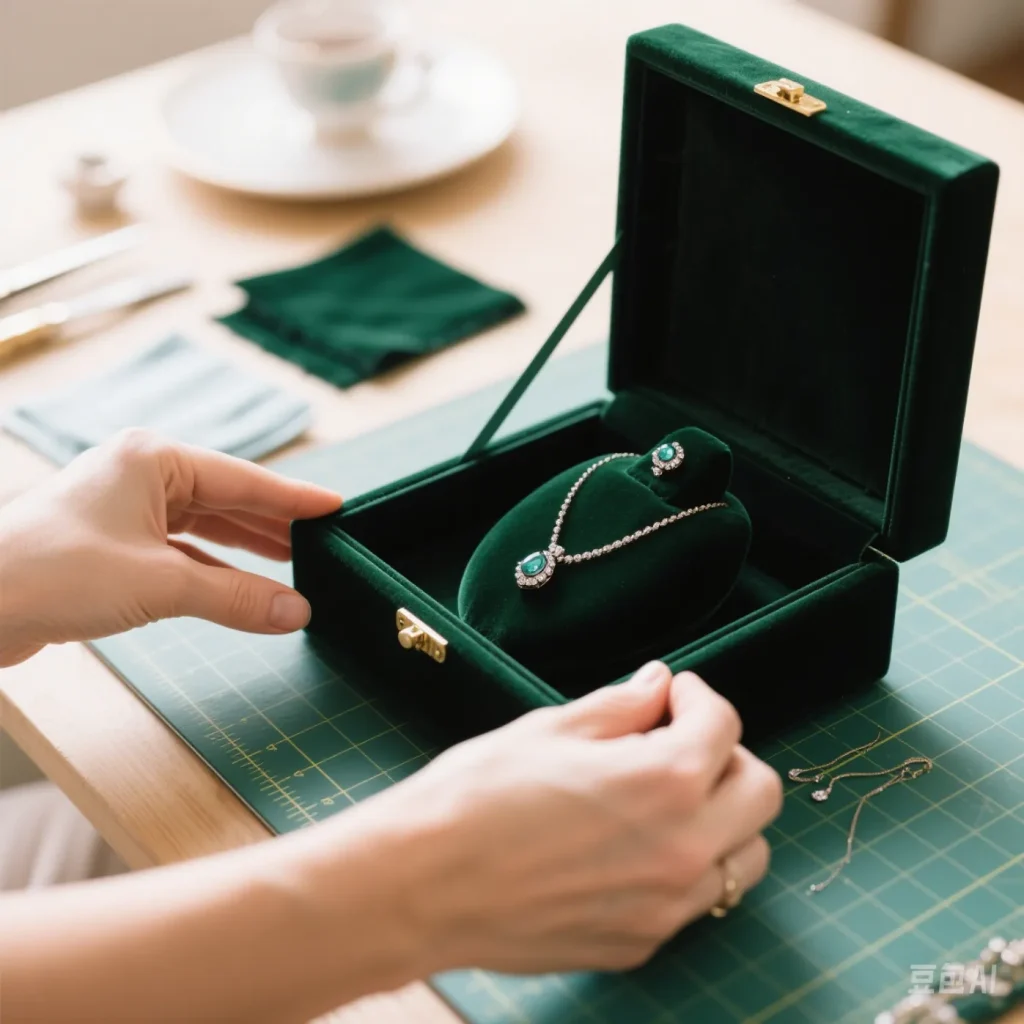
Once the adhesive is dry, insert your newly-lined sections into the jewelry box. Double-check that each compartment fits snugly and lies flat. The soft velvet will now protect your jewelry from scratches and ensure lasting luxury.
By constructing smart compartments and lining them with plush velvet, you’ll transform even the most basic jewelry box into an elegant, highly functional storage solution—customized to showcase and safeguard all your favorite treasures.
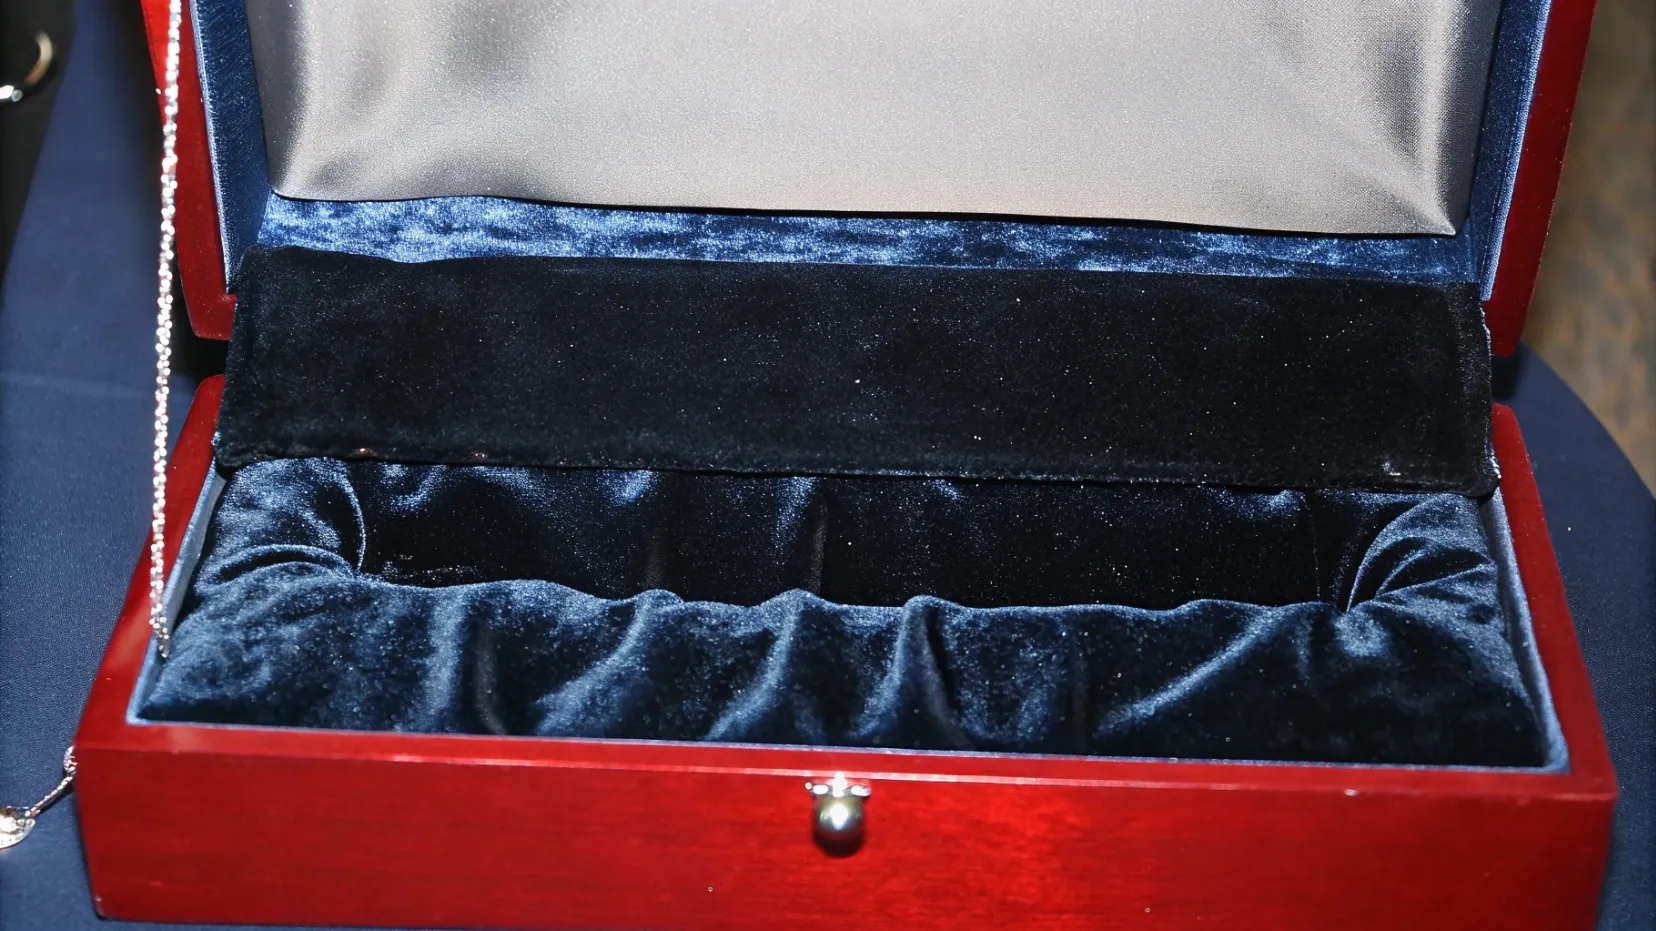
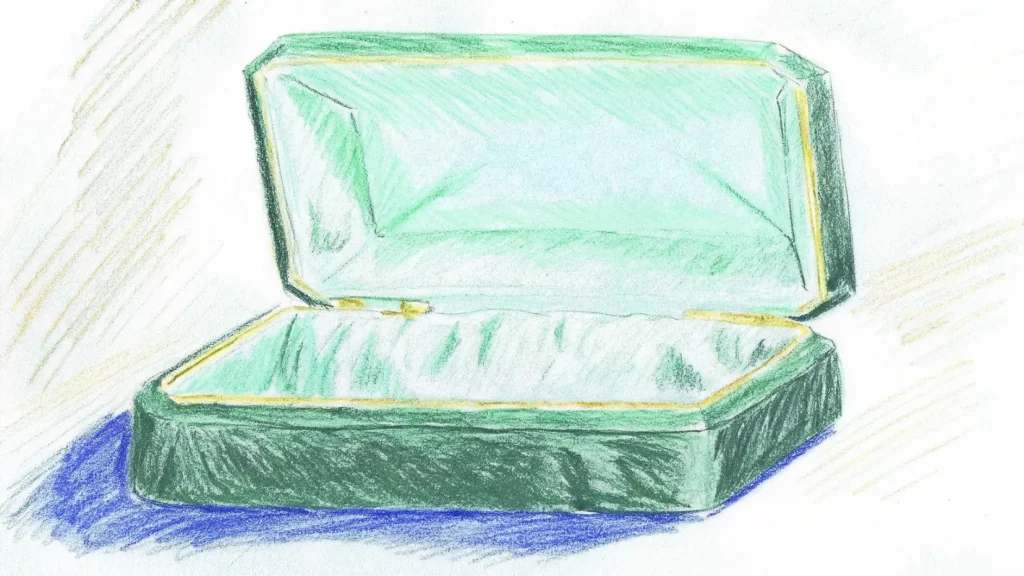
Velvet jewelry boxes offer a luxurious home for your treasures, but their delicate surface requires specific care to stay pristine. If you are refurbishing an old box, you may first need a comprehensive guide to safely clean your velvet jewelry box to remove dust and stains before applying new fabric. Follow these instructions on how to line jewelry box with velvet to maintain the elegance of your jewelry box.
The first step is to prepare your jewelry box by cleaning it thoroughly. Use a soft cloth to wipe away any dust or debris that may have accumulated. If your box has a previous lining, you may need to remove it. Carefully peel away the old lining using a craft knife or your fingers. If there is any residue from the old adhesive, clean it off with a mild solvent to ensure that the new velvet lining adheres properly.
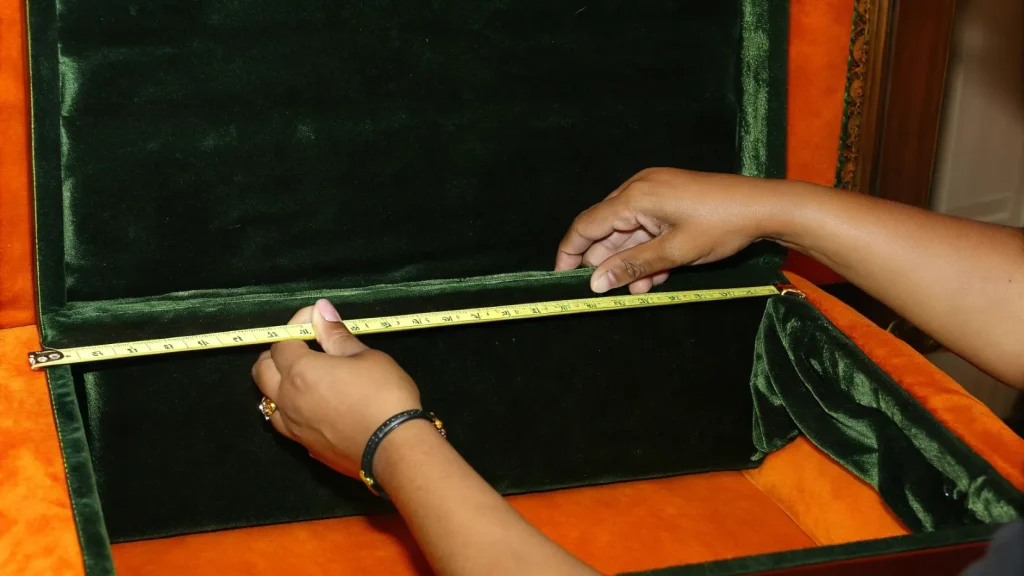
Once your jewelry box is clean and dry, measure the interior dimensions of the box. Use a measuring tape or ruler to determine the length, width, and depth of each section that you want to line with velvet. Make sure to measure accurately, as cutting the velvet too small or too large can result in an uneven or poorly fitted lining.
With your measurements in hand, use a pencil or chalk to mark the dimensions on the back side of your velvet fabric. Then, carefully cut out the velvet pieces with scissors, allowing a little extra fabric for overlap. It’s better to cut slightly larger than necessary so you can trim excess material later.
Now that you have your velvet pieces cut to size, it’s time to apply the adhesive. Start by applying a thin, even layer of fabric glue to the interior surfaces of the jewelry box. Use a brush or sponge to ensure the glue is spread evenly. If you’re using spray adhesive, hold the can a few inches away from the box and spray a light coat over the surface.
Be cautious not to use too much adhesive, as excess glue may seep through the fabric and cause unsightly stains. Once the adhesive is applied, allow it to become tacky for a few minutes.
Carefully place your velvet pieces onto the glued areas of the box. Start with the larger sections, such as the bottom and sides, and gently press the fabric down to ensure it adheres properly. Smooth out any wrinkles or air bubbles by gently pressing with your fingers or a flat tool. Work from the center outward to avoid trapping air under the velvet.
For corners and edges, you may need to fold the velvet lined jewelry box carefully to fit the shape of the box. Be patient with this step to ensure the fabric fits snugly around all the edges.
After the velvet is in place, trim any excess fabric that extends beyond the edges of the box. Use a sharp craft knife or scissors to carefully cut the excess velvet away. Be sure to cut along the edges of the box to maintain a clean, neat appearance.
If necessary, apply a bit more glue to the edges of the velvet to ensure that it stays securely in place. Allow the box to dry fully before using it. Depending on the adhesive you used, this may take anywhere from a few hours to a full day.
While lining your jewelry box with velvet is a simple and rewarding DIY project, there are a few common mistakes that can lead to less-than-perfect results. Here are some things to keep in mind when you finish learning of how to linea jewelry box with velvet:
– Incorrect Measurements: Always measure the interior of your jewelry box carefully. If the fabric is too small, you’ll end up with gaps, and if it’s too large, it will be difficult to trim it neatly.
– Excessive Glue: Applying too much glue can cause the velvet to become sticky and uneven. Use just enough adhesive to ensure a secure bond without overdoing it.
– Wrinkles and Air Bubbles: When applying the velvet, make sure to smooth out any wrinkles or air bubbles. If these are left unchecked, they can make the finished product look sloppy.
– Rushing the Drying Process: It’s tempting to hurry through the project, but allowing the glue to dry fully is essential for a long-lasting finish. Rushing the process may cause the velvet to peel off over time.
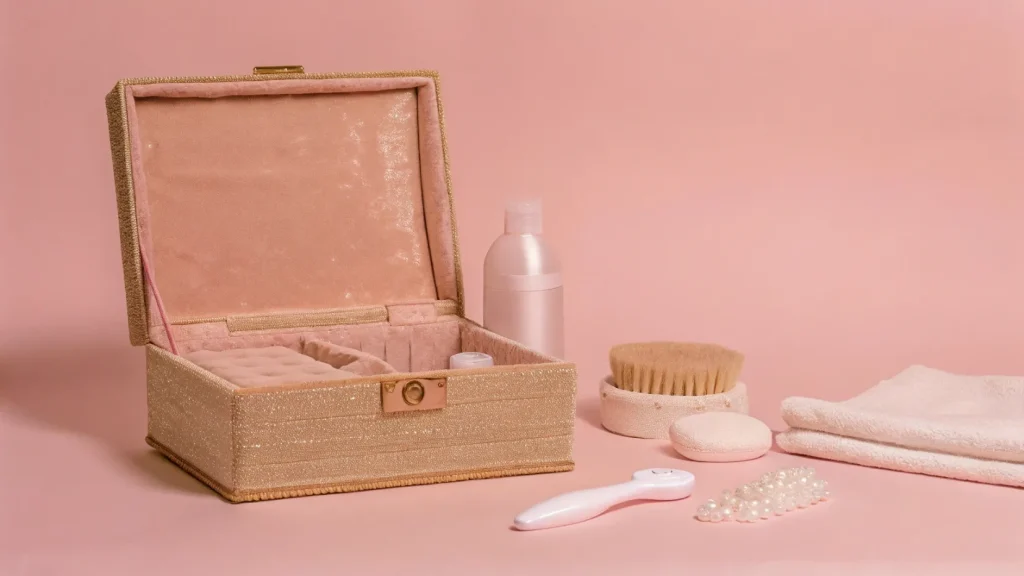
Once your jewelry box is lined with velvet, it’s essential to care for it to ensure that it lasts. Here are some maintenance tips for your velvet lined jewelry box:
– Keep it clean: Gently brush the velvet with a soft brush to remove dust and dirt. Avoid using harsh chemicals or water to clean the fabric.
– Avoid direct sunlight: Over time, exposure to direct sunlight can cause the velvet to fade. Store your velvet lined jewelry box in a cool, dry place away from direct light.
– Regular inspections: Periodically check for any loose or damaged areas of velvet, especially if you use the box frequently. If necessary, make small repairs to keep it looking pristine.
Lining your jewelry box with velvet is a straightforward process that not only enhances the appearance of the box but also provides crucial protection for your jewelry. By following the steps outlined in this guide and using the right materials, you can create a professional-looking velvet lined jewelry box that will last for years. Whether you’re working on a vintage jewelry box or creating a custom storage solution, velvet is an ideal material for preserving the beauty and longevity of your precious pieces.
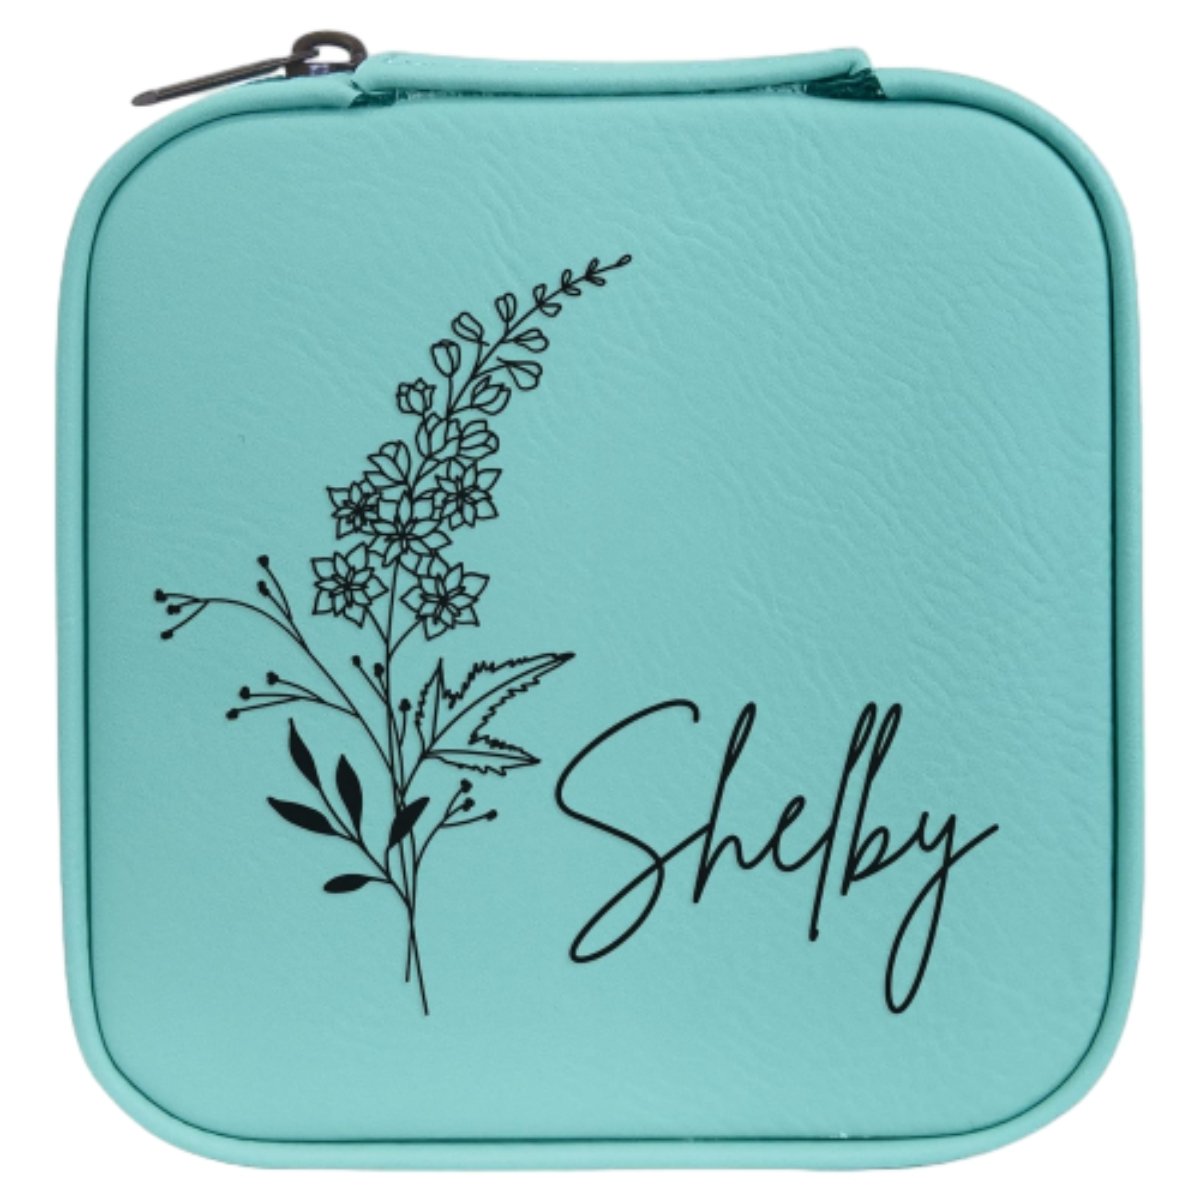
You might be wondering if you can personalize the outside of your jewelry box to match your style. Absolutely! For those looking to add a professional brand logo or metallic finish, it is crucial to choose the best printing method for a custom velvet ring box to ensure the design stays sharp and durable on the fabric.
If you’re excited about giving the outside of your jewelry box its own unique flair, stay tuned. We’ll be sharing ideas and step-by-step instructions for decorating the exterior in an upcoming project, so your entire jewelry box can truly reflect your personality and creativity.
If you’re looking for step-by-step visual guidance, there are many helpful video tutorials available online. Try searching platforms like YouTube for phrases such as “DIY velvet-lined jewelry box” or “how to line a jewelry box with velvet.” Channels dedicated to crafting and DIY projects—like HGTV Handmade or The Sorry Girls—often offer detailed demonstrations that can bring each phase of the process to life. These resources are excellent for picking up pro tips and seeing each step in action, so you can confidently complete your own project at home.
Whether you need premium velvet-lined boxes, branded packaging, or tailored box structures for your jewelry products, our team can help you find the right packaging solution for your project.
2024-11-04
2024-12-12
2024-11-19
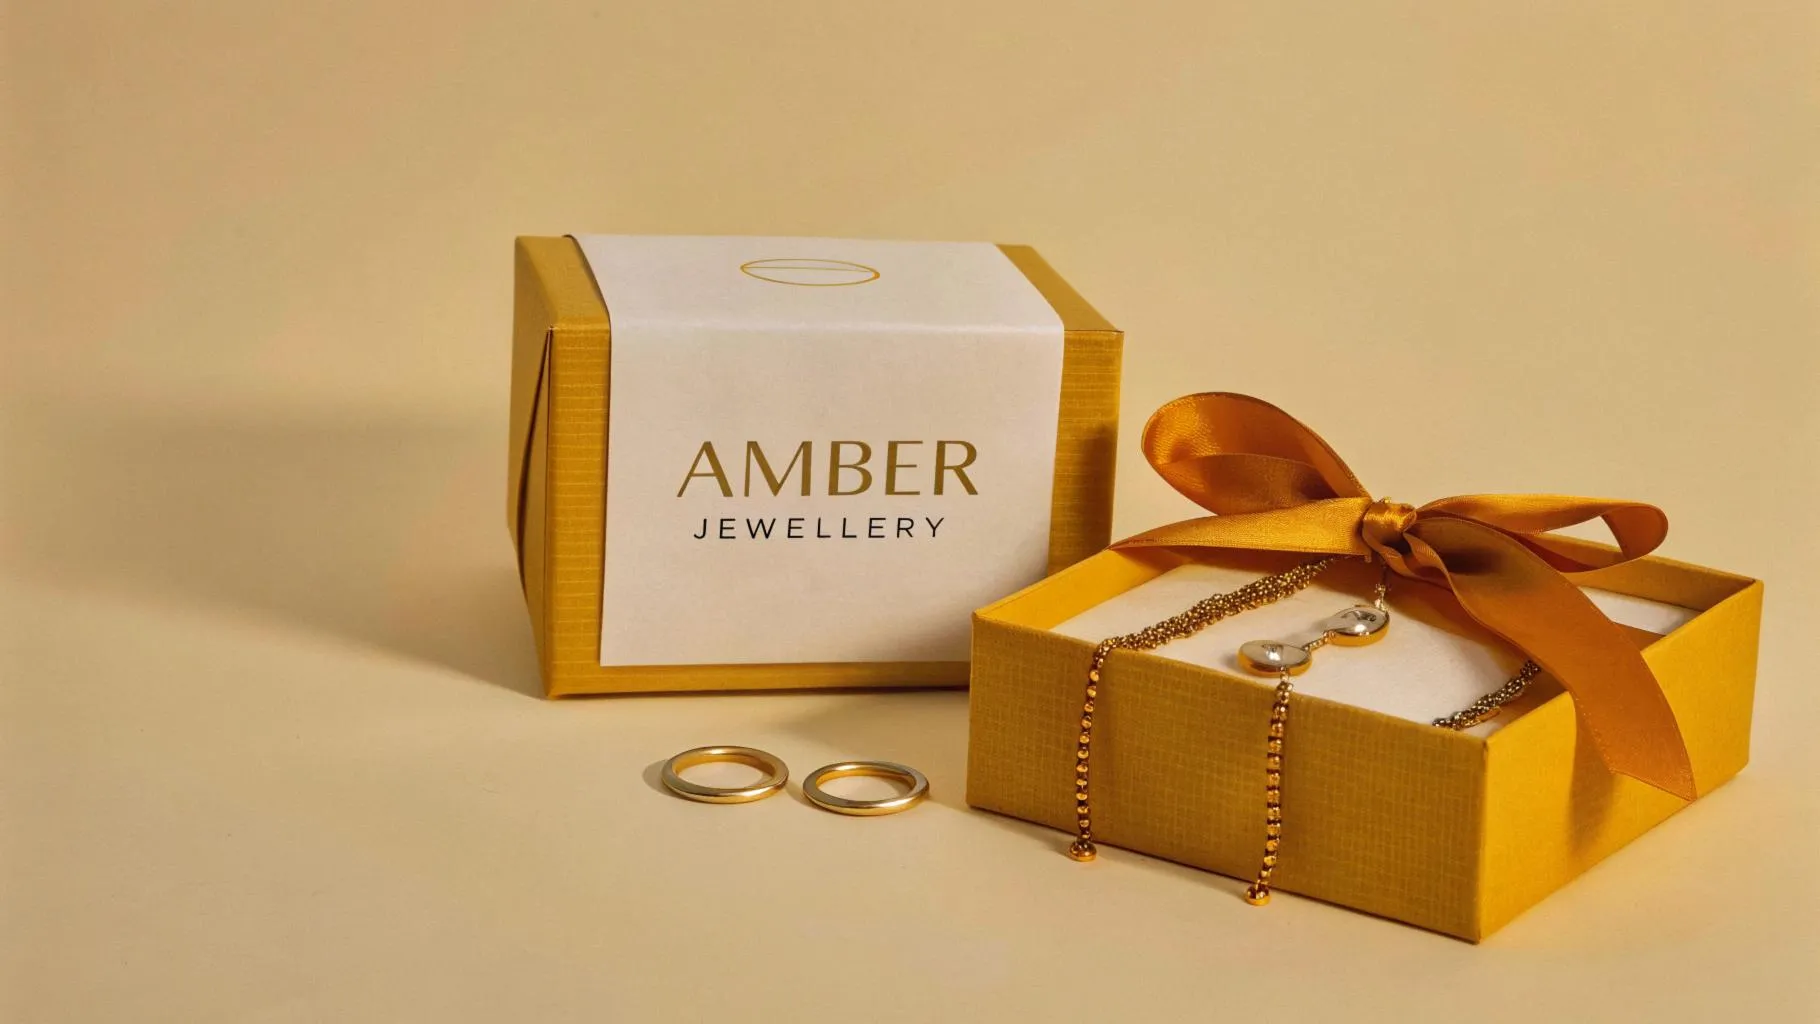
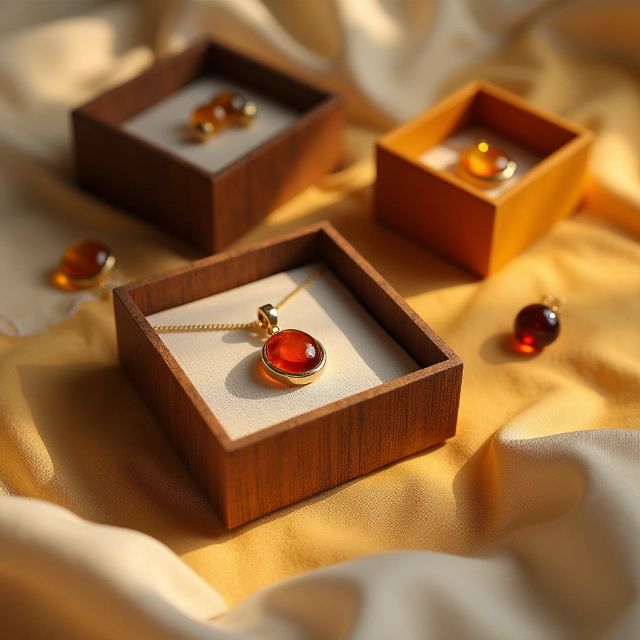
Richpack · Amber Jewellery Packaging Balancing Protection and Expression of Natural Beauty From the market research, in recent years, online sales of amber jewellery have been increasing year by year, with a growth rate of more than 30%, and are expected to continue to maintain a high growth trend in the future, which fully reflects the… Continue reading How to Line a Jewelry Box with Velvet: A Step-by-Step Guide
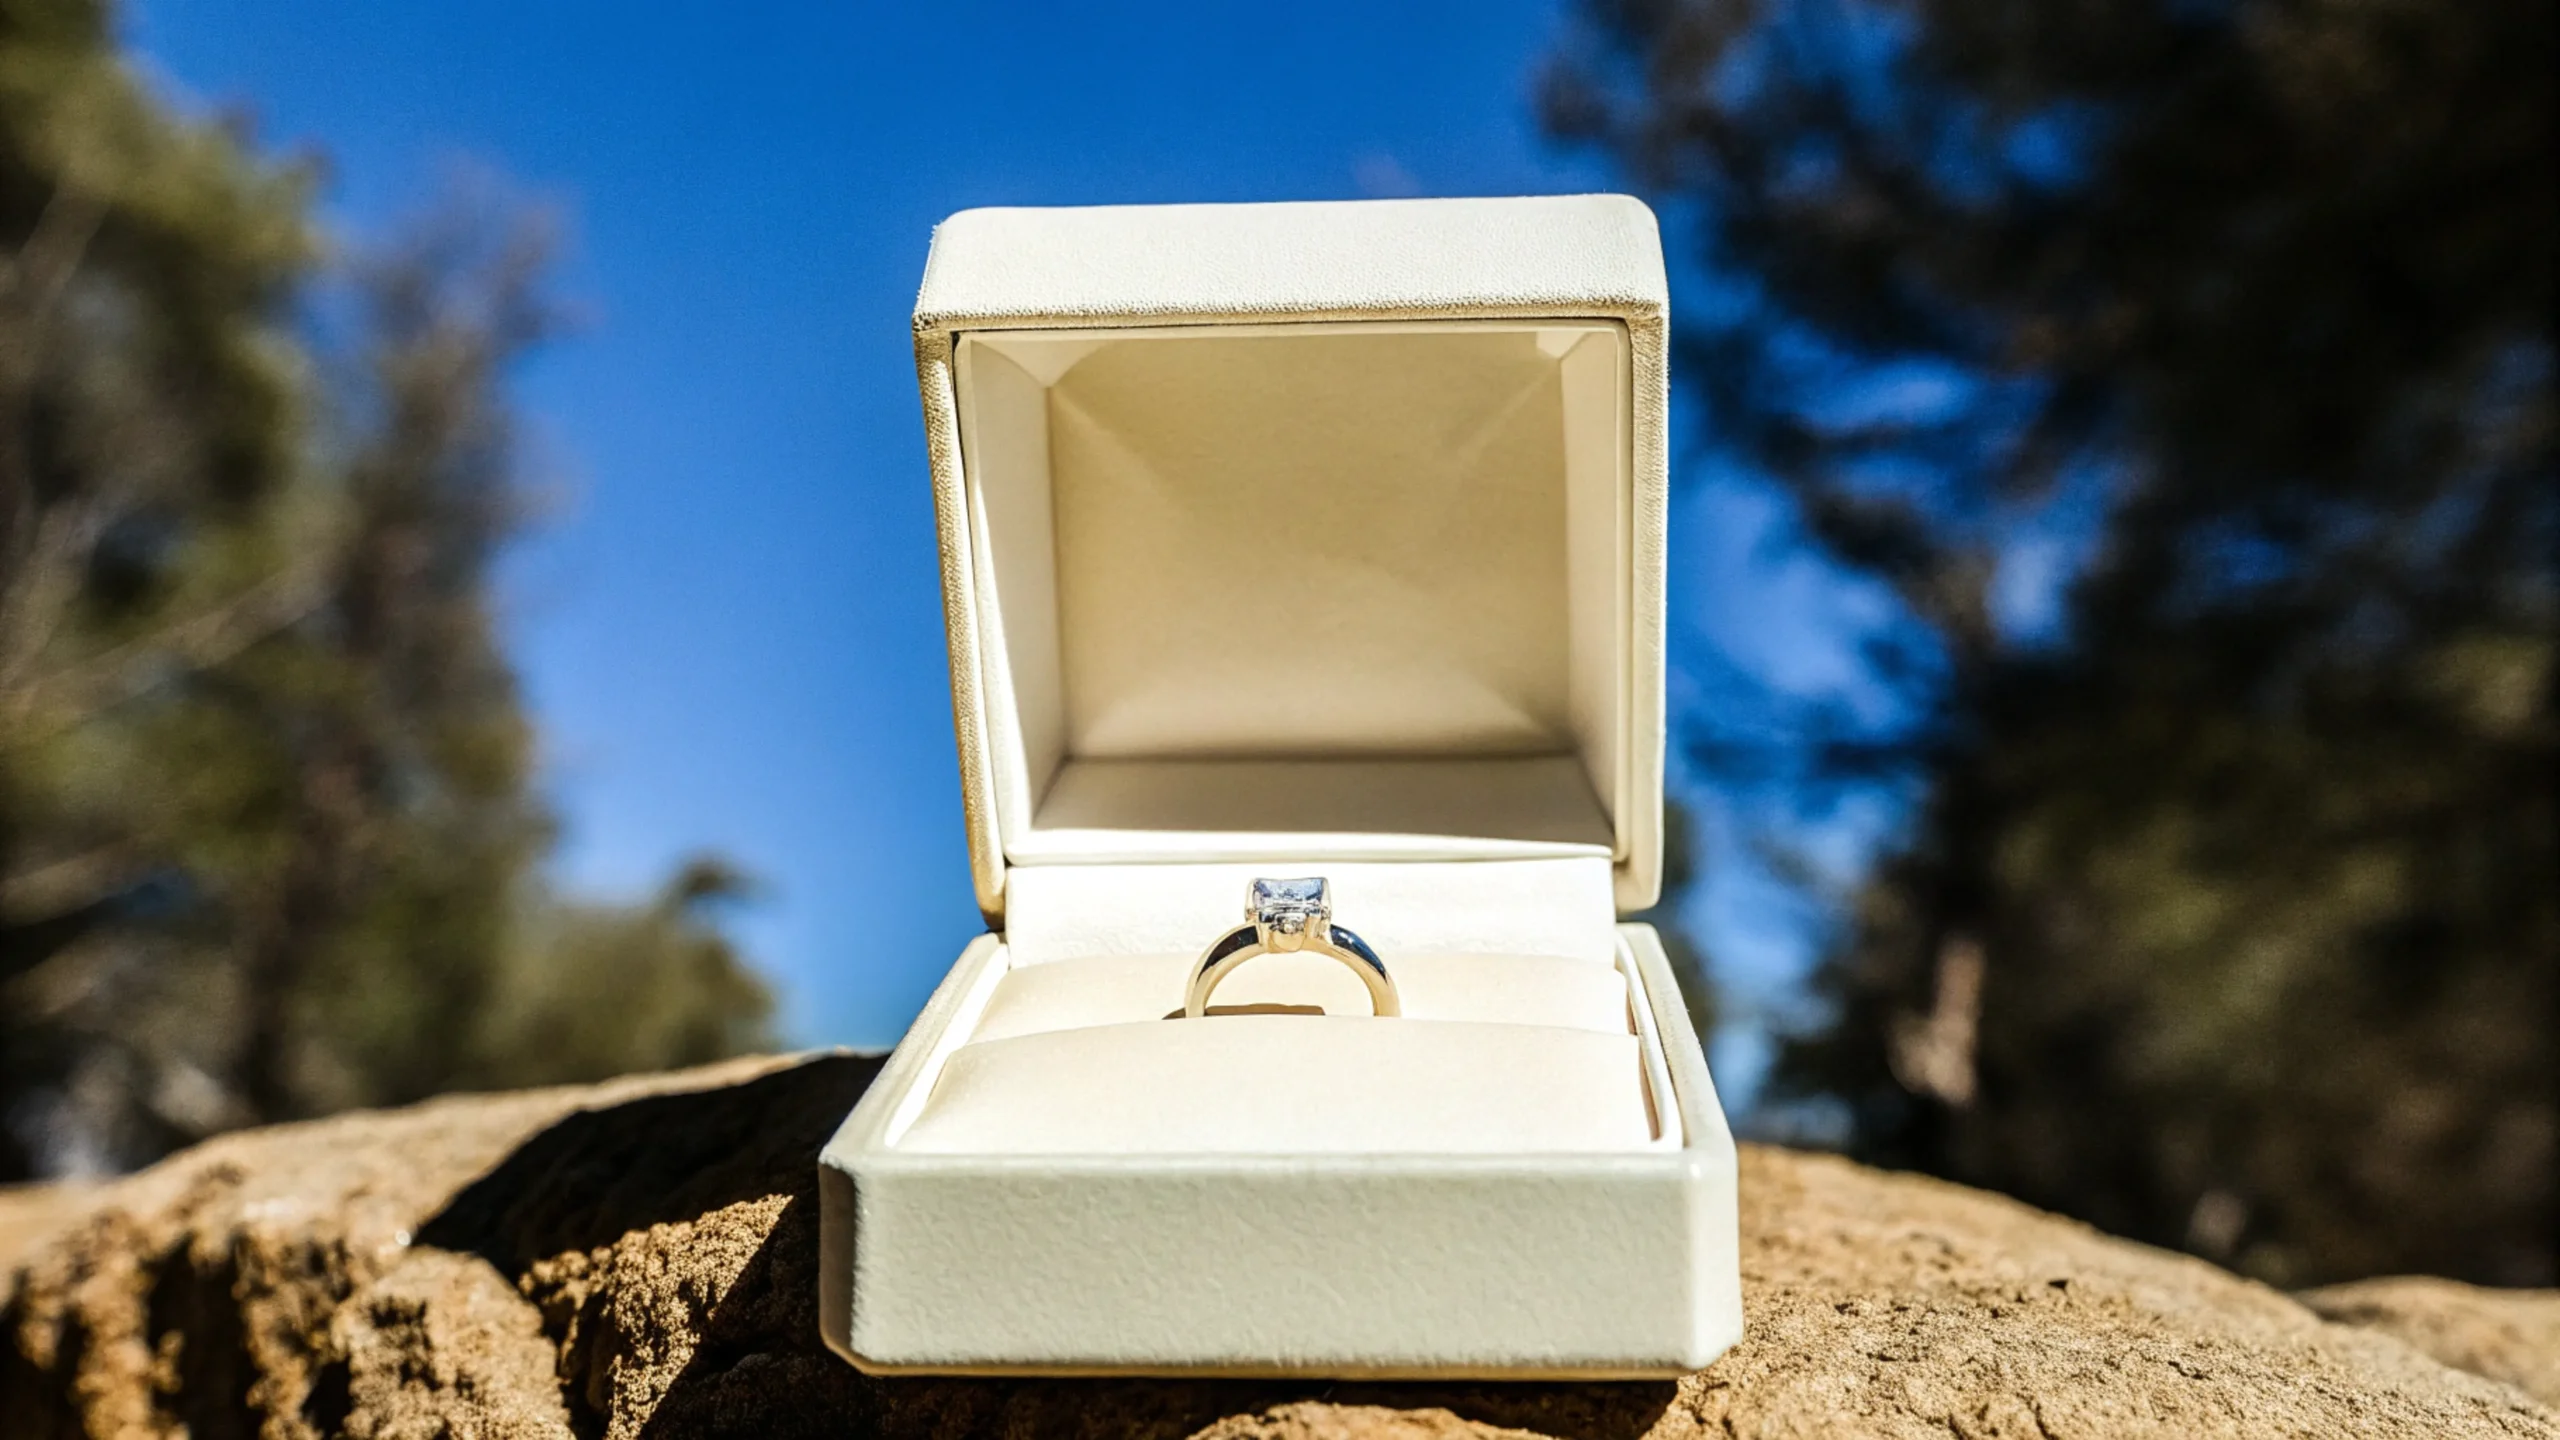
White gold rings have got a story that’s been unfolding for ages. Back in the day, white gold emerged as a trendy alternative to traditional yellow gold. It quickly caught on, especially for engagement rings and fancy jewelry pieces. And since I’ve been in this factory, I’ve seen how important it is to pair these stunning… Continue reading How to Line a Jewelry Box with Velvet: A Step-by-Step Guide
Richpack · Find Your Niche Vertical Labret Jewellery Packaging at Richpack The vertical labret piercing, a striking embellishment that traverses the lower lip, has emerged as a popular choice for individuals seeking a bold and distinctive aesthetic. According to Glimpse, search interest for vertical labret piercing has increased – 1% over the past year to… Continue reading How to Line a Jewelry Box with Velvet: A Step-by-Step Guide