

 PREV

10 Best Alternatives to Plastic Packaging for High-End Jewelry
2024-11-19




Good luxury packaging fits the product, carries the brand, and opens smoothly. Choose materials and finishes for a clear purpose, then judge them on a physical sample. That gives design and procurement teams a shared basis for approval.
These luxury packaging tips cover brand cues, product fit, and sample approvals so you can turn a visual direction into a brief your supplier can use. Jewelry brands can compare formats in our custom jewelry boxes collection as they apply the same checks.
Luxury packaging design starts with a clear brand brief. Make the material, opening action, and finish support it. The published advice below approaches that task from different angles. Together, it gives a brand team useful questions to settle before approving a design.
Our recommendation at Richpkg is to choose one primary brand cue and one functional priority before adding optional finishes. Check each addition against that purpose on the sample. If it cannot support recognition, handling, or product support, leave it off the first proof.
| Author and Published Source | Advice to Carry into the Brief |
| James Benard, identified by Benard Creative as its President and Creative Director | Study brand guidelines, understand production limits, and check physical proofs. |
| Charlotte Mattei, identified by Parcome Paris as a Key Account Manager | Match packaging to brand values and use, refine the finish, and set a budget. |
| Charlotte Spears, Finepack | Keep the design focused and carry the brand through the opening experience. |
| Matt Adams, Luxury Printing | Consider color contrast, raised or recessed details, and ease of opening. |
| Scott Kuhnel, Global Printing & Packaging | Coordinate material quality and brand presentation with convenient use. |
The following decision aid turns those viewpoints into things to inspect. Each choice needs to suit the product and brand.
| Design Cue | Possible Role | When It Helps | What to Check |
| Brand color and typography | Connect the package to the brand | Across a range of products | Compare every component with the approved references. |
| A focused front panel | Direct attention | When one mark or detail should lead | Check whether smaller text still reads clearly. |
| Texture | Add a tactile detail | When touch is part of the presentation | Handle the actual material and finished sample. |
| Opening sequence | Control the reveal | For gifting or product presentation | Open, remove, and replace the item. |
| Foil or relief | Highlight a selected feature | When it supports a specific brand cue | Inspect its edges and appearance on the chosen material. |
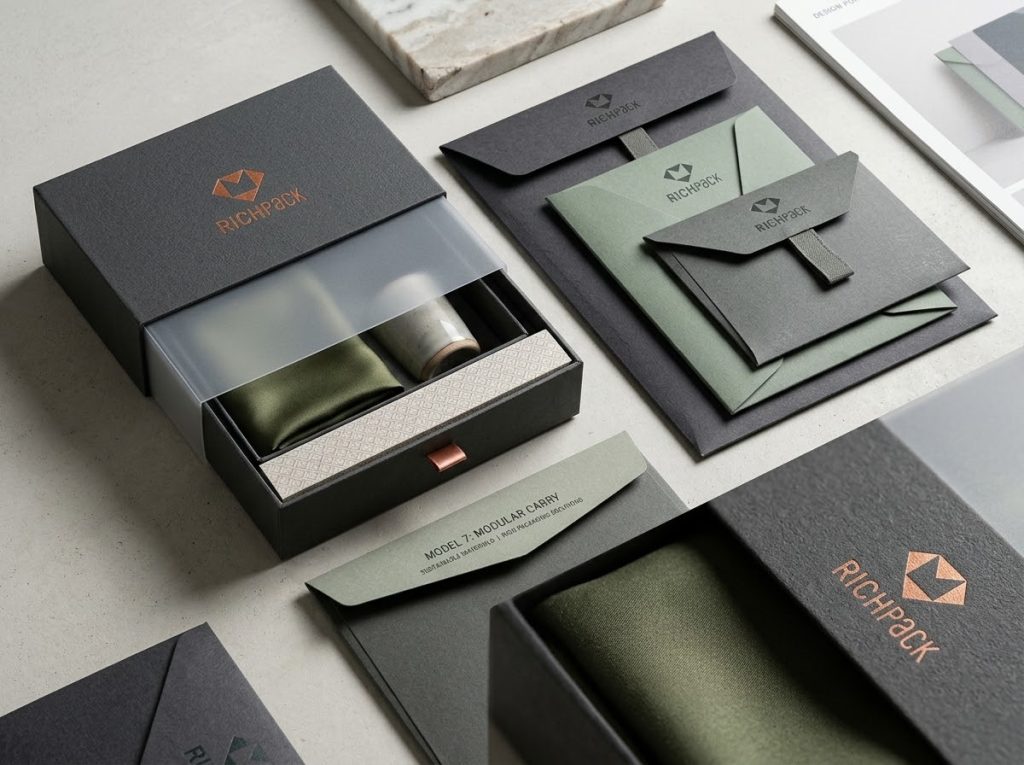
James Benard’s advice to study brand guidelines gives the design a useful starting point. Gather the approved logo, colors, typefaces, and spacing rules before choosing a box or surface treatment. Those constraints help a team judge proposals against the same reference.
A new package can introduce a different shape while keeping the brand recognizable. Compare the lid, insert, and accompanying card together. If each uses a different interpretation of the logo or color, resolve that difference before requesting a finished sample.
Charlotte Spears puts minimalism among Finepack’s luxury packaging tips. Apply that idea by deciding what should attract attention first. A clear focal point makes it easier to judge whether another pattern or finish adds anything useful.
Restraint can work with strong color or illustration, too. Keep elements that belong to the brand and remove those competing for the same job. Premium packaging design can include bold patterns when they belong to the brand.
Charlotte Mattei links packaging choices to how the package will be used. Identify the surface you see and the parts that form the box or hold the product. Reviewing those parts separately helps you keep a preferred texture from deciding every choice of structure.
For gift presentation, compare the formats in our gift boxes range alongside the actual product. Handle the samples, check the available space, and separate the surface you like from the support the item needs.
Spears describes the experience as part of the design. Hallmark Labels and Print develops that idea through the unboxing journey. Translate it into actions: find the opening, lift or slide the cover, see the item, and take it out.
Try that sequence with someone who hasn’t seen the design. Watch where they hesitate or need a second hand. A deliberate reveal should still leave a clear route to the product, without loose parts obscuring it.
Matt Adams discusses color contrast and embossing or debossing, which create raised or recessed details. Choose the feature that deserves that treatment before selecting the technique. A logo might need a tactile outline. A printed illustration may already provide enough detail.
Show the supplier which detail the finish should bring out, and request a proof on the intended material. Compare it with a version without the effect. Keep the added process when it makes the chosen feature clearer. Benard’s advice on physical proofs helps you judge that choice in the actual material.
Choose a structure around the product and its route to the customer, then check how the finished package behaves. Duplo’s guide begins with product, audience, and sales channel. That order helps separate presentation choices from the protection and handling jobs they must support.
Our packaging view is to list three jobs separately in the brief: present the product, hold it in position, and protect the shipment. One component may serve more than one job, but do not assume that a presentation box is also the tested shipper.
A box used on a retail counter and one traveling inside a parcel have different duties. Start by listing where the product will be handled, displayed, stored, and shipped. Then compare formats against those conditions.
| Use | Design Priority | Sample Check |
| Retail presentation | Clear display and repeated access | Can staff open, show, and reclose it easily? |
| Gifting | A clear reveal and space for any message | Can the recipient reach the item without disturbing loose layers? |
| E-commerce | Product restraint and a suitable outer shipping pack | Does the complete packed item meet the agreed transit checks? |
| Storage after purchase | Convenient access and a useful footprint | Does the product remain organized when put away? |
For a closer comparison of rigid presentation boxes and other options, see our guidance on rigid boxes in luxury packaging. A rigid shell alone doesn’t establish how the packed product will perform in transit.
Give each layer a defined job. The box sets the presentation shape. An insert positions the product. The outer shipping pack addresses the parcel journey. Check the combination with the actual item inside, since a display box can still leave room for unwanted movement.
Look for contact points as well as empty space. If a product rests against a printed wall or a loose accessory, decide whether that contact is acceptable. Adding tissue won’t resolve every fit problem. Adjust the support or dimensions, then inspect the revised sample.
Scott Kuhnel’s focus on convenience and Matt Adams’s advice on ease lead to a simple review: use the package as the customer would. Locate the opening without instructions, remove the product, and put it back. Check whether a ribbon can be grasped and whether the lid needs somewhere to rest.
If reuse is a design goal, choose the second use in advance. A box intended for storage needs enough room to return the item comfortably. An elaborate insert that only works for the first reveal may need a different layout.
The substrate is the base material receiving the print or finish. Review it as part of the finished combination: paper, ink, coating, and decoration. Our packaging materials overview can help you identify options to discuss before requesting samples.
Ask to see fine logo details on the chosen stock, especially near folds or textured areas. Check whether the surface marks during expected handling. A finish that looks right in a flat swatch still needs inspection on the assembled box.
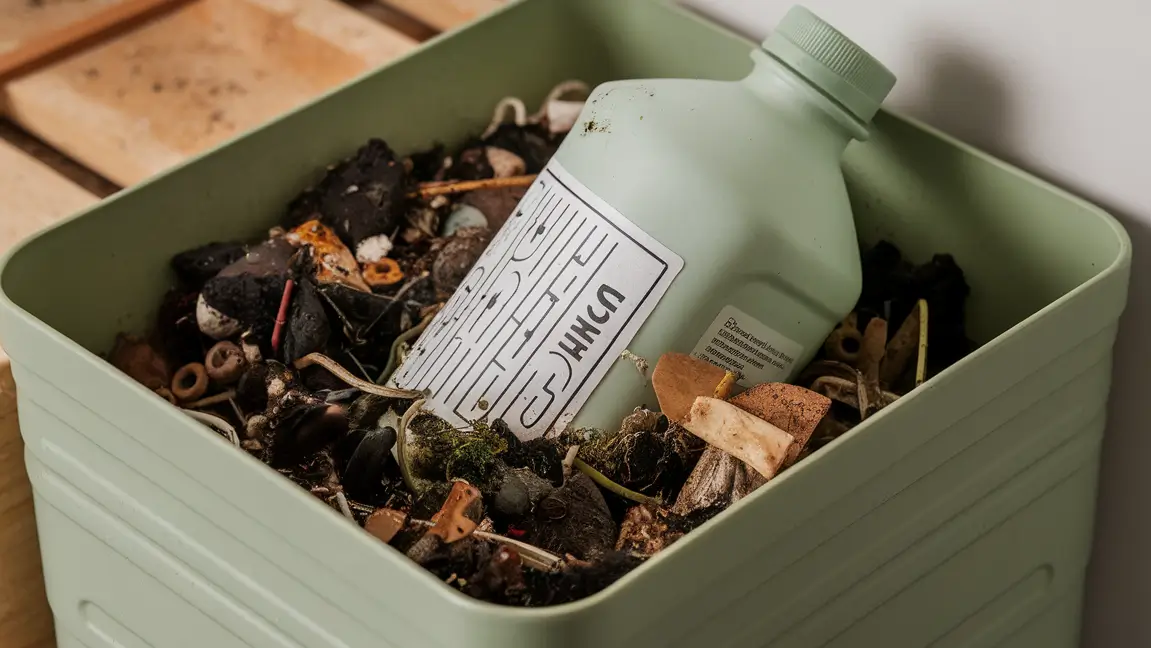
Finepack and Parcome both include environmental choices in their advice. Give those choices a specific meaning in the brief. Recycled content describes an input. Recyclability concerns what happens after use. Reuse and composting raise different questions again.
For any environmental claim, request the complete material list, including coatings, adhesives, closures, and inserts. Then confirm the claim against the actual combination and the collection or treatment options in the intended sales market. Our paper packaging solutions provide options to explore. A paper-based exterior alone doesn’t establish the whole package’s end-of-life route.
Set the package out in the order someone opens it. Label each component by its job: protect, support, present, or inform. If a sleeve and a card repeat the same message, consider whether one can carry it clearly. Keep required product and legal information accounted for.
Remove a layer in the next prototype and check what changes. If access becomes easier while support and presentation still work, you have a direction worth developing. Any claimed material or cost reduction needs its own comparison.
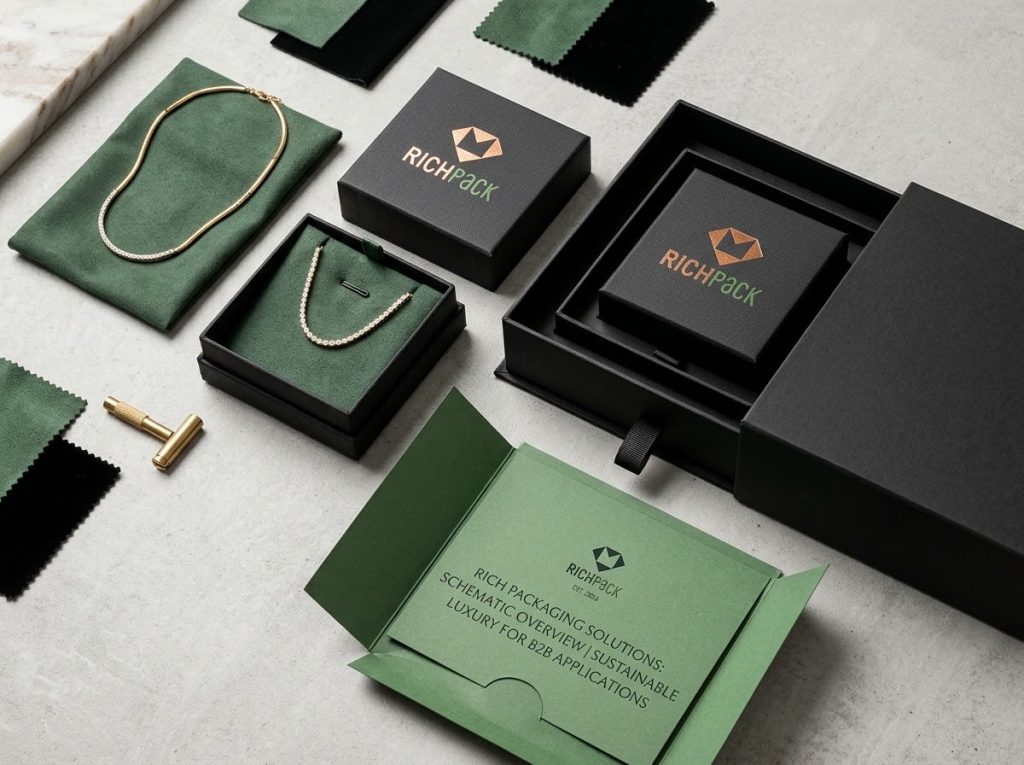
For an illustrative jewelry brief, start with the piece and its contact points. A ring setting, necklace clasp, and pair of earrings need different support. Compare jewelry box inserts with the actual piece. Check how the insert holds the piece and how easily you can lift it out. The insert should let the customer lift the item without pulling against delicate parts.
Brand cues need the same attention. In our published EFFY packaging example, the described palette includes black, white, gray, and metallic tones alongside the brand’s Jaguar motif. It shows one way to carry an existing visual identity into packaging. It doesn’t establish a sales effect or a transport result.
Bring those decisions together in the sample: product position, visible brand cues, opening clearance, and a separate outer pack where the delivery route requires one.
Turn the concept into a written brief, review the right samples, and agree on checks before releasing production. Benard, Duplo, and Clyde all discuss preparation or physical review. The sequence below combines those published recommendations into a practical approval checklist that teams can adapt to their project.
Our recommended approval sequence is to confirm the brief and dimensions, approve structure and fit, review the printed finish, and then assess the complete pack-out for its shipping route. Keep an owner, approved version, and open items with each decision.
1. Complete the brief. Provide the actual product or a dimensioned drawing, including any parts that project beyond its main shape. Add the intended customer, sales channel, and expected use. A designer needs to know whether the box will sit on a counter, travel in a parcel, or be kept for storage.
Include order quantity, destination, and the date the packaging must be ready for use. Distinguish that date from the factory dispatch date. List brand assets and any required product or market-specific text so those requirements enter the layout early.
2. Make quotes comparable. Benard and Mattei both place budget within the design discussion. Tell suppliers which features are essential and which are optional. Then request the same specification from each supplier, with alternatives quoted separately.
Check what the price includes:
Compare those inclusions before deciding where to spend more. A lower unit quote may leave out a component or service that another quote includes.
3. Settle the physical arrangement. Confirm the item’s orientation, internal space, insert position, and closure. Ask the supplier to distinguish internal usable dimensions from outer dimensions. This gives the team a common reference for fit and layout.
Check the structure with the product inside before fixing final artwork positions. If the lid, hinge, or insert changes later, review the affected artwork and dimensions again. Record which drawing and sample the team approved.
4. Separate structure approval from appearance approval. A plain structural sample can help you examine size, fit, and opening. A printed or finished proof lets you judge different questions, such as color, decoration, and surface detail. Ask which materials and processes each sample represents, and what remains untested.
Our packaging design and sampling information describes several sample formats. Choose the format for the decision at hand. A plain sample can’t approve printed color, and a digital rendering can’t establish the feel of a closure. Benard’s advice to inspect physical proofs directly addresses that gap.
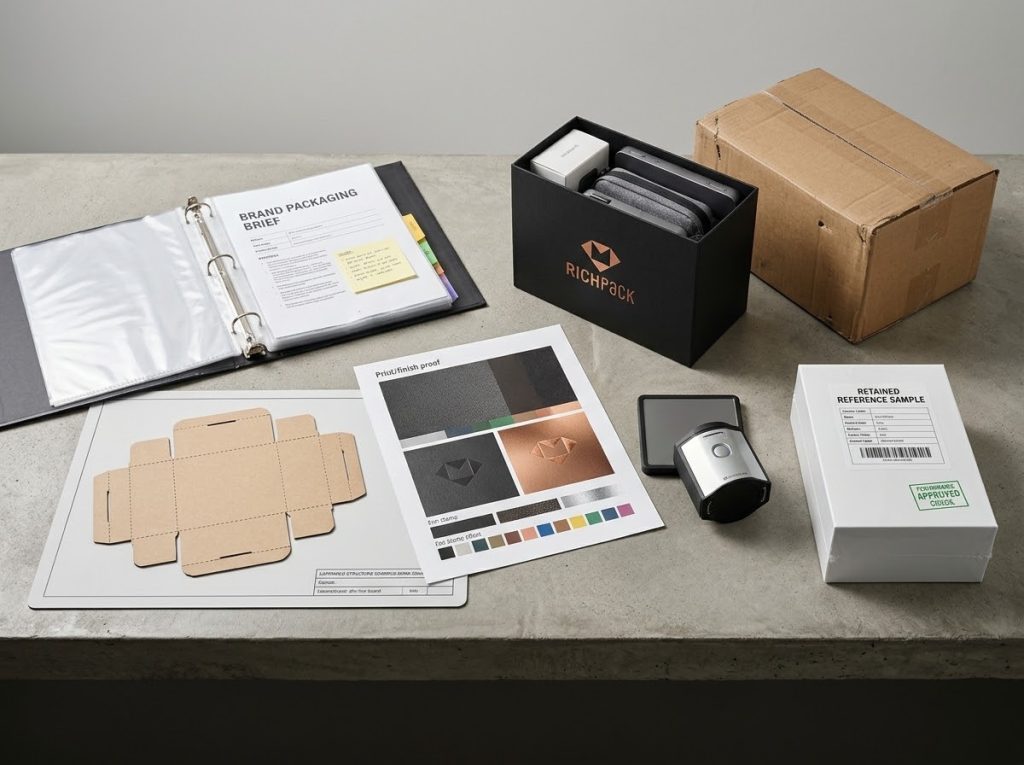
5. Compare the finished combination. Place the proof beside the approved brand reference under the lighting where it is likely to be seen. Review exterior and interior components together. Agree with the supplier which physical reference and viewing conditions will guide acceptance.
Record any visible mismatch against the approved reference, including where it occurs and which sample was checked. Agree with the supplier how to describe any accepted variation before final approval. That gives the inspection team a record of the version and any exceptions the brand accepted.
6. Check the complete shipment. Put the product, insert, presentation box, and shipping materials together. Clyde includes testing and sampling among its recommendations. The useful next step is to define what the planned delivery route requires.
Agree on the test method and acceptance criteria with the supplier or a qualified testing provider. Include product movement, visible damage, and the condition of the presentation box in that discussion. A successful opening check or a trial shipment doesn’t replace a required test. If a component changes, review whether the earlier test still applies.
7. Assign the handoffs. Establish who owns structural design, artwork, samples, production inspection, and shipping preparation. Ask what evidence will accompany approval and how changes will be recorded. This makes gaps easier to resolve before the order reaches production.
You can use our published quality process as a starting point for that conversation with Richpkg. Confirm the checks, documents, and delivery scope for your specific order. Where a certification or performance claim affects your choice, request evidence covering the relevant material, process, or finished package.
8. Preserve the approval record. Keep an approved physical sample alongside its specification and artwork version. Add the approval date, responsible person, and any agreed exceptions. The sample shows what was accepted, while the documents identify the details that may not be obvious by looking at it.
For a repeat order, compare the requested specification with that record before treating it as unchanged. A new product size, material, or finish may require another sample or check. The retained reference supports that discussion. It doesn’t replace production inspection.
Consider an interior print revealed as the lid opens, a drawer structure, a tactile logo, or a box intended for storage. Choose an idea for its brand or use value, then check product fit and opening in a sample.
Judge a reference against your own product and customer needs. Compare brand consistency, access, product support, and the full delivery arrangement. A recognizable package can offer visual inspiration while still being unsuitable for your product or channel.
Create a clear focal point, use consistent brand elements, and select a surface or finish that supports them. Review the assembled package with the product inside so the design works at the moment of opening.
Define the product and channel, choose a structure and materials, and develop the artwork and finish. Review structural and finished samples, then agree on product-fit and transit checks before releasing production.
Start with the product, contact points, and intended use. Compare structural support, appearance, finish compatibility, cost, and end-of-life requirements. Request samples of the complete material combination before deciding.
Take one design direction far enough to judge it in use. A sample should let the team check the product’s position, the opening action, and the finished brand details together. Record what has been approved and what still needs evidence before releasing the order.
Richpkg provides custom jewelry packaging support from design to delivery. To discuss your project through our custom packaging services, bring product dimensions, quantity, brand references, destination, and the date the packaging is needed. Those inputs give the conversation a practical starting point.


2024-11-19

2024-10-10

2024-11-07
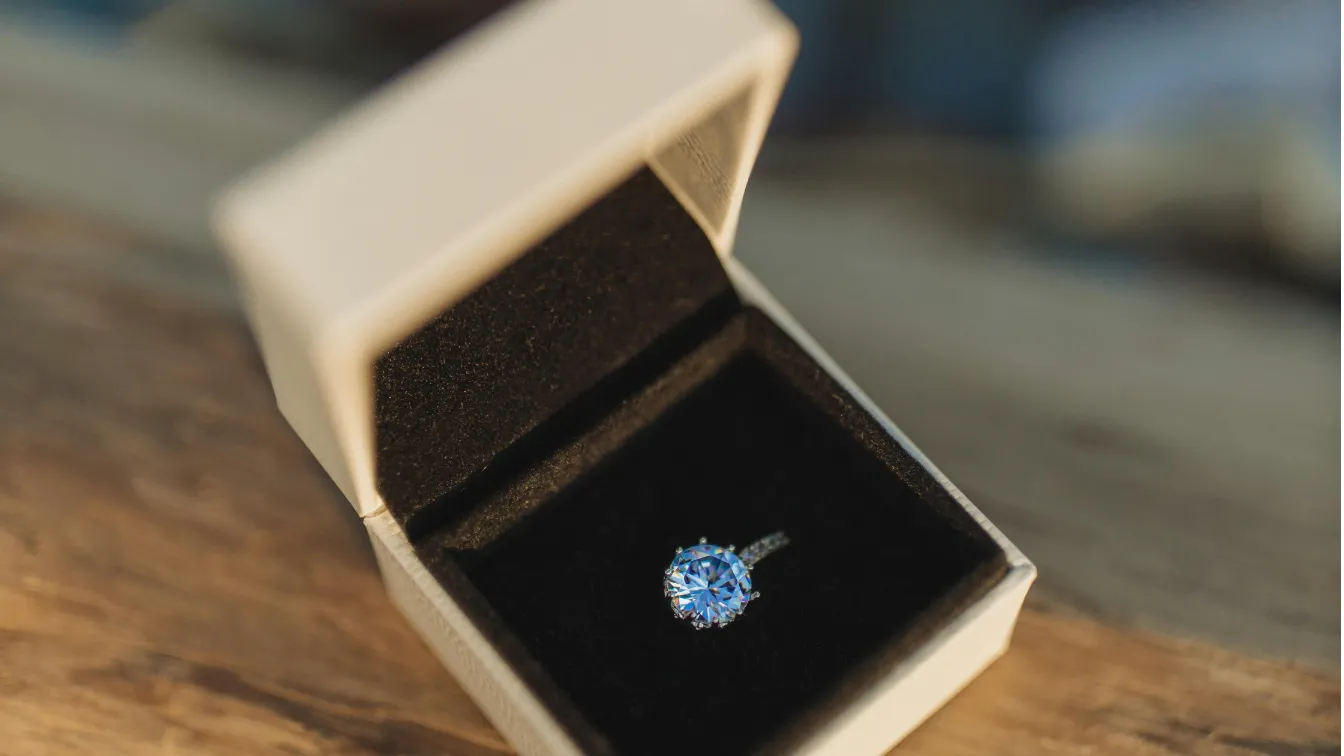
The first impression of your brand probably starts with your packaging. While well-designed packaging can help you captivate customers, inadequate packaging can undermine your brand’s image. We will introduce creative jewelry packaging design, from minimalist gift boxes to eco-friendly options, and several tips to help you choose the right packaging in this blog. Let’s keep reading, and… Continue reading Expert Roundup: Tips on Luxury Packaging

72% of American consumers now consider price the most important factor when shopping online, even more important than product quality. For example, Temu, the low-price strategy-based app, is popular in the US market. For the jewelry packaging industry, this may not be a good thing. Because it makes people wonder whether the quality can be as… Continue reading Expert Roundup: Tips on Luxury Packaging

With sustainability becoming a global priority, industries across the board are embracing greener practices, and jewelry packaging is no exception. According to a report by Future Market Insights, the global market for paperboard jewelry boxes—a popular eco-friendly choice, is growing from $84.5 million in 2024 to $118.6 million by 2034. The increase has shown a… Continue reading Expert Roundup: Tips on Luxury Packaging
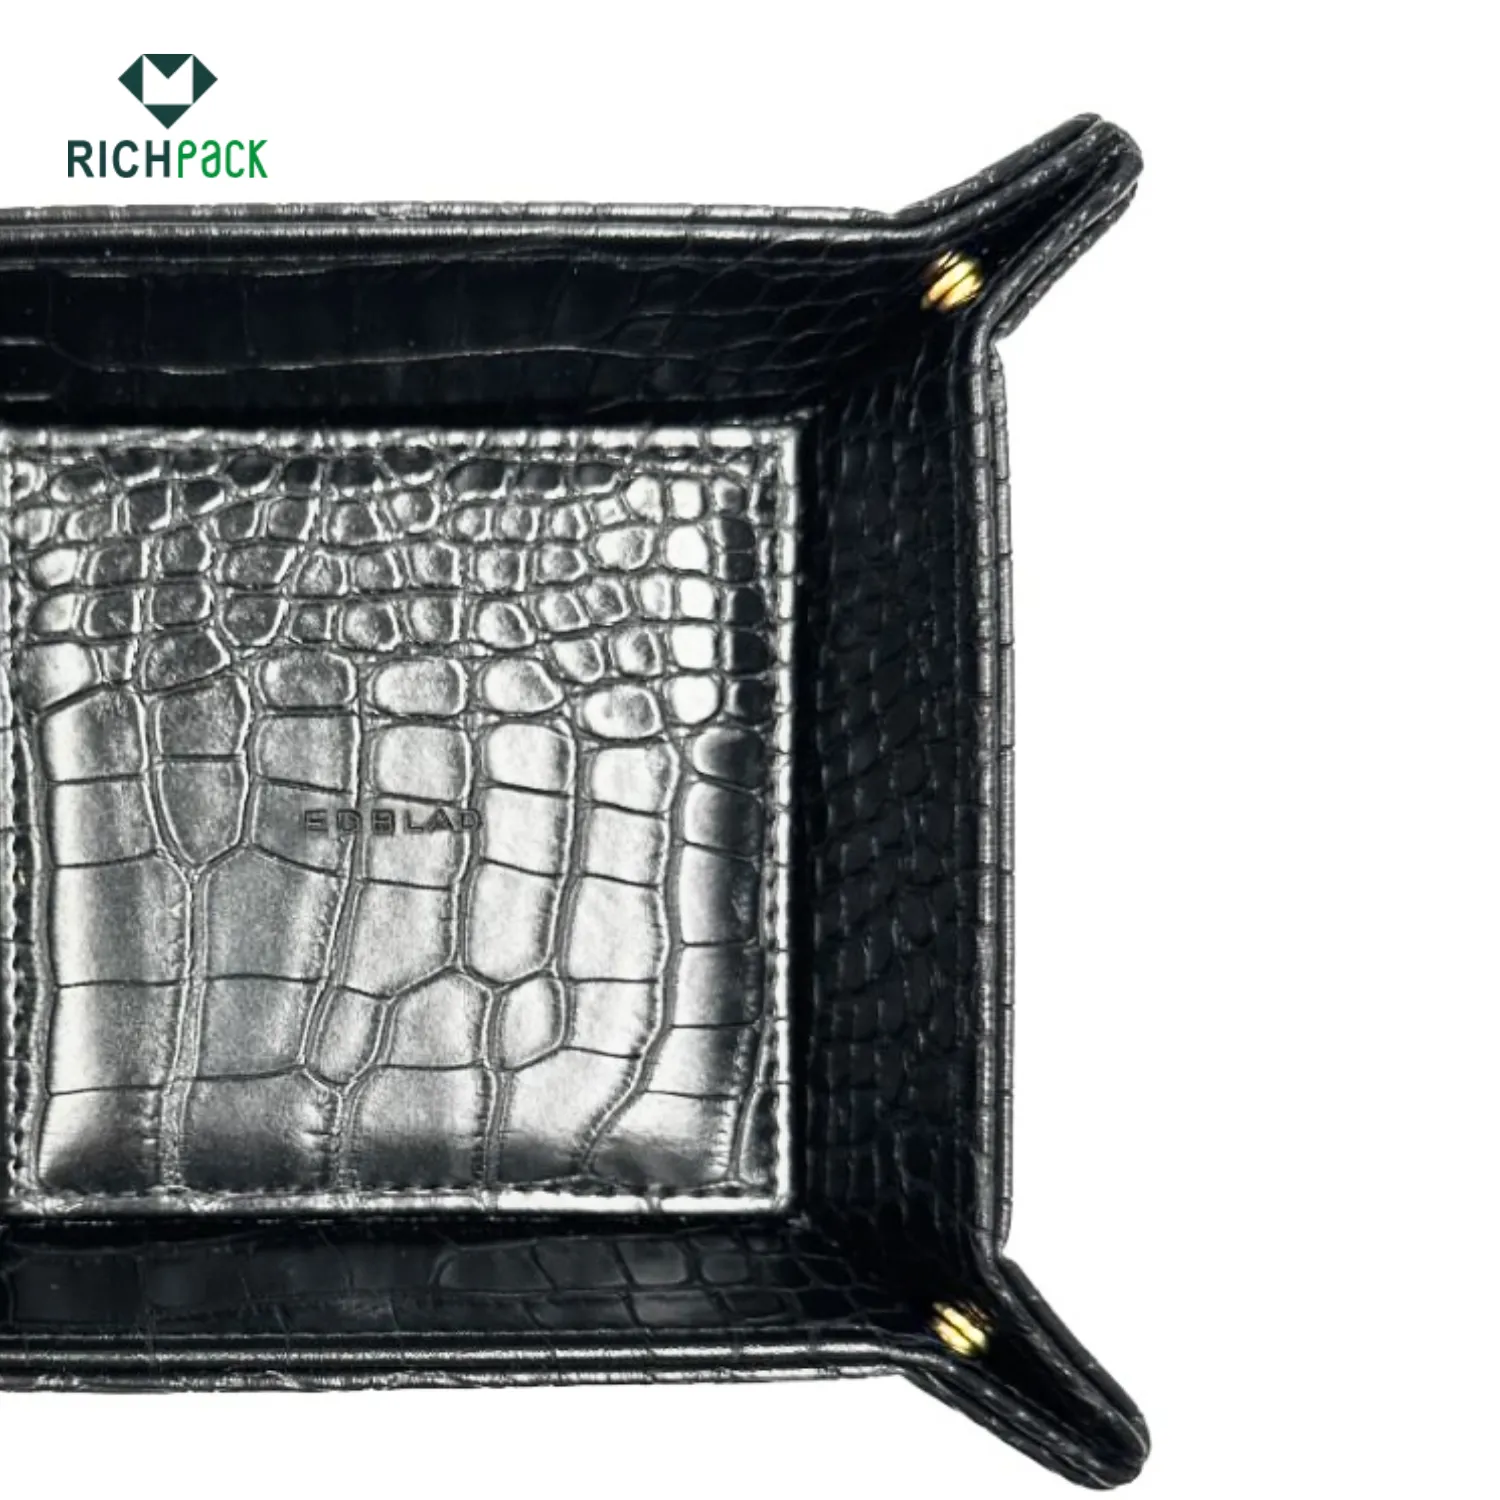
Special Counter Good Quality black custom color size stackable Leather Jewelry Tray display For Jewelry Showcase Window
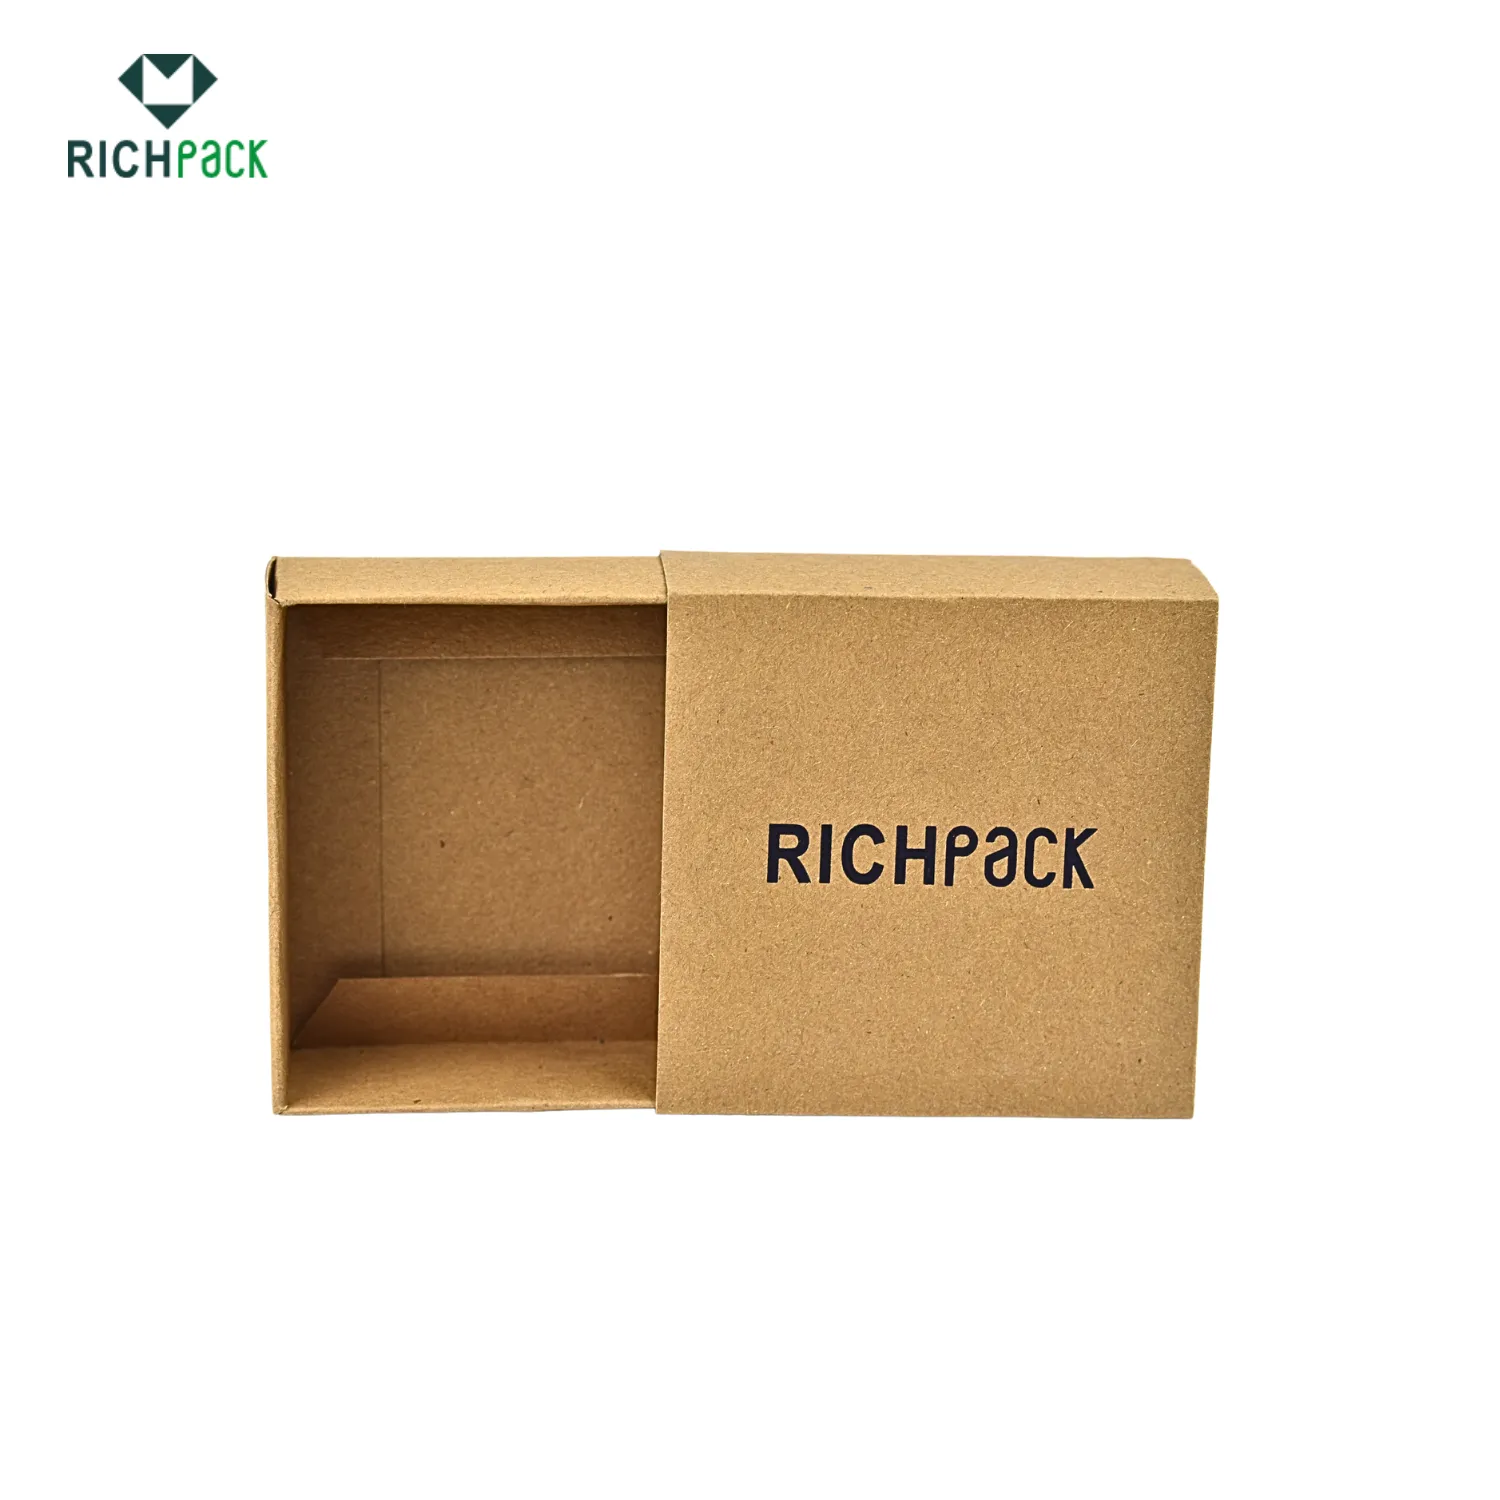
Biodegradable Jewelry Packaging with Personalized Designs for Retailers | Ideal for Jewelers Needing Green and Branded Packaging Solutions
Custom and Artistic Branded Paper Bags with Unique Patterns | Tailored Packaging for Jewelry Merchants and Luxury Brand Marketing

Richpack Velvet-Lined Jewelry Organizers | Premium Packaging for Jewelry Merchants Needing Safe and Elegant Storage Solutions
View More
Tips for How to Close a Gift Bag with the Handles – Enhance Your Packaging with 2024 Custom Ribbon Bag Handles and Elegant Gift Bag Solutions from Richpack
View More
Branded High-End Jewelry Gift Boxes with Foil Stamping Luxury Packaging for Premium Jewelry Brands | Customizable Designs
View More

