 PREV
PREV
Best 4 Jewelry Storage and Displays Ideas for Stunning Jewelry Spaces
2025-04-16

It’s a common scenario for jewellers: you’ve curated a collection of exquisite necklaces, confident in their quality and design. Yet, day after day, these treasures sit untouched in their cases, seemingly invisible to customers. You review sales data only to find that your most promising pieces are underperforming. This experience is frustrating, impacting not just your revenue but also your confidence in your own curation.
When a beautiful piece of jewelry doesn’t sell, the immediate impulse is to scrutinize the price, marketing, or even the product itself. But the problem often lies in a place seen every day but rarely truly observed: your display.
It’s time for a fundamental mindset shift. Jewelry displays, busts, and trays are not passive storage tools; they are the most diligent, loyal, and silent salespeople in your store. They work 24/7 with a core mission: to capture a customer’s attention, tell each necklace’s story, convey its value, and ultimately, persuade the customer to make a purchase.
A well-planned display can dramatically elevate a piece’s perceived value, making a $50 necklace look like a $500 work of art. Conversely, a cluttered, disorganized, or outdated display can become a “silent killer” of sales, actively deterring potential customers regardless of product quality or competitive pricing. Many retailers view display props as a necessary cost—an expense line on a ledger. However, successful merchants understand this is not a cost, but a direct business investment. Effective visual merchandising directly boosts sales, customer satisfaction, and overall revenue. Every dollar spent on a high-quality, strategic display solution, such as those offered by Richpack, is an investment in an efficient sales tool for your most valuable asset—your inventory—designed to deliver the highest possible return.
This article provides a detailed blueprint for transforming your necklace displays from overlooked backdrops into powerful, sales-generating engines. Whether you are an emerging independent designer or an experienced boutique owner, these principles and techniques will help you unlock the full potential of your jewelry, ensuring every carefully selected necklace finds its owner.
A successful display is not an accident; it is built on a foundation of proven visual merchandising principles. These four core tenets—Visual Anchors, Dimensional Power, The Luxury of White Space, and Curated Storytelling—are not isolated tricks but an interconnected system. They work in concert to build a “visual hierarchy” that controls the customer’s journey and emotional response, guiding them toward a single conclusion: a purchase.
When a customer enters your store, their eyes need a place to land. A successful display must immediately capture their attention. This is the power of a “visual anchor” or “focal point”—the “hook” that draws a customer in from across the room.
This starting point of the visual journey must be clear and compelling. Implement these proven methods to establish a strong focal point:
One of the most common display mistakes is laying all necklaces flat on a single surface, creating a monotonous, uninspired plane. Variation is what captures the eye. A display with layers and depth encourages a customer’s gaze to move and explore rather than scan and dismiss.
To build a dynamic visual landscape, think like an architect and blend vertical and horizontal elements:
This multi-level approach not only maximizes limited display space but, more importantly, naturally guides the customer’s eye from one focal point to the next, creating a sense of discovery and engagement.
In visual merchandising, “negative space,” or “white space,” is a powerful tool. It combats visual clutter and significantly enhances a product’s perceived value. When a space is overfilled, it creates the impression of a discount sale, regardless of the items’ quality.
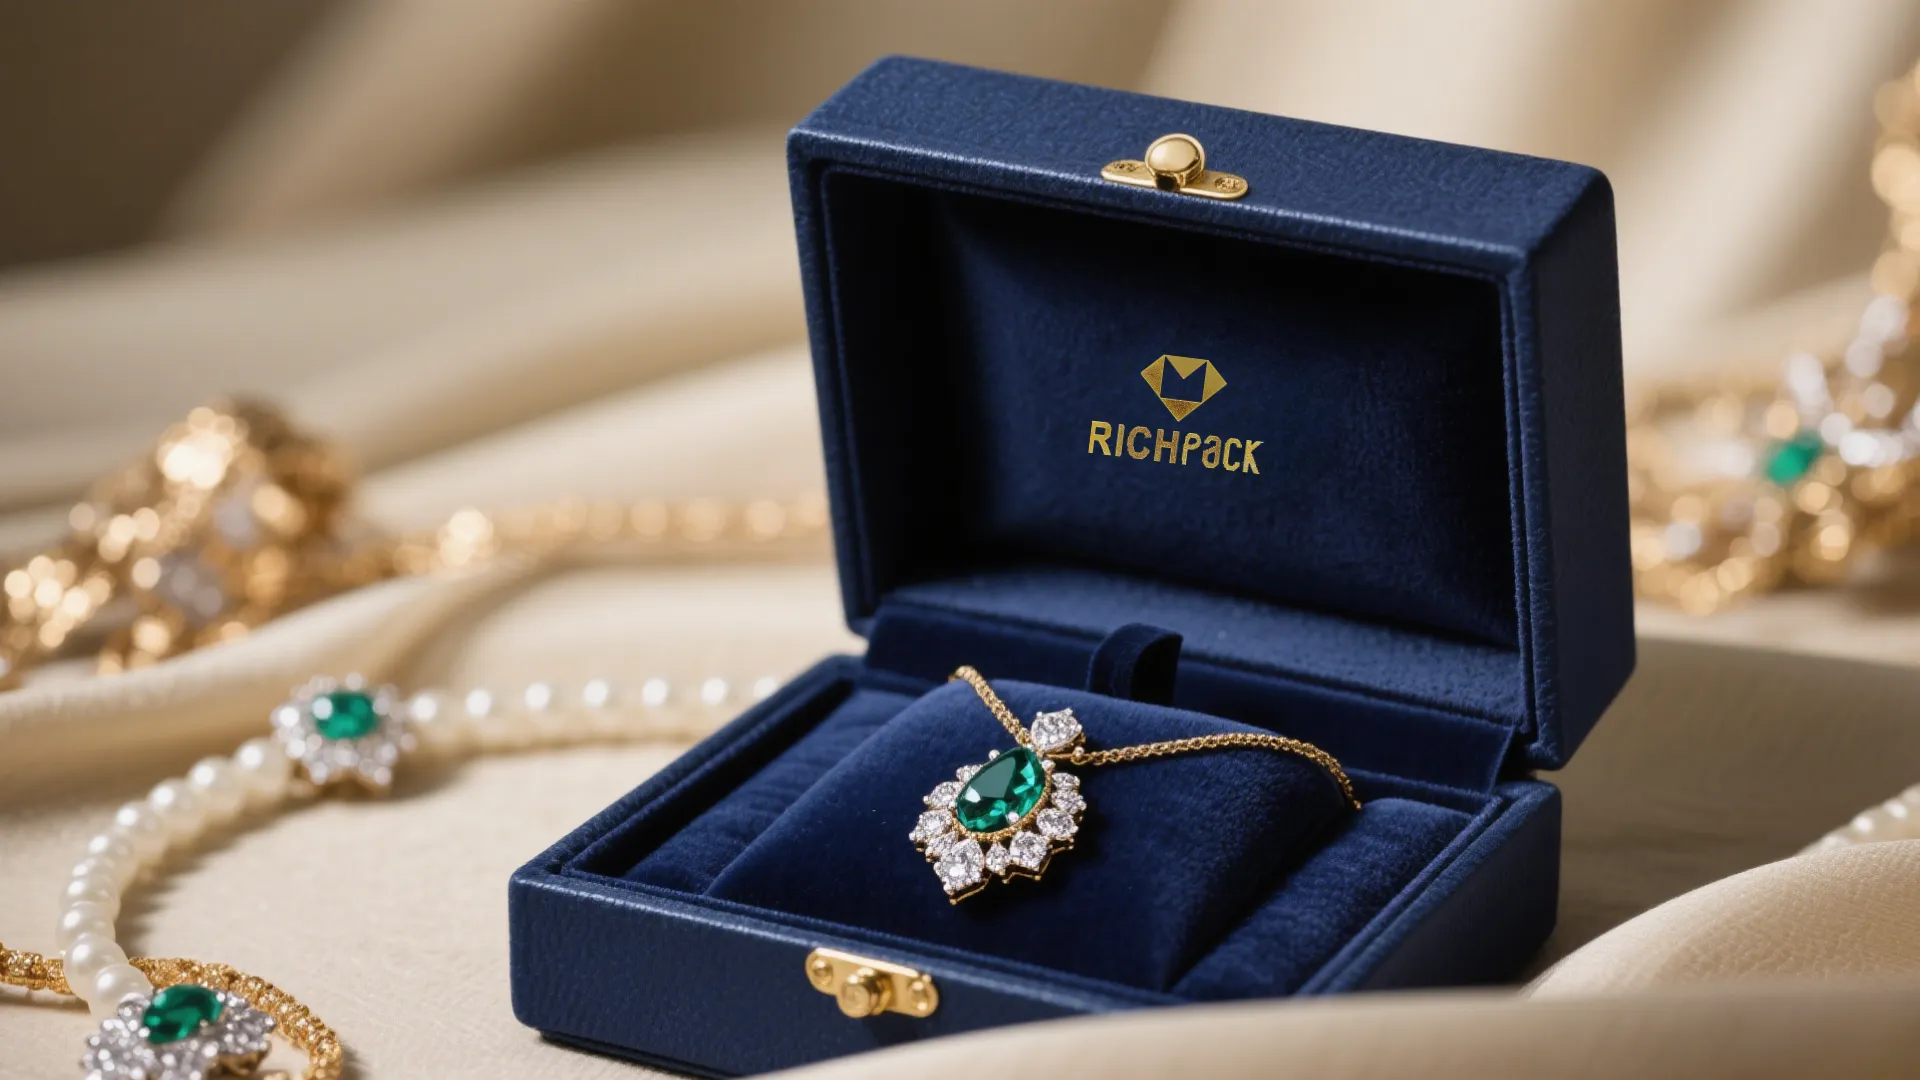
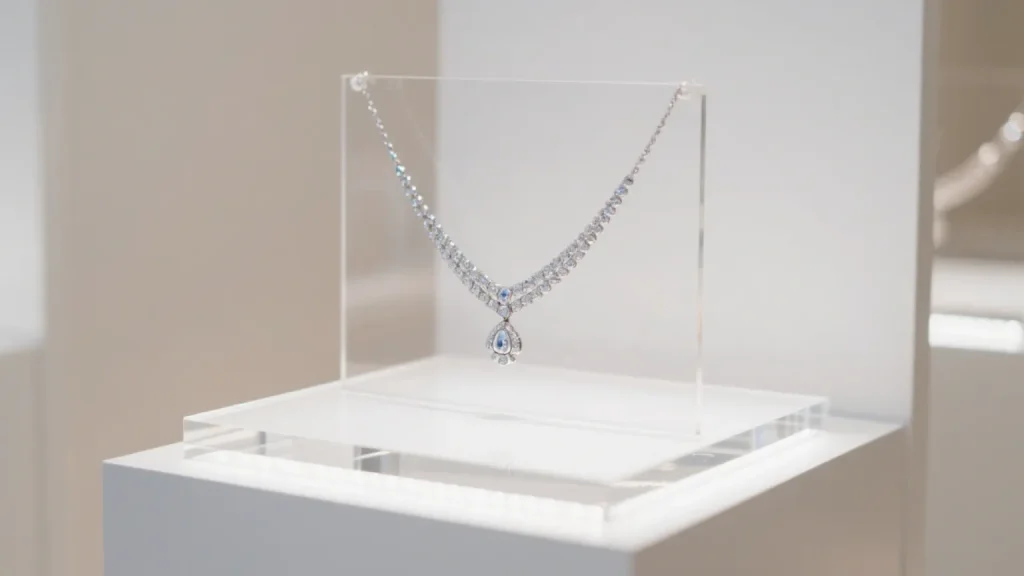
White space gives each piece of jewelry room to “breathe,” implying rarity and uniqueness. Ample spacing allows each item to be appreciated as an individual work of art rather than just another product on a crowded shelf. The key is finding the right balance: too little white space feels cluttered, while too much can feel empty and cold. For high-end jewelry, an effective strategy is to feature a single, stunning piece within a small area, using extreme simplicity to highlight extreme luxury.
Once a visual anchor has drawn the customer in, dimensional layers have guided their eye, and white space has allowed them to appreciate the details, the final step is to forge an emotional connection through storytelling. Grouping necklaces with intention not only makes the shopping experience easier and more intuitive but also stimulates the desire to buy.
Move beyond random placement and adopt these strategic grouping methods:
With this approach, your display is no longer a mere collection of products but a carefully curated narrative space. It answers the customer’s subconscious question: “Is this piece for me, and how will it fit into my life?”
With the core principles established, the right tools are needed to bring these concepts to life. Lighting, props, and display fixtures are not just background elements; they are active participants in shaping your brand identity and narrative. Every material you choose and every beam of light you cast silently communicates your brand’s values.
Different necklaces require different stages to showcase their unique charm. Understanding the features and applications of various display props is the first step toward creating a professional-grade presentation.
These are ideal for showcasing multiple necklaces of varying lengths simultaneously. They effectively prevent chains from tangling and create rich vertical layers, making them perfect for demonstrating layered necklace combinations.
To help you make quick decisions, here is a quick-reference guide:
| Display Tool | Best For | Key Advantage | Pro Tip |
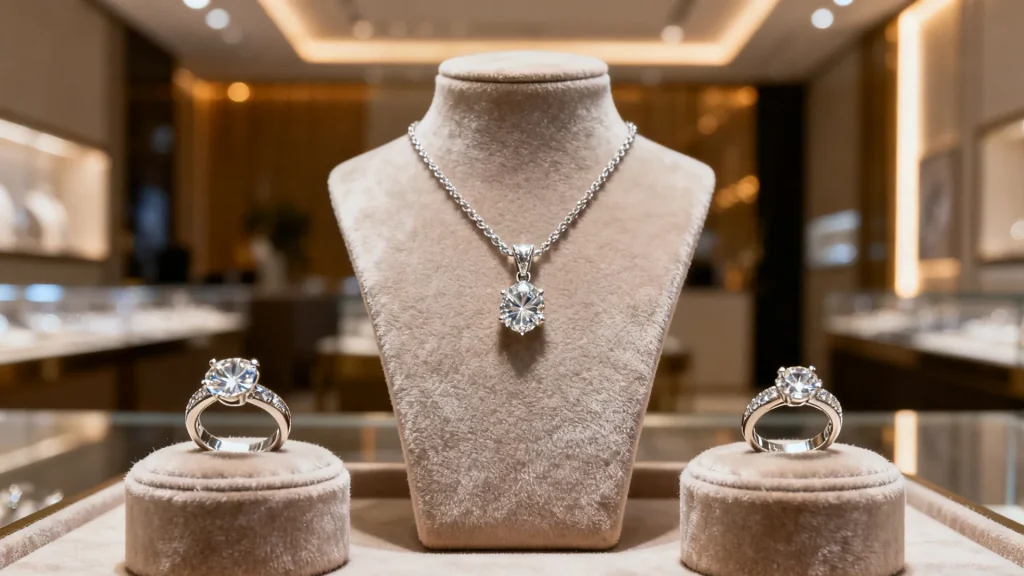
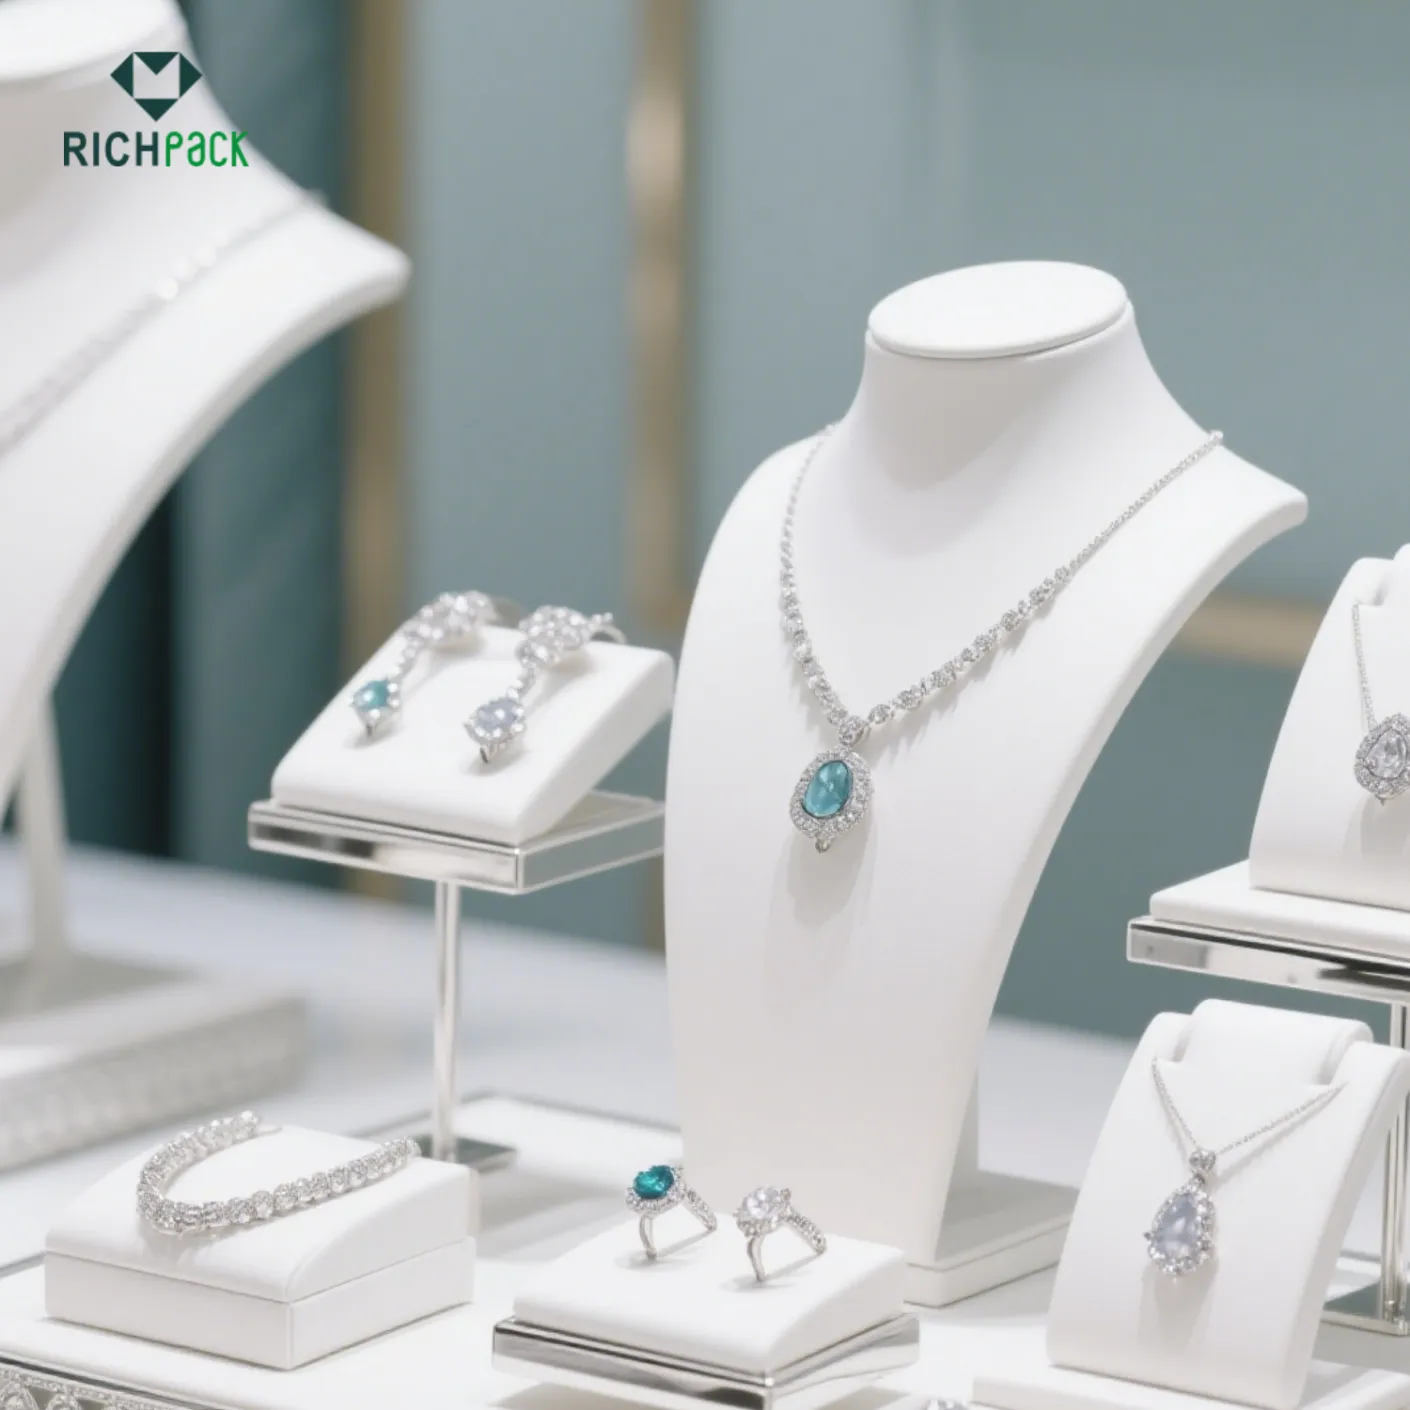
| Velvet/Linen Busts | Statement necklaces, chokers, pendants | Shows natural drape; conveys luxury | Use busts of varying heights to add depth and avoid a static, “lined-up” look. Choose neutral background colors that make the jewelry “pop.” |
| Tiered T-Bars | Multiple chains, layered looks, long necklaces | Prevents tangling; maximizes vertical space | Place longer necklaces at the back and shorter ones in the front to create a sense of visual flow. |
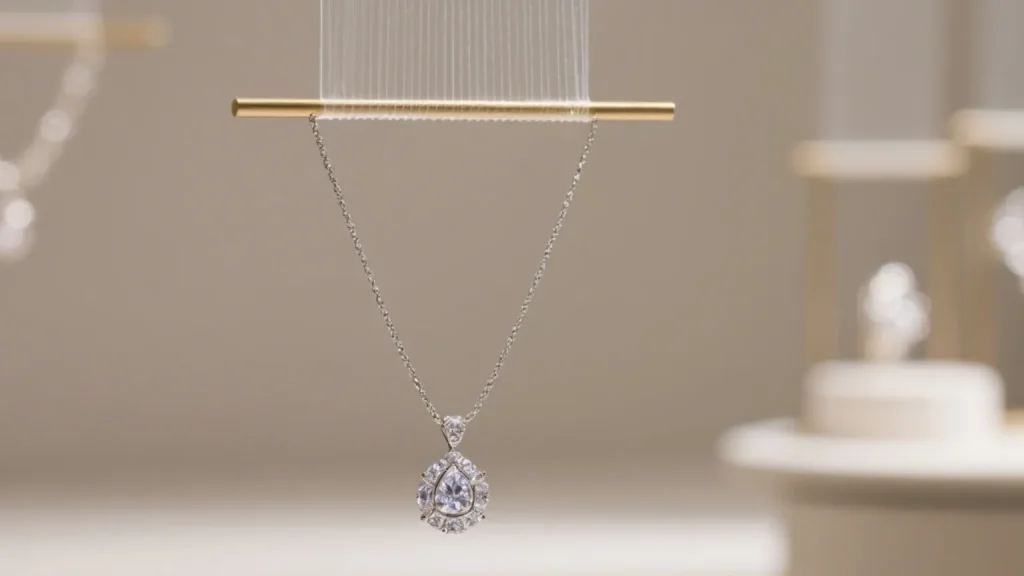
| Hanging Frames/Boards | Delicate chains, minimalist pendants | High visibility; creative and space-saving | DIY with vintage picture frames for a low-cost, high-impact solution. Ensure each piece is clearly and individually visible. |
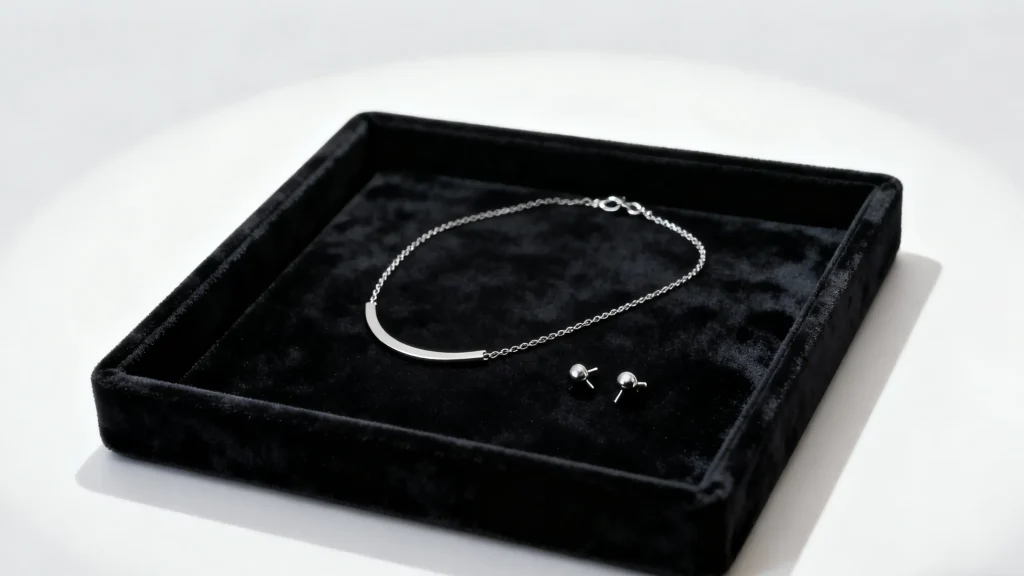
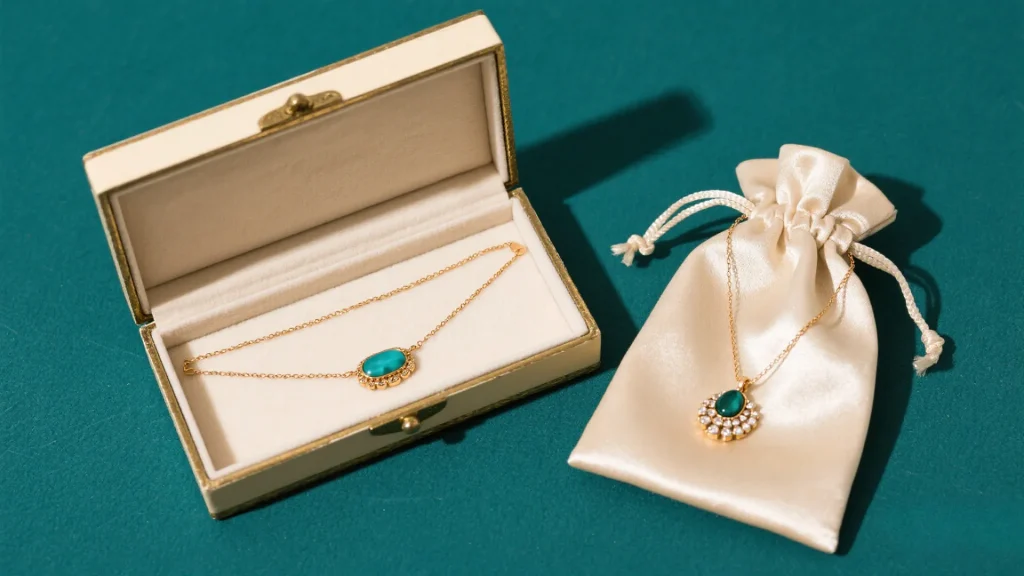
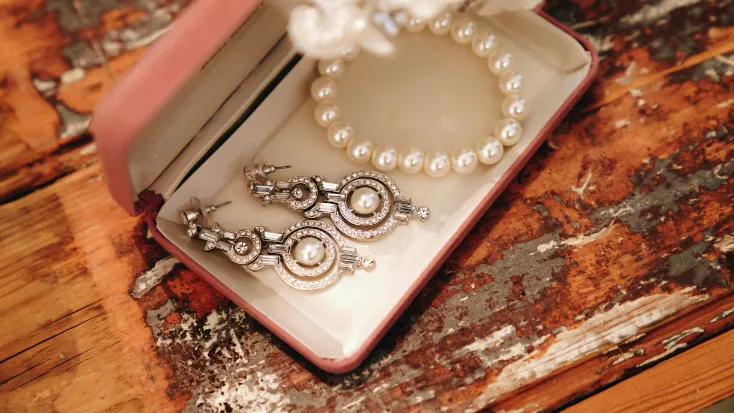
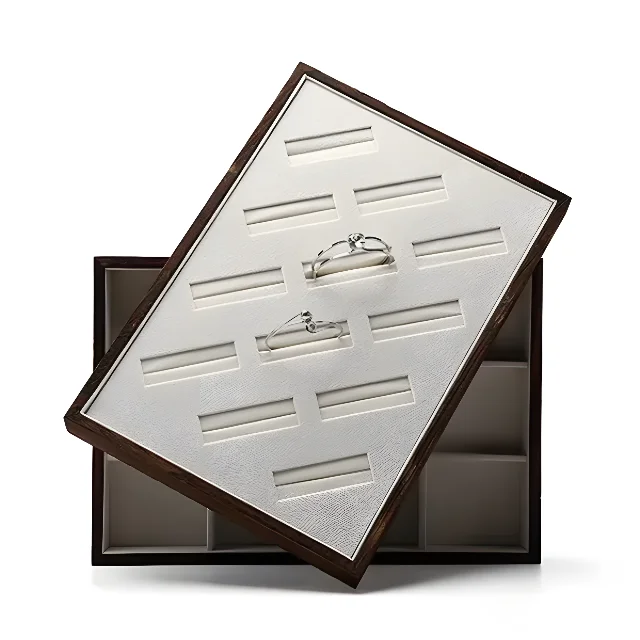
| Flat Trays/Pads | Sets (necklace + earrings), pendants | Creates a collection feel; easy for customers to browse | Line with luxurious fabrics like velvet or suede to enhance the high-end feel. Use near the checkout for impulse buys. |
| Risers/Blocks | Elevating a single hero piece or small group | Creates a focal point and adds layers | Wrapping boxes in attractive fabric is a cost-effective alternative. Use them to break the monotony of a flat counter. |
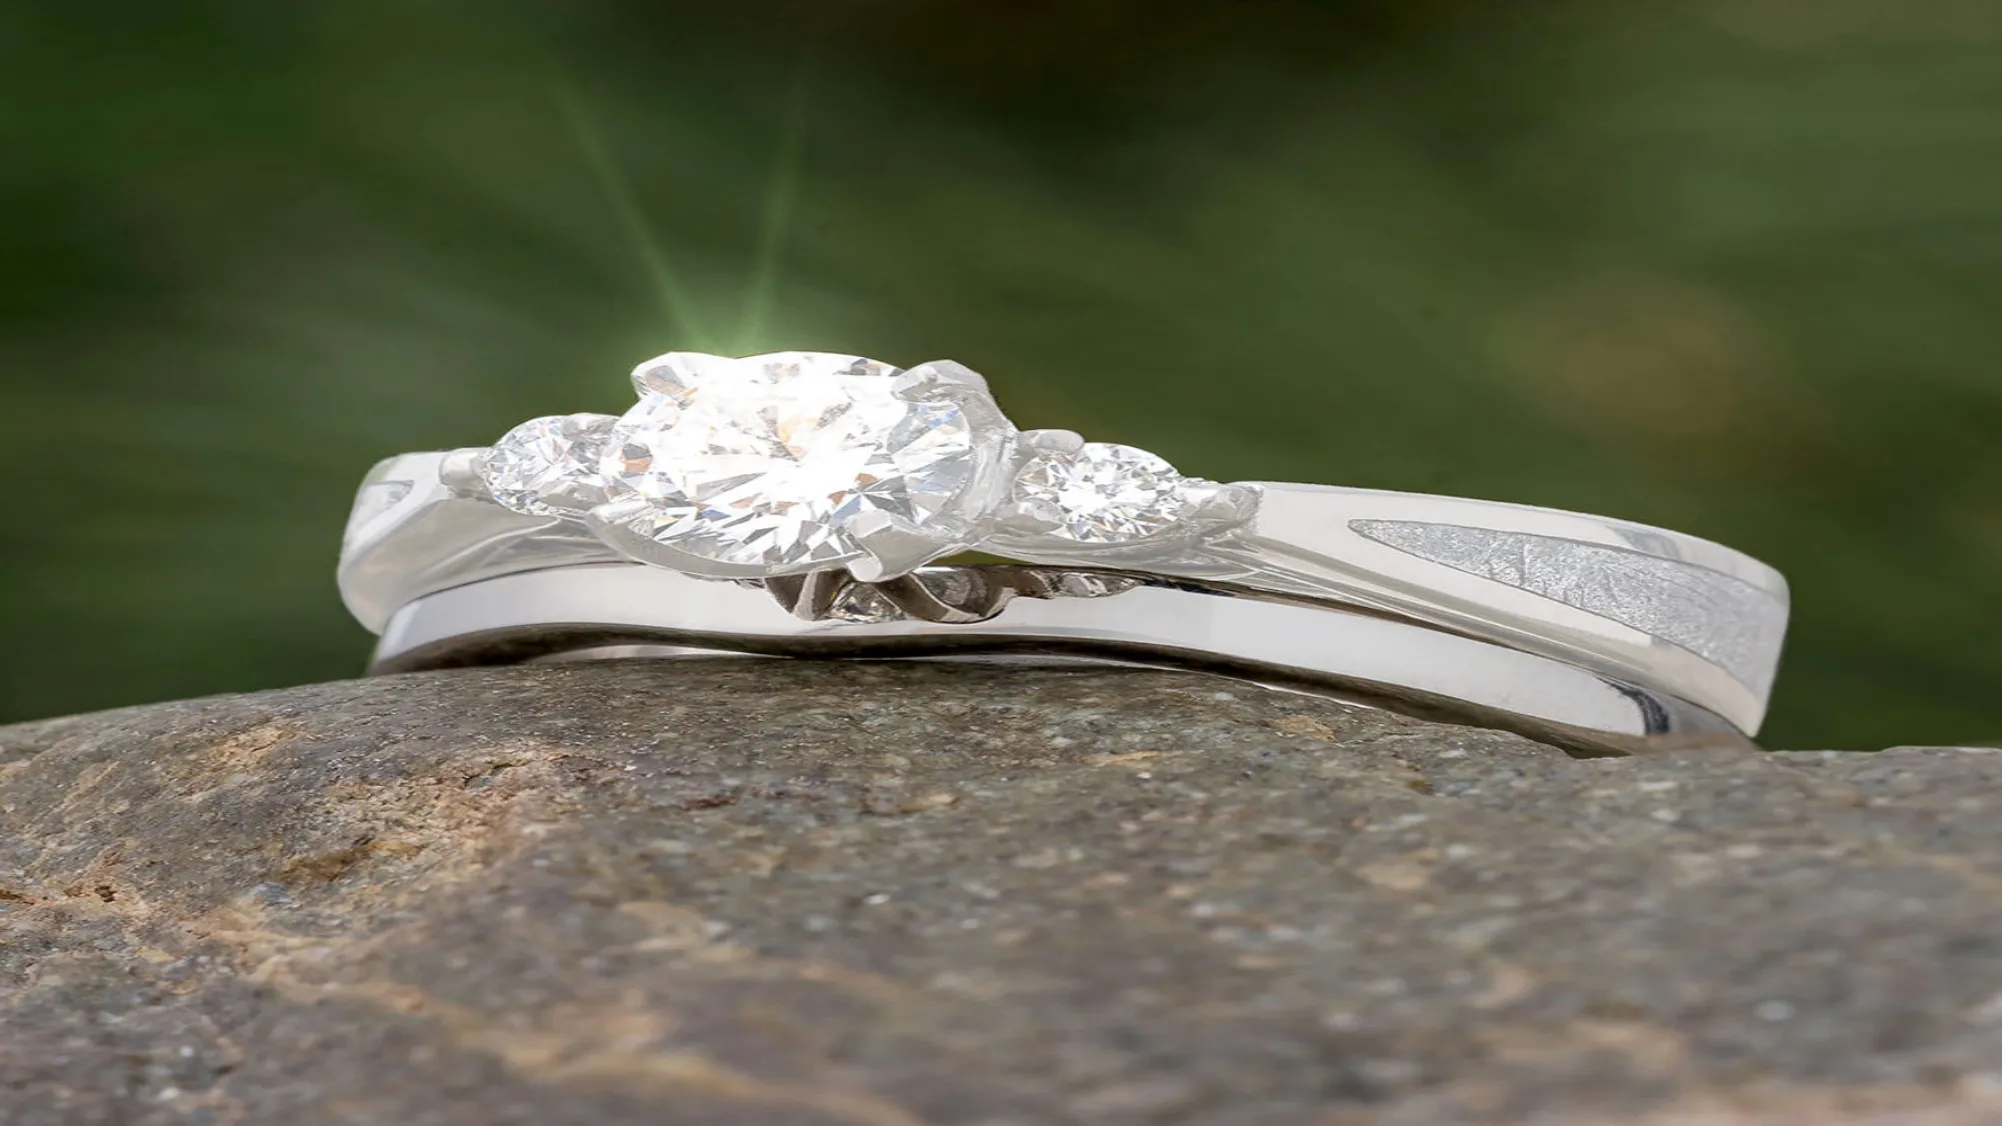
Lighting is arguably the most critical yet most overlooked element in jewelry display. The right light can instantly bring a piece of jewelry to life, igniting the fire in gemstones and the luster of metals, thereby dramatically increasing its perceived value. As one experienced jeweler shared, “When I used to attend trade shows… I would use clip-on LED lights to illuminate my jewelry.”
An exceptional display is more than an aesthetic achievement; it’s a carefully engineered psychological interaction. It should proactively guide customers, overcome their purchasing hesitations, and subtly increase the average transaction value. The entire layout of your retail space is, in effect, an active management of the customer’s journey from interest to purchase.
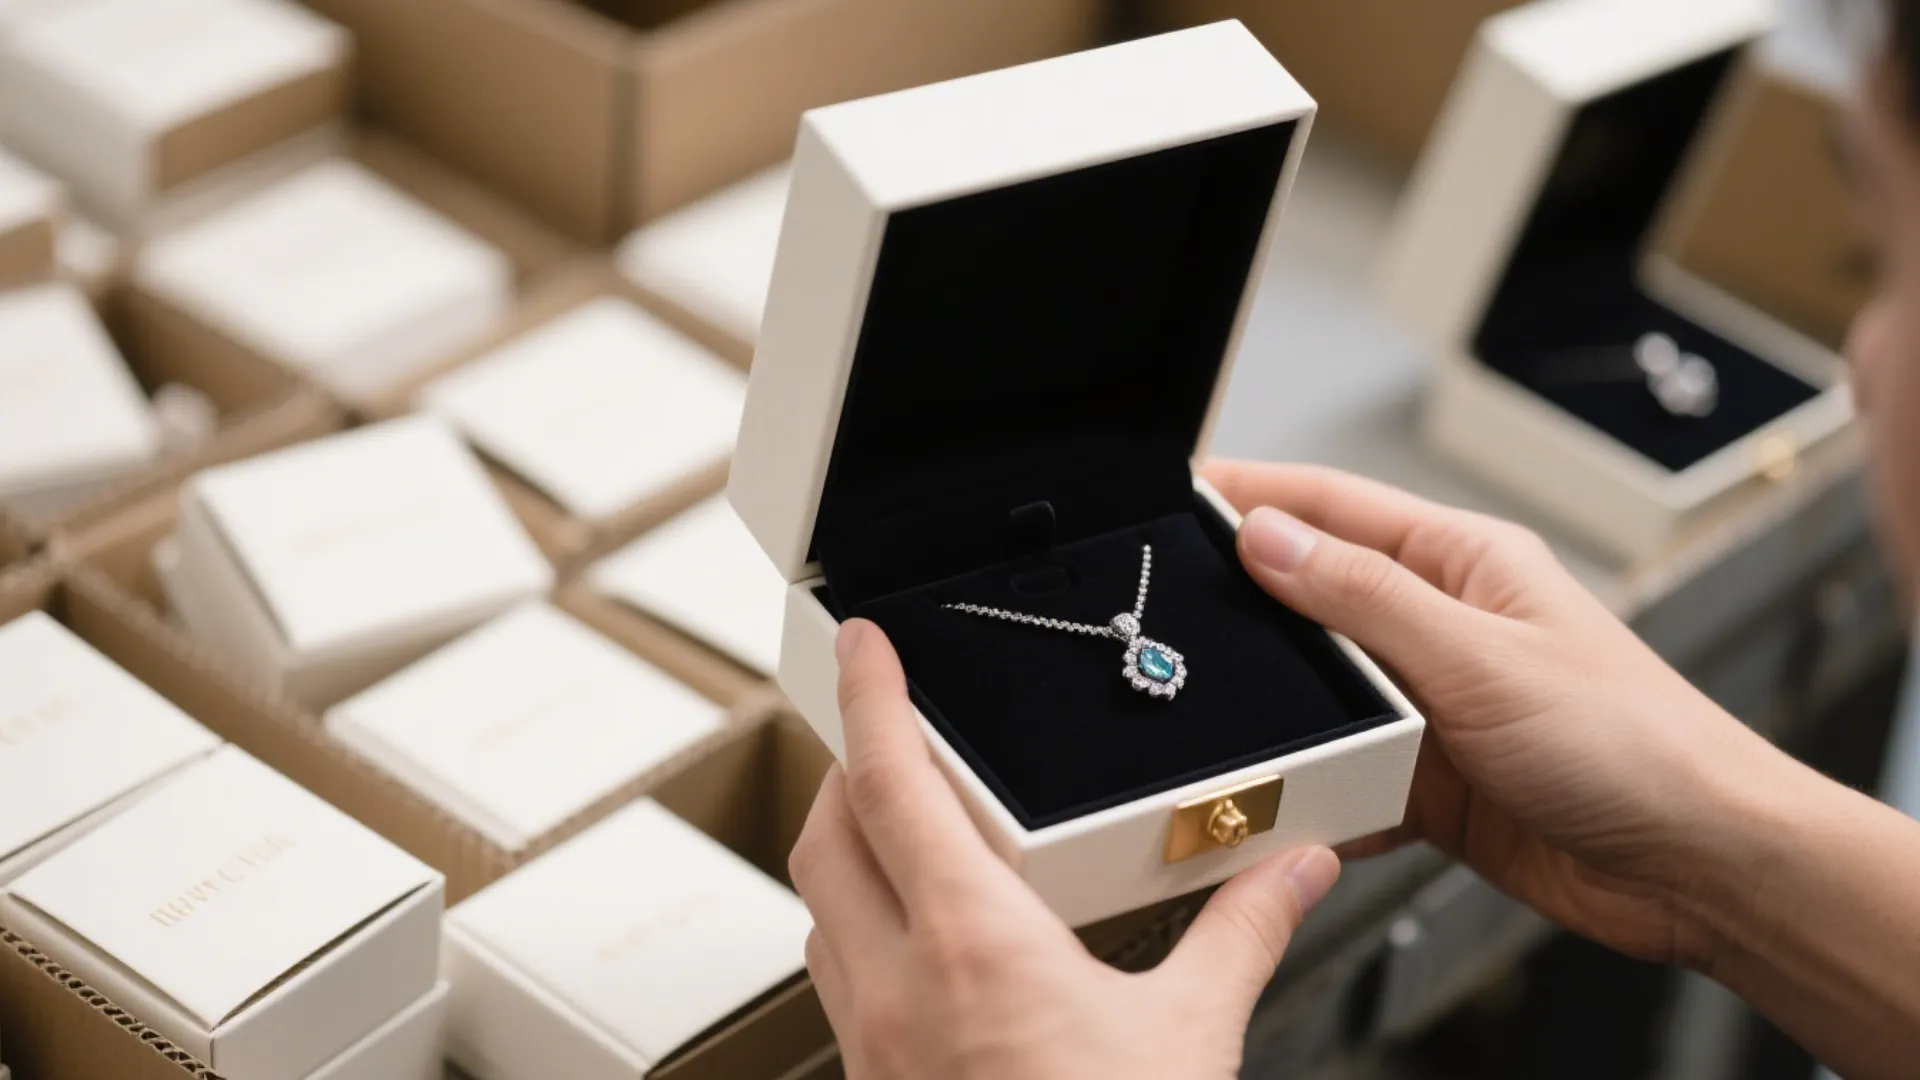
For security reasons, many retailers keep all their jewelry locked behind glass. While safe, this creates an invisible psychological barrier between the customer and the product. Experience overwhelmingly shows that customers are more likely to purchase items they can physically touch and try on.
The Solution: A Hybrid Model. It is highly recommended to create a Touch and Try Station. In this area, display mid-range, easily accessible styles and equip the space with comfortable seating, quality lighting, and ample mirrors. This open-access experience effectively reduces purchase hesitation and builds customer confidence. Your highest-value pieces can remain securely displayed in locked cases.
Every location in your store has a value, much like real estate. Your primary task is to place your most profitable products in your most valuable locations.
Your display should not just present an isolated product; it should present a complete “look.” This not only helps the customer but also significantly increases your sales.
Jewelry, especially smaller, delicate pieces, is a perfect impulse buy. The checkout area is the final and best opportunity to trigger this impulse. Some retailers report a “huge increase in sales” simply by placing small jewelry items near the register.
Best Practice: Set up elegant trays near the checkout counter displaying simple necklaces, rings, or stud earrings. As customers wait to pay, these accessible items are likely to become the “one last thing” they add to their purchase. Complement this with simple promotions, like “Buy 2, Get 1 Free,” to encourage this final add-on sale.
In today’s retail landscape, a successful jewelry brand must maintain a consistent visual identity across all channels. Your physical store, e-commerce website, and temporary market stall should all communicate a unified brand “visual language.” This cross-channel consistency is crucial for establishing brand recognition and fostering customer trust.
For an online store, your product photos are your display. Customers cannot touch or try on the jewelry; their entire purchasing decision is based on the images you present. Therefore, applying the principles of physical display to your photography is critical.
For jewelers who frequently participate in markets, craft fairs, or pop-up shops, displays must be designed with practical considerations in mind: portability, ease of setup, and stability are key to success.
We have explored in depth how to build a successful necklace display. It should now be clear that an exceptional display is strategic, multi-sensory, psychologically informed, and consistent across all channels. It is not merely a place to put products; it is the stage where your brand’s story comes to life.
You now have the complete blueprint for creating a necklace display that attracts customers and drives sales. However, even the best strategy requires the right tools for execution. All the principles we’ve discussed—luxury, storytelling, brand identity—ultimately depend on the quality of the physical props you use. A cheap, wobbly bust will instantly diminish the perceived value of a luxury piece; a generic box will make a carefully planned unboxing experience feel flat.
The best strategies demand the best tools. At Richpack, we don’t just sell packaging and display props; we provide the foundational elements that bring your brand vision to reality. From custom busts that tell your brand’s story to elegant necklace boxes that create an unforgettable unboxing experience, we are your expert partner in product presentation.
Ready to transform your display from a passive backdrop into your most powerful sales asset? Contact our team of experts today for a complimentary consultation. Let’s work together to build a display solution that truly reflects the extraordinary quality of your jewelry.
2025-04-16

2025-04-15

2025-06-17
Hey there! We know white gold makes a wedding band and a delicate necklace unique shine. But let me tell you—if you don’t take care of it properly, that gorgeous shine can fade, leaving you with dull, lifeless jewelry. I’ve been maintaining jewelry for years, and I’m here to share all the insider tips on how to keep your… Continue reading How to display Necklaces for Sale
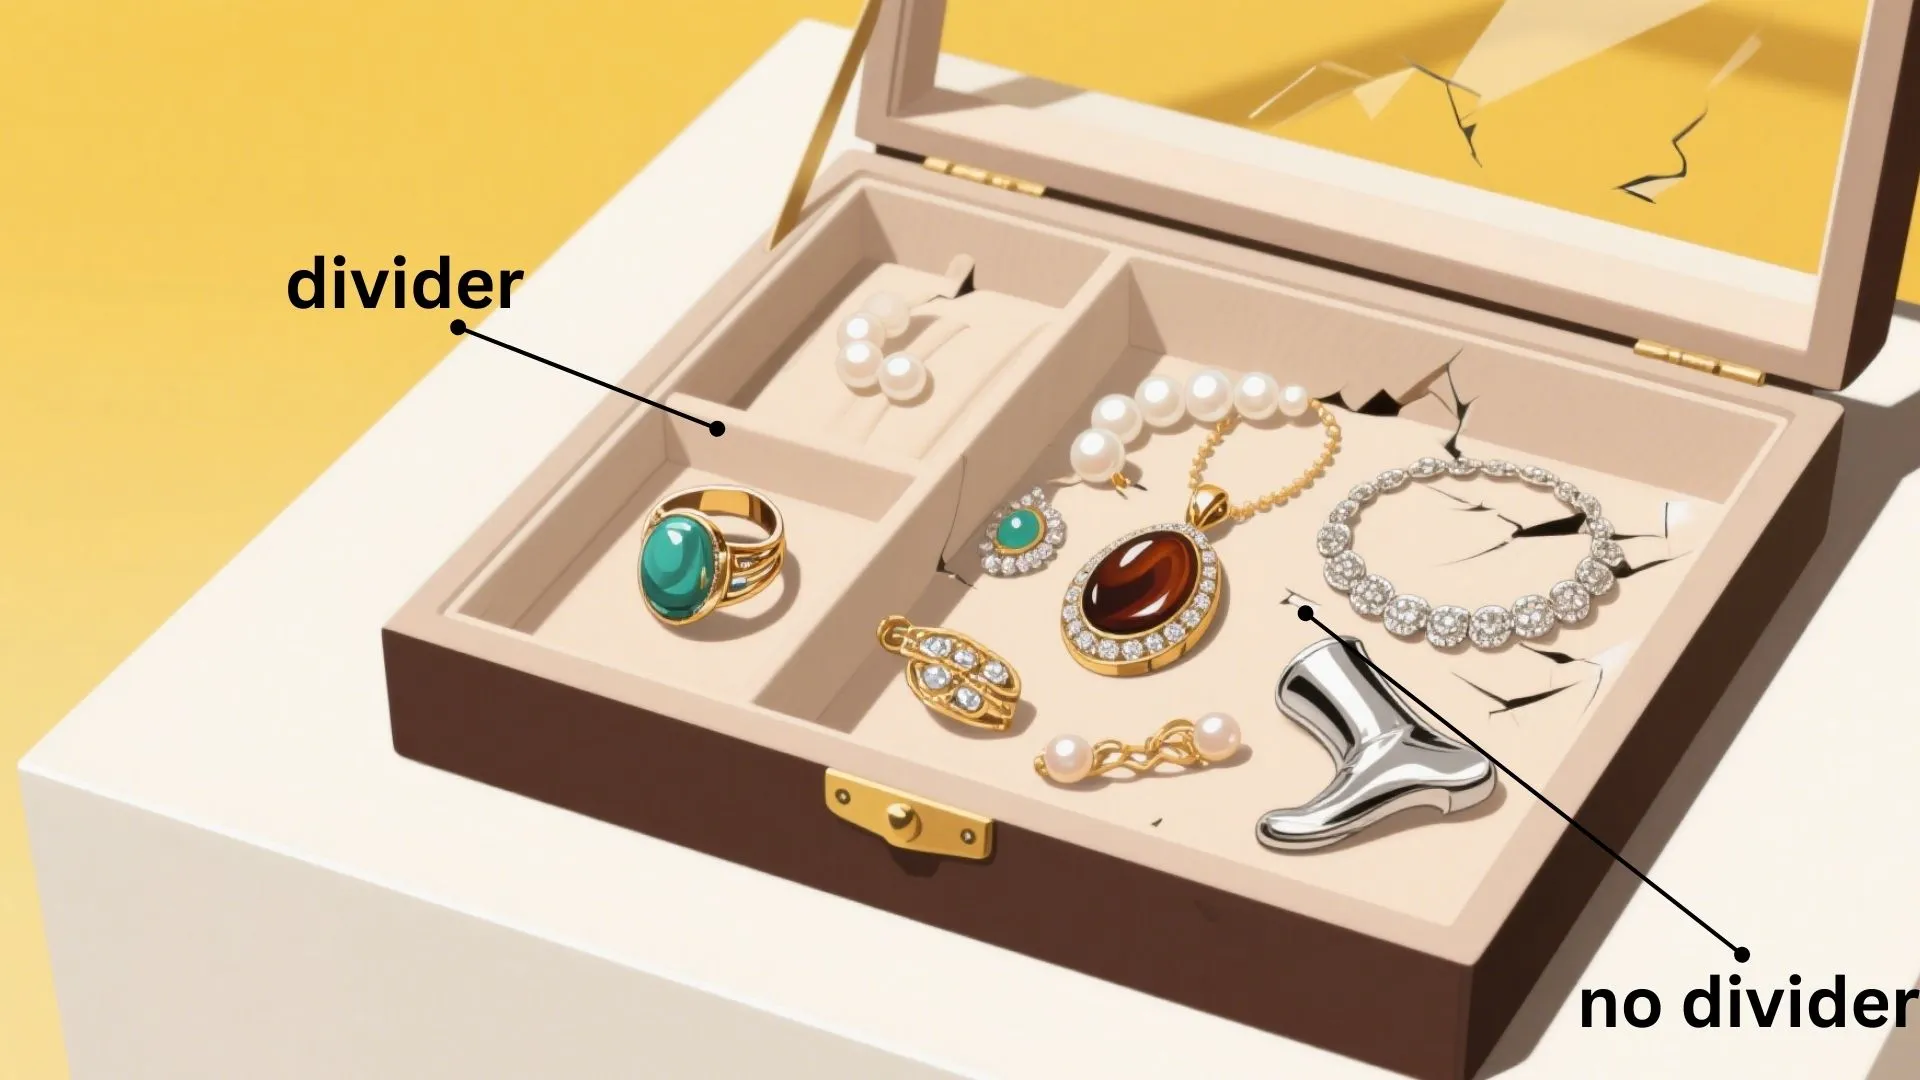
Learn best practices for choosing custom dividers eco-friendly trends and DIY solutions to enhance jewelry storage and customer experience.
Richpack · The Beginner's Roadmap to Custom Packaging for Shop Astrology Jewelry on Sale From dazzling zodiac necklaces to delicate celestial stud earrings, astrology-themed jewelry has become an iconic and personalized jewelry trend in the fashion industry. At the core of Astrology are the zodiac signs. The zodiac is the sign you were born under,… Continue reading How to display Necklaces for Sale
Custom Jewelry Display Solutions for Retail and Personal Use – Elegant Jewelry Displays, Stackable Plastic Trays, and Display Stands
Customizable Jewelry Organization – Stackable Jewelry Organizers for a Personalized Collection
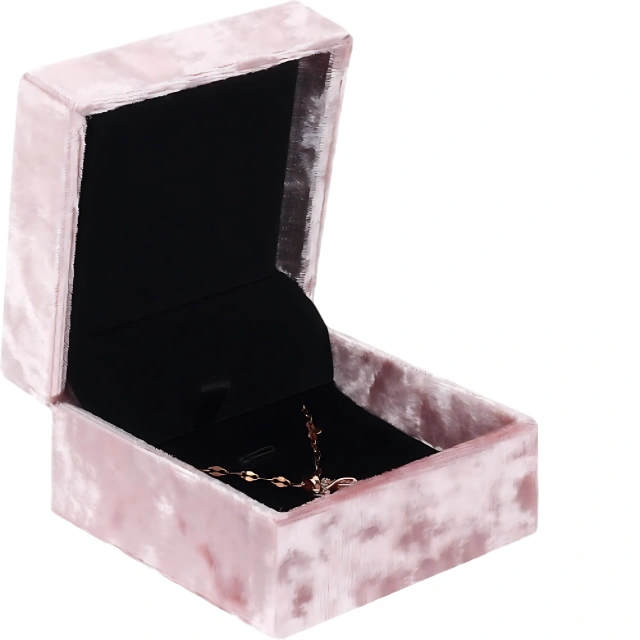
Enchanting Small Gift Box for Necklace – Transform Your Jewelry Gifting into a Luxurious Affair
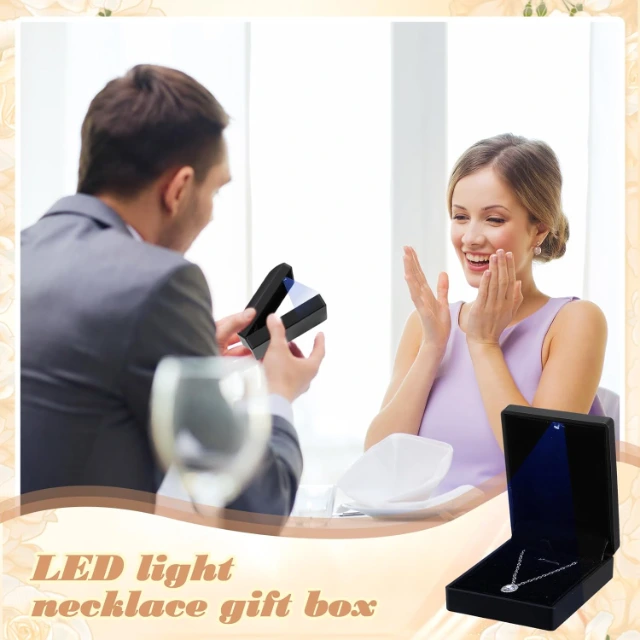
Anniversary-Themed Jewelry Boxes: With Romantic Designs, Ideal for Anniversary Gifts
View More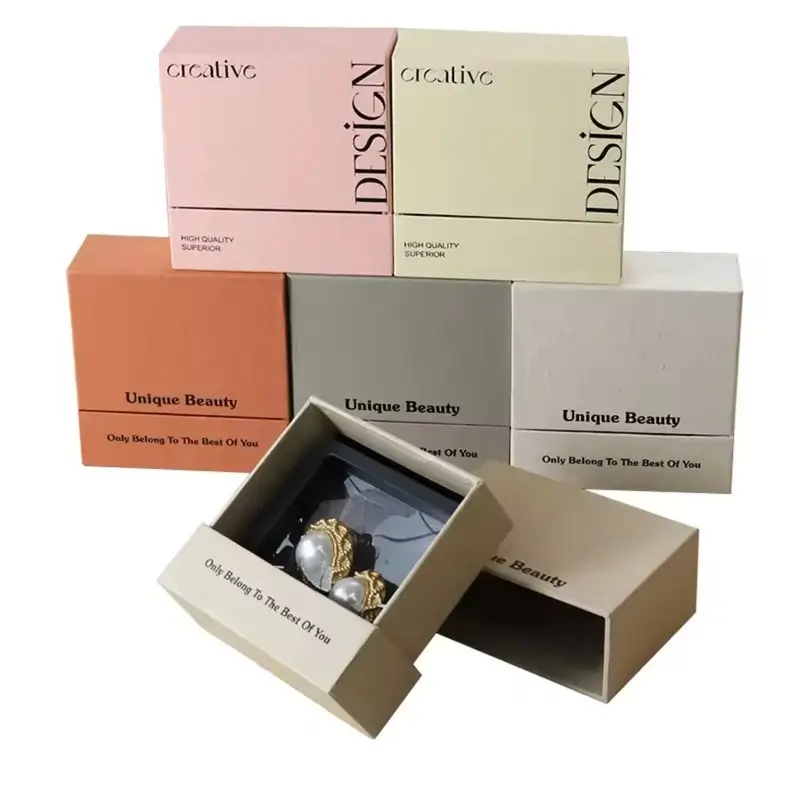
Branded and Sustainable Custom Eco-Friendly Jewelry Packaging with Brand Logo | Tailored for Jewelry Brands Needing Personalized and Green Packaging
View More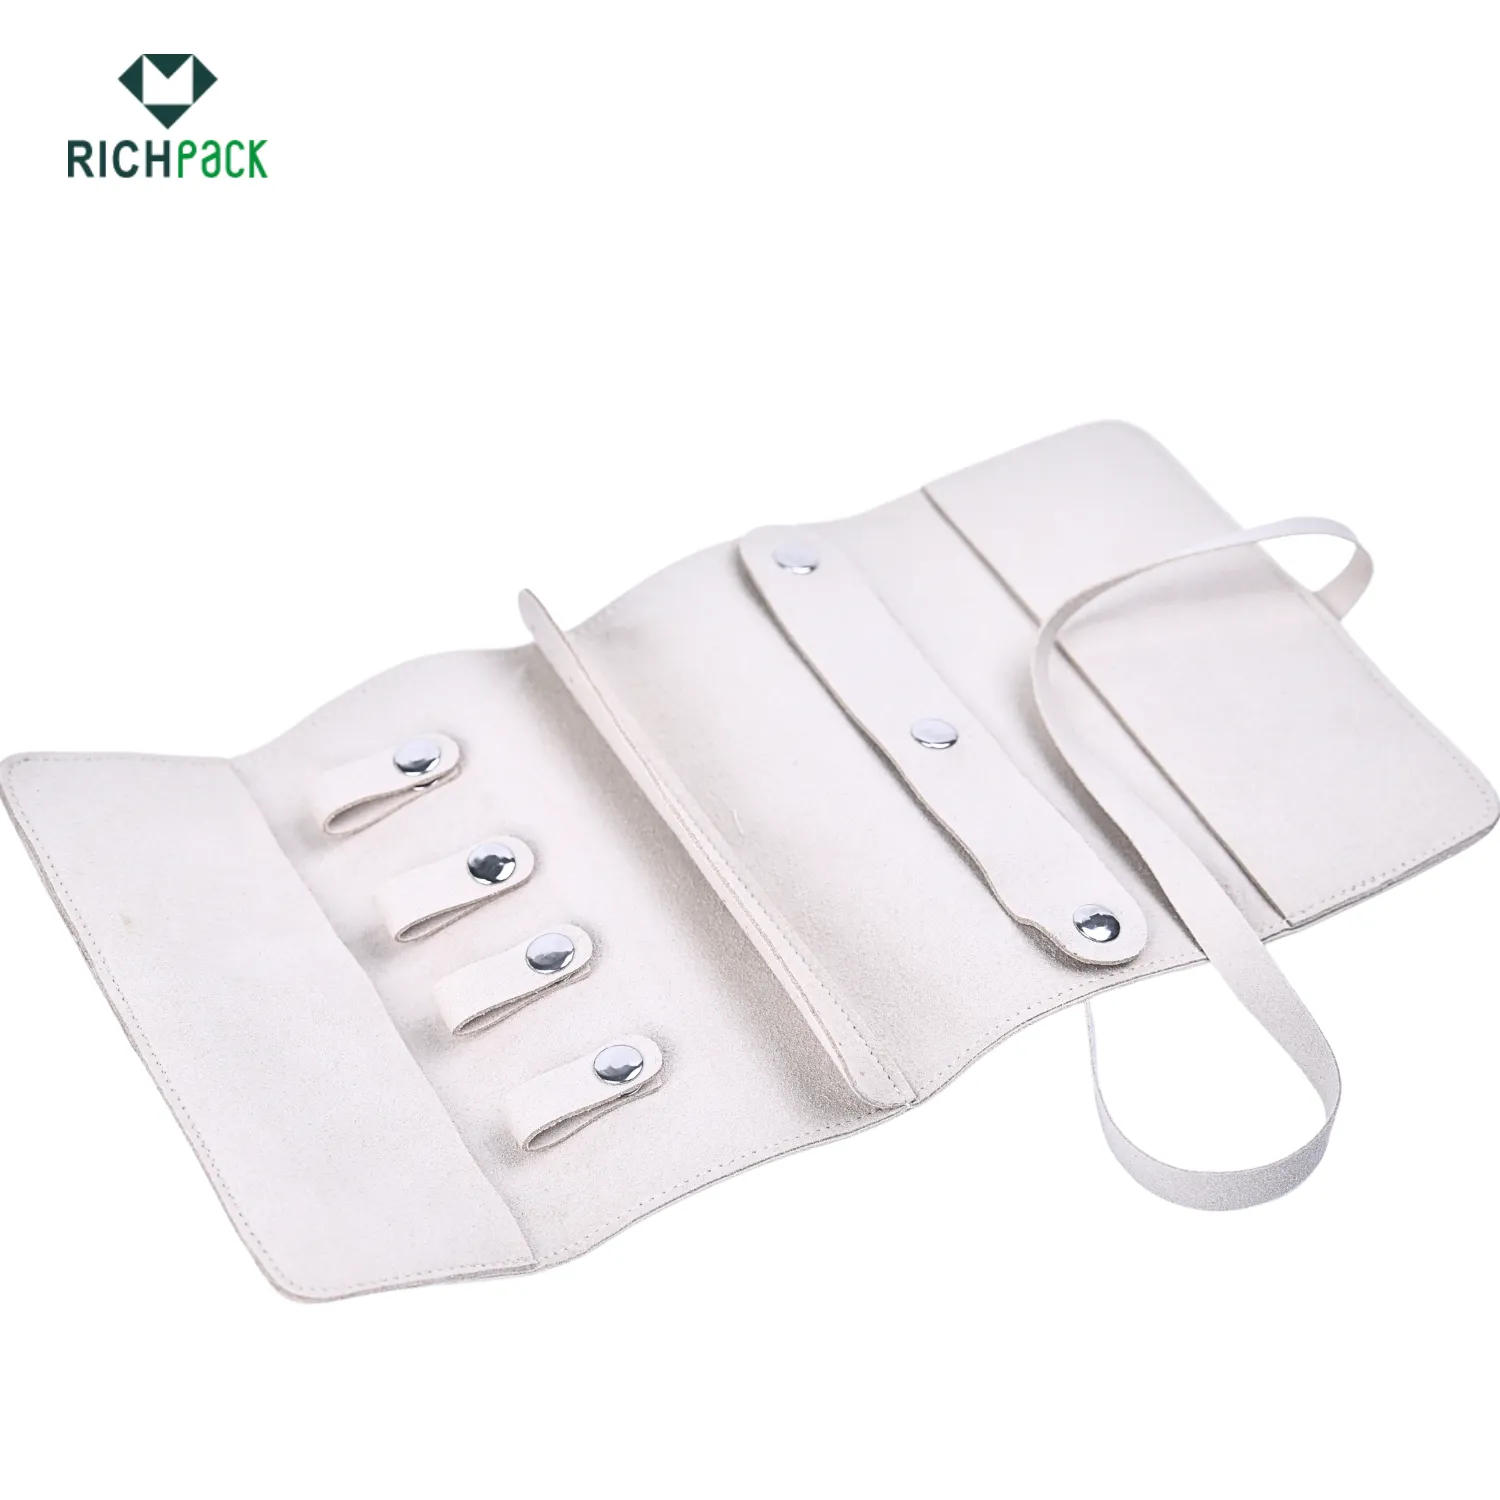
Convenient Lightweight Portable Jewelry Pouches | Travel-Friendly Packaging for Jewelry Businesses Needing Secure and Easy-to-Carry Storage
View MoreJust submit your email to get exclusive offers (reply within 12 hours)