

 PREV
PREV
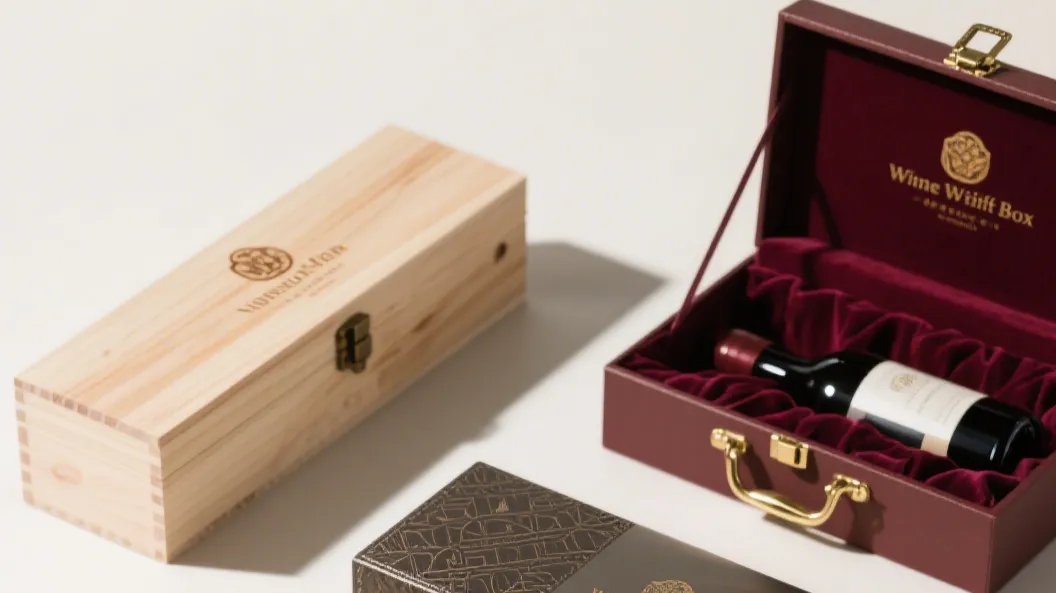
10 Must-See Wine Gift Boxes for Clients
2025-08-16




You do not need a large packaging budget to make orders feel considered. You need a small system that matches your product, packing time, shipping route, and brand.
The cheapest-looking package is rarely the cheapest package to run. A plain mailer may cost little, yet waste five minutes of labor, need extra filler, or arrive with damaged corners. A good DIY packaging plan controls the whole order cost while giving customers one clear reason to remember you.
By the end, you will be able to build a packaging budget, choose the right base package, add brand details in the right order, make a simple cardboard box, test it, and decide when custom packaging will save money.
Start with the order, not the decoration. Write down what the customer receives, how it moves through your packing station, and what can go wrong on the way to the door.
Every package has four jobs: contain the product, protect it, explain the brand, and make the next action easy. A candle seller may need a leak-resistant inner wrap and a warning label. A subscription-box operator may need fast assembly and a layout that changes each month.
Jewelry adds a strict requirement. Chains, earrings, and rings should stay separated from one another and from rough surfaces. If a closure, insert, or lining touches the piece, inspect that contact point during sampling instead of assuming it is safe.
Use this simple formula: Total package cost = materials + labor + waste + damage allowance + shipping-space cost.
For one week, record the actual numbers for ten orders. Include the minutes spent cutting, folding, stamping, labeling, and correcting mistakes. This small record tells you whether a cheaper material is creating expensive labor.
| Cost item | What to record | Why does it change the decision |
| Materials | Box, bag, tissue, tape, label, insert, filler | Shows the visible unit cost |
| Labor | Minutes from picking to sealed parcel | Reveals the hidden cost of handmade work |
| Waste | Failed cuts, damaged labels, unused offcuts | Prevents optimistic estimates |
| Damage allowance | Replacements, refunds, reships | Connects protection to cash loss |
| Shipping space | Parcel size and dimensional pricing | Rewards right-size packaging |
Set a quality floor before you compare suppliers. The product must arrive clean, the closure must stay shut, and the package must present the brand mark in the same place every time. Once those conditions are met, you can trade extra decoration for speed or lower material use.
Your base package does most of the protective work. Choose it first, then add branding that does not weaken the structure or slow the packing line.
Stock kraft or paperboard boxes work well for soaps, candles, small gifts, and many types of jewelry. Measure the product after adding its protection, then choose a box with enough room for the insert without allowing the item to rattle.
Do not fill a large box with decorative material to make it feel full. Excess space increases movement, material use, and sometimes shipping charges. A smaller, well-fitted package often feels more premium because the product looks intentional when the lid opens.
Mailers suit apparel, fabric goods, cards, and products that do not need a rigid shell. Select a size that closes without folding the product. If the mailer can bend or tear during a normal handling test, add a protective board or move to a box.
Fabric pouches and paper bags can act as both a package and a reusable accessory. Check the closure, seams, edge finish, and print rub on the actual sample. A pouch that looks attractive but lets a chain escape creates a return problem.
For jewelry, use a confirmed card, divider, or insert that keeps each piece in place. RichPack’s custom jewelry box inserts page shows the kinds of ring, earring, and necklace layouts a supplier can prototype. Do not claim a material, fiber, coating, size, or protective rating until the current supplier’s sample confirms it.
Small businesses often overspend by adding five weak decorations instead of one strong signal. Pick one primary touchpoint, make it consistent, then add a second only when it improves the customer experience.
Stickers are the fastest way to turn a plain box into a branded package. Place them on one repeatable panel and keep required product information separate. Order a small run first, because color, adhesive, and paper texture can look different from the screen proof.
A stamp can cover boxes, paper bags, tissue, and thank-you cards. Test the ink on the exact stock you will use. Recycled and textured papers absorb ink differently, so a mark that looks crisp on smooth paper may look soft on kraft stock.
Tissue creates a gift-like opening while a paper band keeps the fold tidy. Use the band for a short care note, product code, or seasonal message. Keep loose fibers and wet ink away from surfaces that touch jewelry, food, or cosmetics.
A card earns its space when it helps the customer. Add care instructions, a repair route, a reorder prompt, or a focused invitation to share feedback. A long brand story is harder to use than a clear sentence such as “Save this card for care instructions.”
Hang tags work for market stalls, clothing, handmade goods, and gift packaging. Paper wraps can hold a small product together without adding a full printed box. Keep the message and logo readable from the customer’s normal viewing distance.
The following combinations keep the number of moving parts low. Test one combination on ten real orders and compare cost, packing time, presentation, and damage.
| Combination | Best fit | Main risk | Test to run |
| Kraft box + sticker | Rigid products | Label lifts | Rub and shake test |
| Mailer + stamped tissue | Soft goods | Ink transfer | Fold and moisture check |
| Pouch + care card | Jewelry and gifts | Item escapes | Closure and tangle check |
| Band + plain box | Shelf-ready gifts | Band slips | Open-close repetition |
| Tag + paper bag | Retail pickup | Tag tears | Carry test |
| Mailer + folded kraft | E-commerce | Product movement | Parcel shake test |
| Box + thank-you card | Repeat purchase | Card gets ignored | One clear CTA |

A handmade box is useful for prototypes, local orders, and products that fit a repeatable size. It becomes expensive when every order needs a new template, so build one sample and document it before cutting a batch.
Measure length, width, and height after adding the insert, wrap, or divider. Write those numbers on the template. If the product changes shape, make separate templates instead of forcing every item into one box.
Draw the base, four walls, and glue flaps on paper first. Keep fold lines straight and mark which panels face outward. A clear net prevents the most common DIY mistake: cutting a beautiful panel that cannot close around the product.
Use a sharp blade, a cutting mat, and a metal ruler. Score fold lines before bending. A blunt blade creates crushed edges, while an uneven score makes the lid lean and exposes the product.
Apply adhesive to the flaps, align the corners, and hold them until set. Pack the real product, close the box, and leave it overnight. Check for odor transfer, lifted corners, lid pressure, and movement inside the box.
Shake the closed box in several directions, open it, and inspect the product. Send a small number through your normal carrier route before making a large batch. A box is ready for routine use only when it survives the handling your customers will experience.

The right DIY setup depends on the product and the packing moment. A local seller can favor presentation and reuse, while a shipping-heavy store must control size, closure, and damage.
Keep food-contact materials and required information separate from decoration. Use a label system that can be replaced when ingredients, dates, or batches change. For local pickup, a sturdy bag and one printed card may deliver more value than a fully decorated shipping box.
Speed matters because the same person repeats the process many times. Standardize the outer box, pre-fold tissue, and prepare inserts in batches. Track the minutes per box before adding a new monthly embellishment.
Design for the handoff. The customer should be able to carry the package, see the brand, and understand care instructions without opening a shipping carton. Tags, paper bags, and small pouches often work well when they fit the product securely. For a scalable reference, review RichPack’s custom paper bags page and verify handle strength, paper, print, and size on your own sample.
Begin with protection and presentation. Separate pieces, secure chains, protect the contact surface, and make sure the lid does not press on a raised item. A plain box with a well-fitted insert can feel more considered than a decorated box that lets the jewelry move. RichPack’s jewelry box collection is a visual reference for ring, necklace, earring, and bracelet presentation formats; treat it as a product reference, not proof that every option fits your SKU.
A useful idea becomes a workable solution only after you match it to a product, a packing moment, and a budget. Use these recipes as starting points, then change one component at a time.
Choose a stock mailer or plain box, then add one printed sticker and one small care card. This works for lightweight accessories, stationery, candles, and repeat orders where speed matters more than a dramatic opening.
The savings come from shared components. One sticker design can cover several products, while the care card answers the same question for customers in every parcel. Keep the card small enough to insert in one motion, and track whether it reduces support requests or becomes waste.
Use a kraft paper bag, a paper hang tag, and a stamped tissue wrap. This combination suits craft-fair sellers, local pickup, soaps, small gifts, and soft accessories. The bag gives the customer a handle, the tag identifies the product, and the tissue creates a clear opening moment.
Do not use the same paper weight for every product. A heavy item needs a stronger base and handle. A damp product needs a barrier that plain paper may not provide. Test the finished bag while carrying the real weight.
Start with a small stock jewelry box or pouch that fits the item. Add a confirmed card or divider, a single logo mark, and a care card. This arrangement spends money where the buyer can feel the difference: stable presentation, clean contact surfaces, and easy care instructions.
Skip glitter, loose botanicals, or rough twine near finished metal unless a sample proves they cannot shed, scratch, or transfer color. Decorative materials belong on the outside when the inside must stay clean and controlled.
Use one outer box size, pre-cut tissue, a printed monthly card, and a paper seal. Prepare inserts in batches and place them in the same position every time. The goal is a repeatable rhythm that keeps the box interesting without rebuilding the whole package each month.
Measure packing time before and after the change. If a new insert adds thirty seconds to hundreds of orders, its creative value must earn that labor. Rotate artwork on the card instead of changing the box, filler, label, and closure at once.
Choose one primary material family, reuse clean incoming boxes where appropriate, and remove layers that do not protect or inform. Paper tape, folded kraft, and paper-based filler can be useful when they match the product and local recycling rules.
A “natural” color or a paper component does not prove the whole package is recyclable. Check coatings, inks, adhesives, windows, magnets, plastic films, and inserts as one bill of materials. Tell customers only what the finished package and local collection system support.
Use the problem as your filter. If customers miss care instructions, improve the insert before changing the box. If products arrive scuffed, improve the contact surface and movement control before adding decoration.
| Problem | First DIY change | What to measure |
| The package looks generic | One consistent sticker, stamp, or band | Recognition in a shelf or unboxing check |
| Product moves inside | Divider, card, tissue fold, or tighter size | Movement and scuffing after shaking |
| Packing takes too long | Fewer components and batch preparation | Minutes per packed order |
| Shipping costs feel high | Right-size box or mailer | Parcel size and carrier charge |
| Customers ask the same care question | Clear care card | Support messages after delivery |
| The package creates too much waste | Remove decorative layers and review the BOM | Material discarded per order |
| Retail handoff feels weak | Hang tag, sturdy bag, or visible label | Carry test and customer comments |
This problem-first method prevents a common mistake: choosing a cute idea that does not solve the reason the package needs to change.
A small test gives you evidence without buying a large batch. Choose one product and one packaging recipe.
Repeat the test when you change the box size, insert, adhesive, print stock, or shipping route. A small visual improvement can change the way a package opens, but a small structural change can change whether the product arrives intact.
DIY is a sensible starting point when your products share a few sizes and your team can pack them without rework. Custom packaging deserves a quote when packaging errors, slow assembly, or inconsistent presentation begin to affect sales and service.
| Signal | Keep the DIY system | Request a custom comparison |
| Order volume | Small and stable | Rising every week |
| Product shapes | Few standard sizes | Many SKUs or delicate forms |
| Labor | Packing fits the daily routine | Owner time is the bottleneck |
| Quality | Small variation is acceptable | Every insert must fit the same way |
| Shipping | Short routes and light parcels | Longer routes or damage claims |
| Brand needs | One simple touchpoint | Retail presentation must stay exact |
Prepare a supplier brief before asking for a quote. Include product measurements, protection needs, packing steps, shipping route, artwork, target cost, expected order pattern, and the failures you want to prevent. That information lets a packaging partner compare structure, insert, finish, and delivery against your real operation. RichPack describes a custom packaging process that moves from requirements and design to prototyping, production, and quality testing; confirm the current scope and commercial terms before relying on it.
RichPack provides custom packaging services for jewelry brands, with pages covering design, prototyping, production, and delivery. Contact RichPack with your product measurements and test notes, then confirm the current product range, material choices, minimum order, lead time, and sample process before making a purchase decision. Its package design, material, quality, custom projects, and case study pages can help you prepare questions; verify each page’s current scope before using it as a purchasing requirement.
Use one consistent base package, one brand touchpoint, and one useful insert. Repeat the same placement on every order, then spend extra only when it improves protection, care, or the next purchase.
The lowest total cost is usually a right-sized stock package with one simple brand detail. Compare the unit price with labor, waste, damage, and shipping space before choosing.
Measure the protected product, draw a net with a base, walls, and glue flaps, cut and score the board, assemble one prototype, and test it through normal handling before producing a batch.
It depends on the complete bill of materials, including board, inks, coatings, adhesives, inserts, and local recycling rules. A paper component alone does not prove that the finished package is recyclable.
Build your DIY packaging around one product, one packing routine, and one measurable cost per order. Start with a right-sized base, add one repeatable brand touchpoint, test ten real orders, and record the result. When labor, damage, or SKU variation makes that system hard to repeat, use the records to compare a custom jewelry packaging solution.


2025-08-16

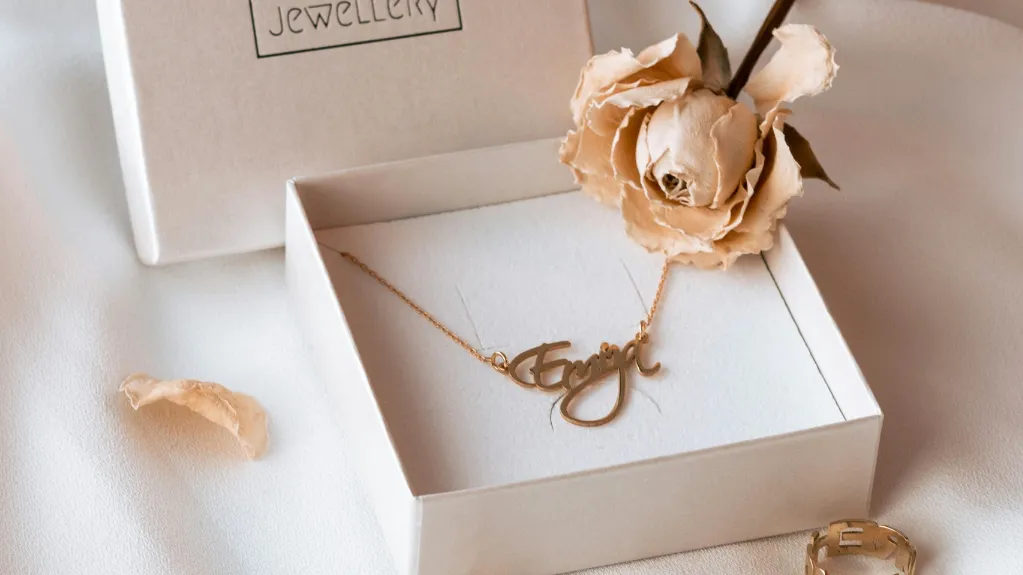
2024-11-15

2025-09-02
2025-03-06
2025-03-06

2025-04-16
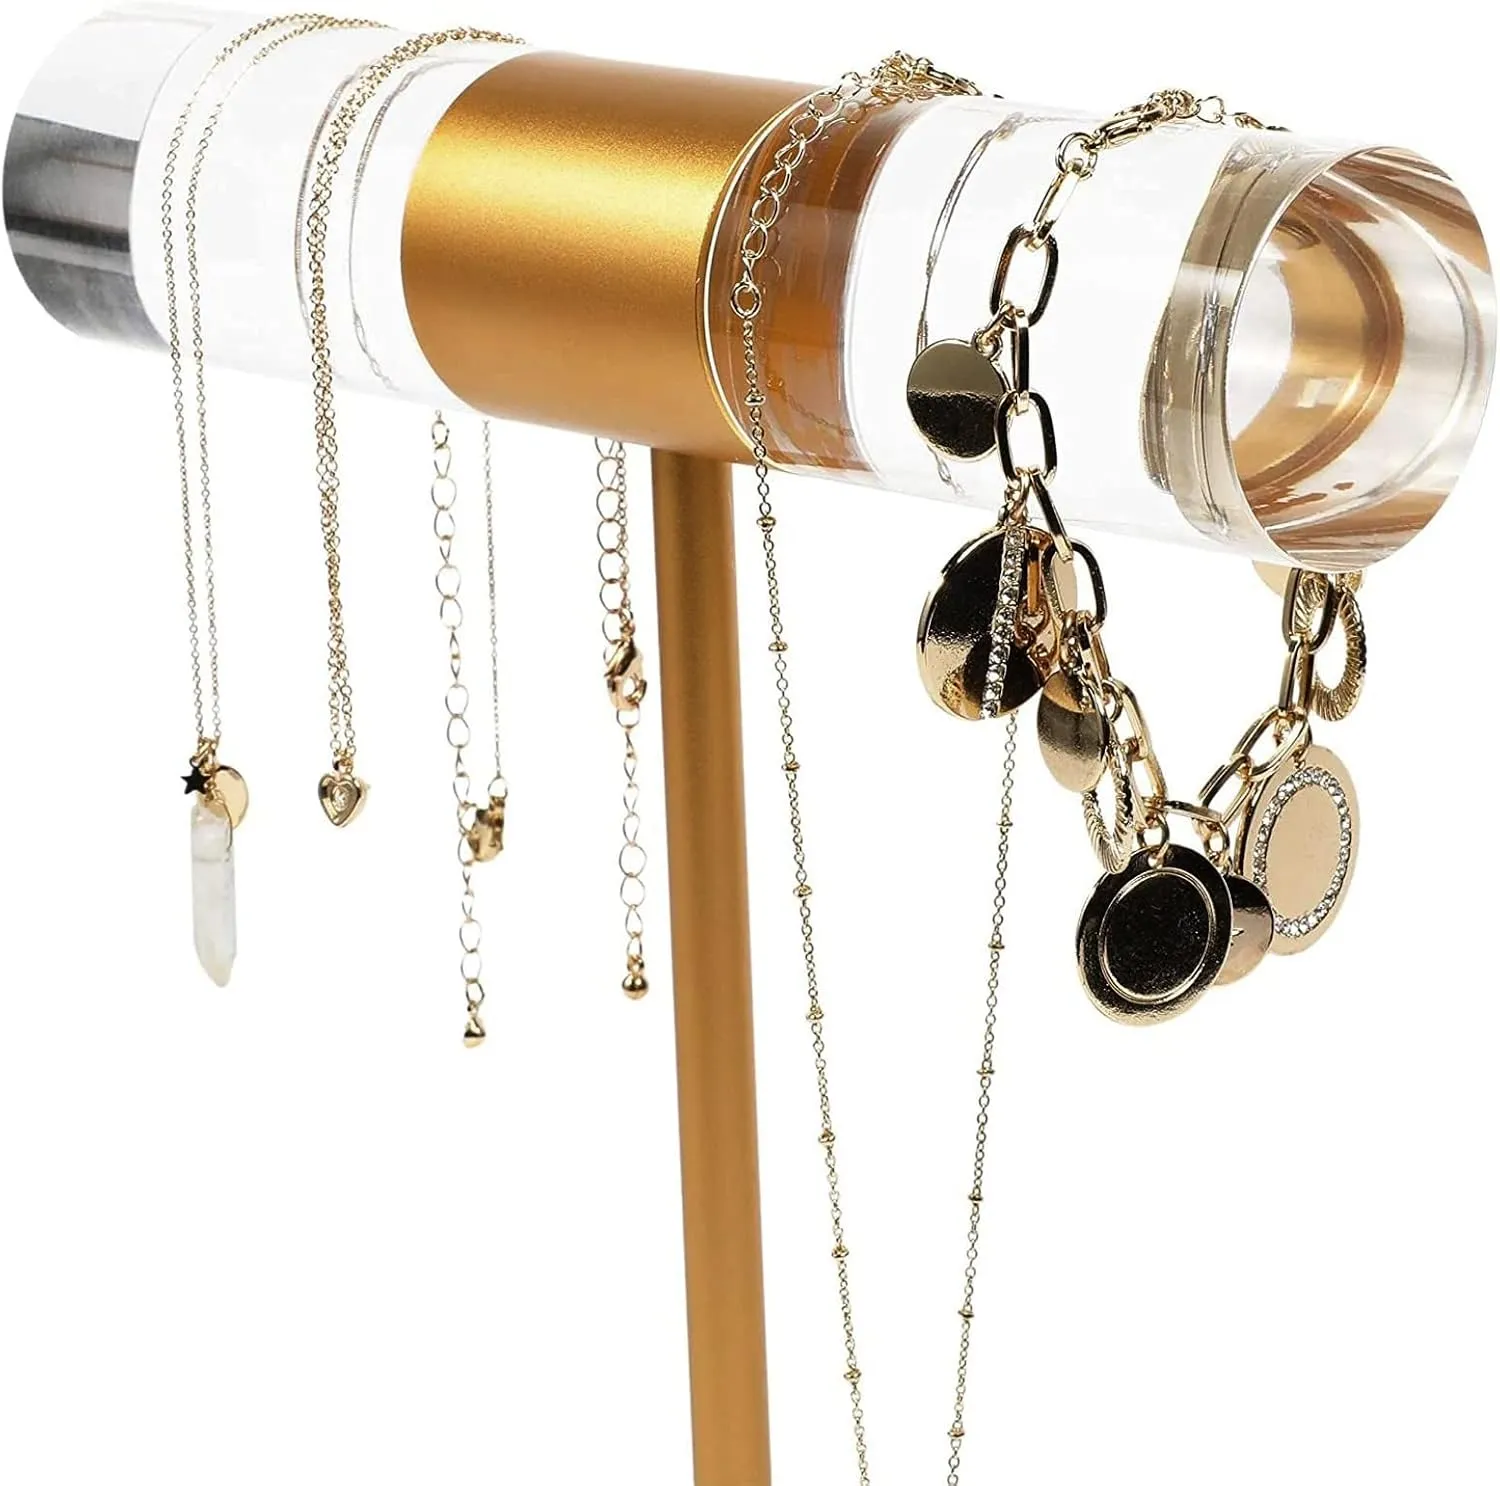
Creative DIY Jewelry Display Solutions for Personal and Retail Use – Custom Do It Yourself Jewelry Display Ideas and Jewelry Displays from Richpack
View More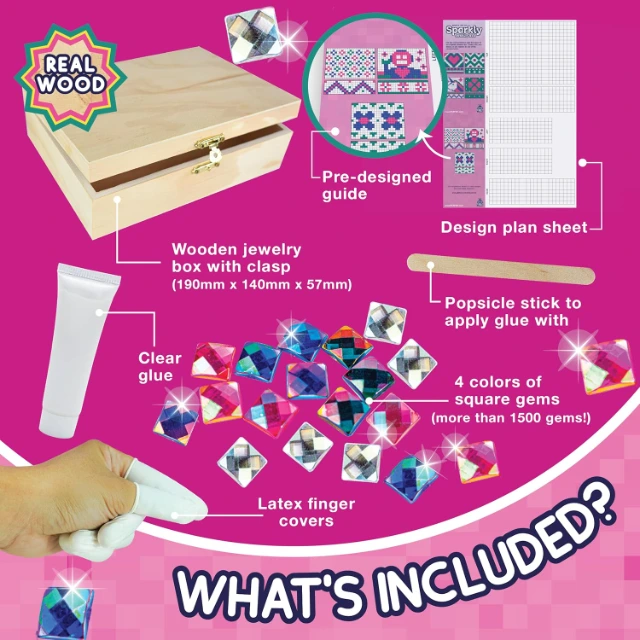
DIY Jewelry Boxes: Customizable Assembling in Interactive Packaging for Fun Storage
View More
Seasonal Gift Boxes with Inspiration from Michaels | Premium Packaging Solutions for Retailers and Special Occasions Gift Packaging Supplier- Richpack
View More
Wedding Dress Box – Exquisite Shelter for Your Gown. Durable, Stylish. Ideal Post-wedding Storage
View More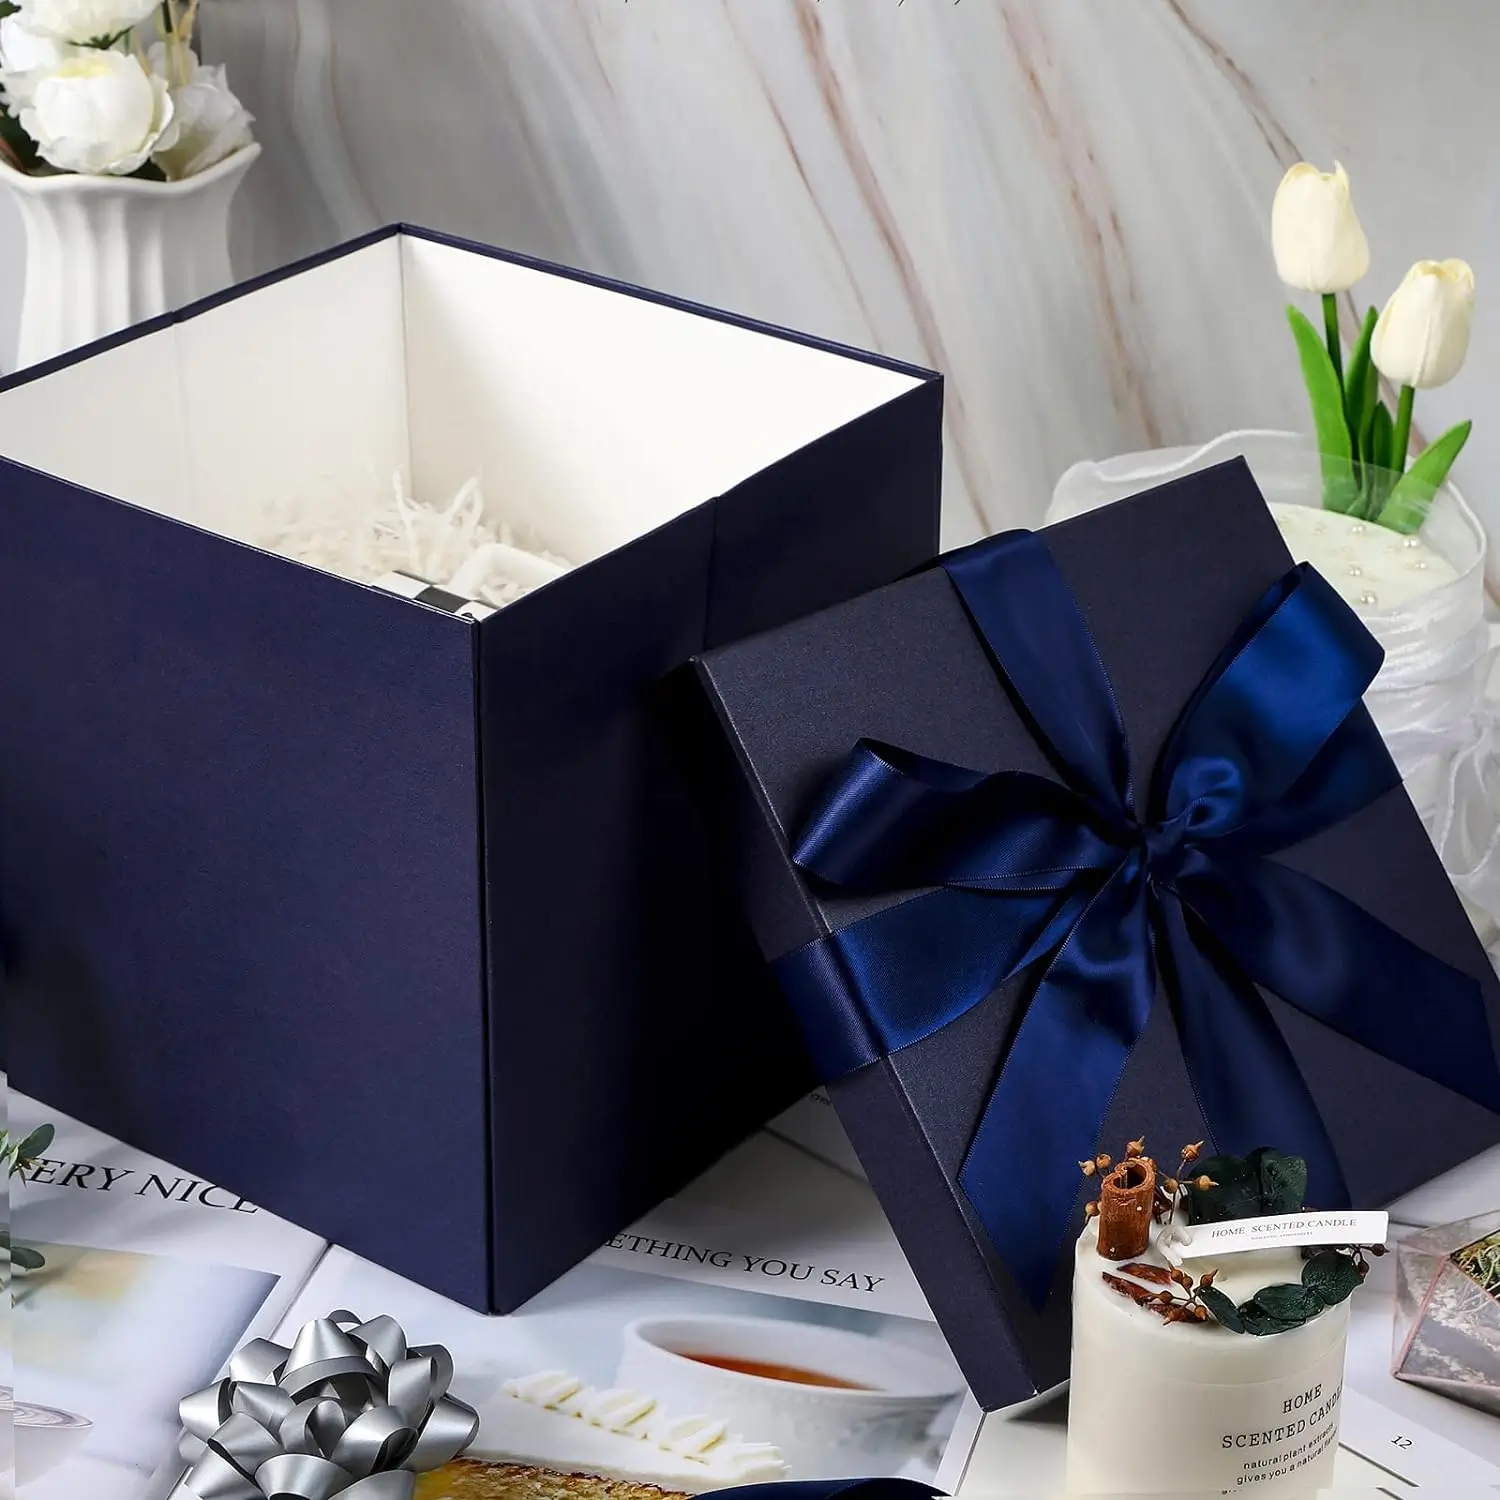
Exclusive Father’s Day Gift Boxes | Customizable Dad Gift Box Ideas | Perfect Packaging for Retail and Corporate Gifting
View More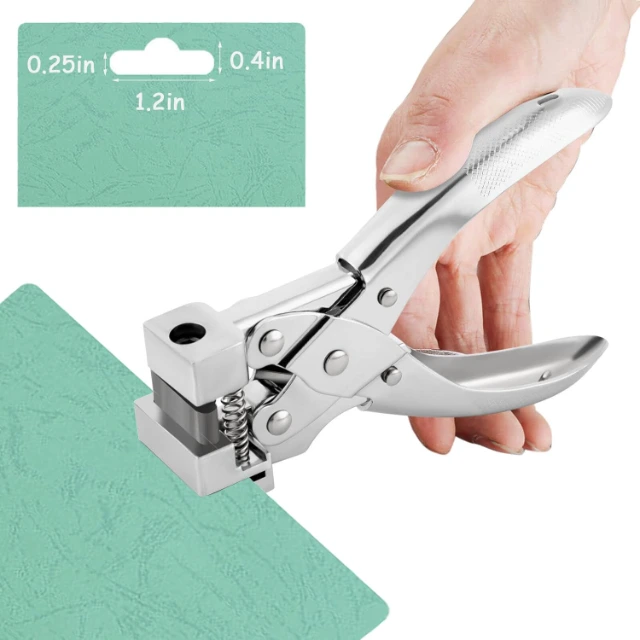
Convenient Earring Card Punch for DIY Earring Cards – Handy Punch Tool with Richpack
View More

