

 PREV
PREV
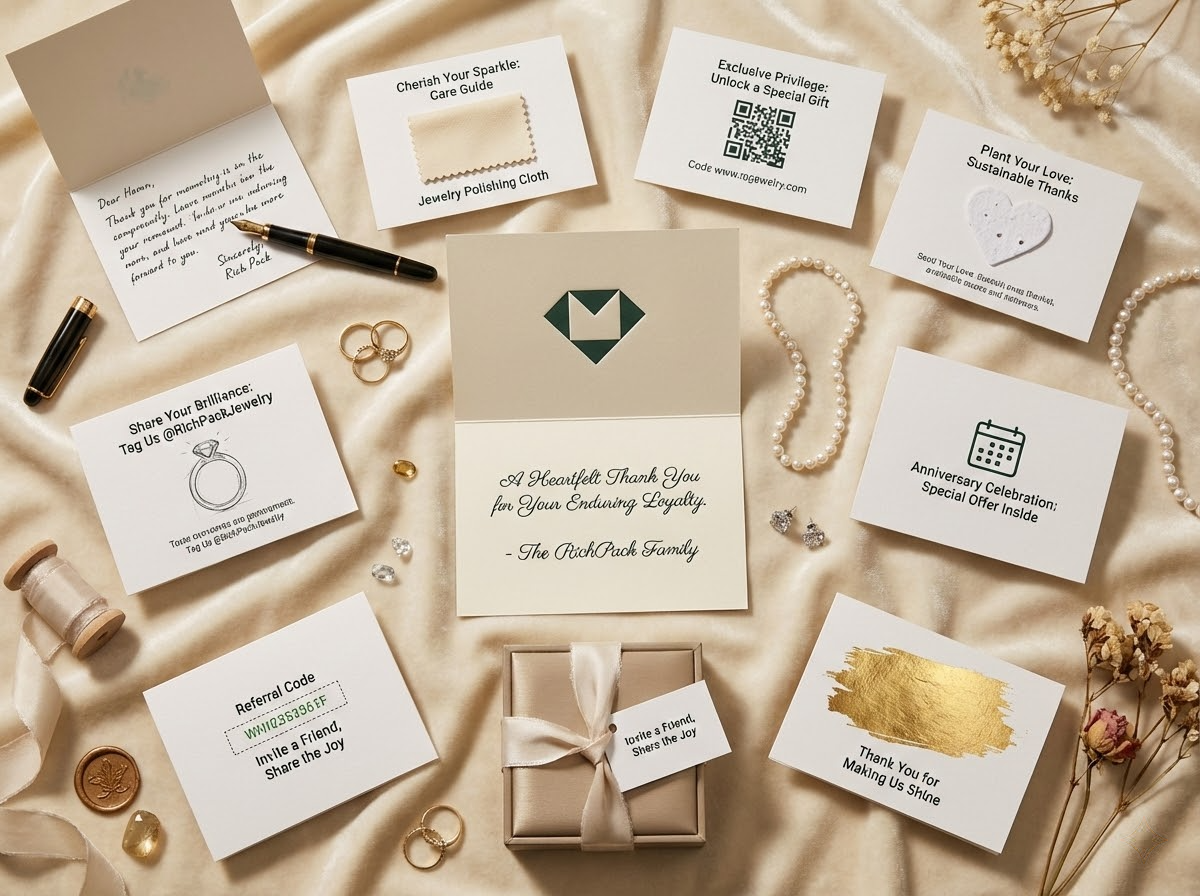
10 Thank You Card Ideas to Boost Jewelry Brand Loyalty
2026-02-13
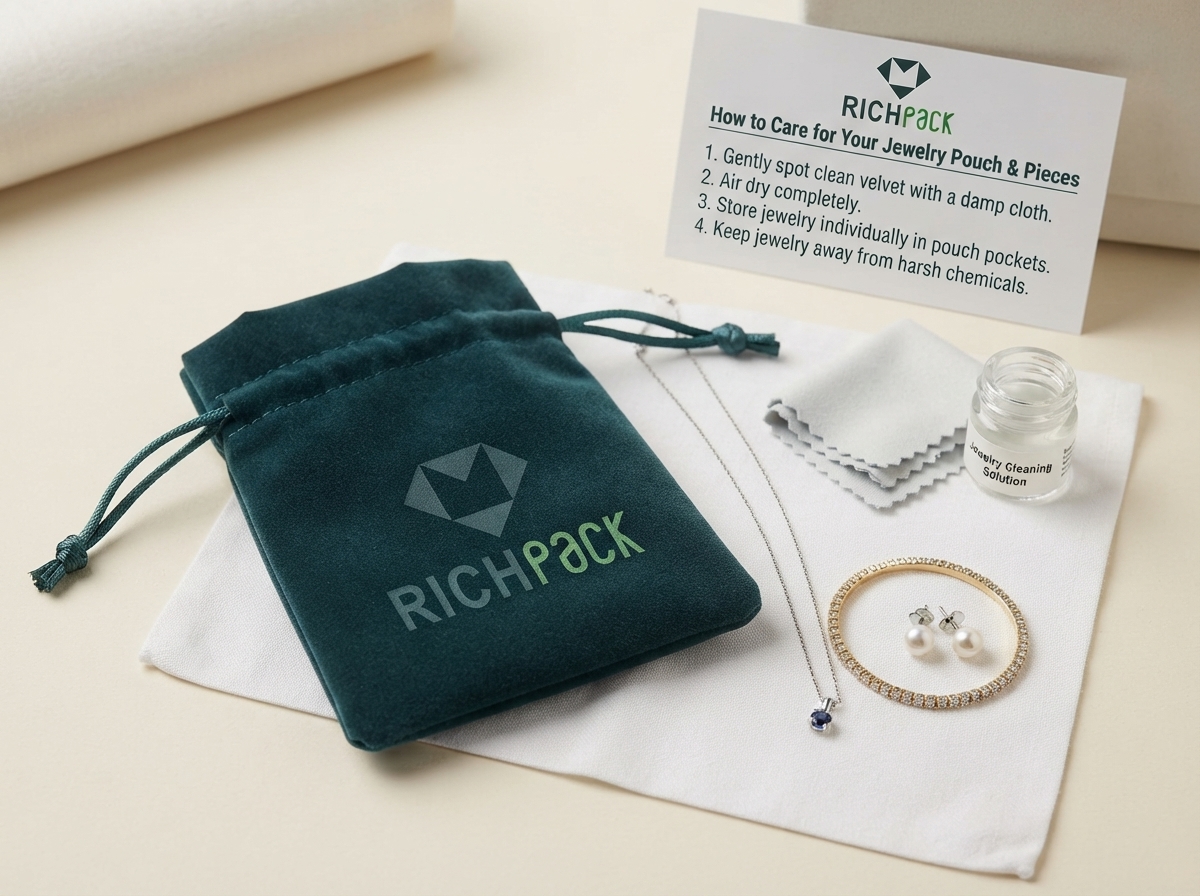



A black velvet pouch lands on the counter with face powder on one corner and lint inside. The quick fix is to wet the whole bag. That is also how the pile gets flat, dye starts to bleed, and a logo begins to lift.
Start dry, then read the care label, inspect the lining and seams, and test a hidden spot. Add water only when the finished pouch allows it, and let every layer dry before jewelry goes back inside.
For personal use, the job ends when the pouch and jewelry are clean, dry, and packed without rubbing. For retail or bulk orders, the same checks become a material and quality-control brief.
| Pouch condition | First action | Water decision | Reuse decision |
| Dust, lint, or loose fibers | Empty the pouch and remove debris gently | Start dry | Reuse after checking the lining |
| Small surface spot | Read the care label and test a hidden area | Use a small amount only if allowed | Reuse when the fabric is dry and unchanged |
| Strong odor, dye transfer, or shedding pile | Stop and inspect the material and seams | Do not add a stronger cleaner to hide the problem | Replace the pouch |
| Anti-tarnish treatment | Follow the treatment maker’s instructions | Do not assume washing preserves the treatment | Record the care limit for staff and customers |
| Damp pouch | Separate it from jewelry | Dry it fully before storage | Do not close jewelry inside it while damp |
Cleaning a pouch is a material-care task, and a drawstring pouch has many parts. These include the outer cloth, lining, logo, cord, stopper, seams, and bonded layers. Water can leave a ring, loosen a logo, or sit inside the lining.
Use the least aggressive method that can solve the visible problem. If the pouch has no care label, begin with dry cleaning steps and treat water as a last resort.
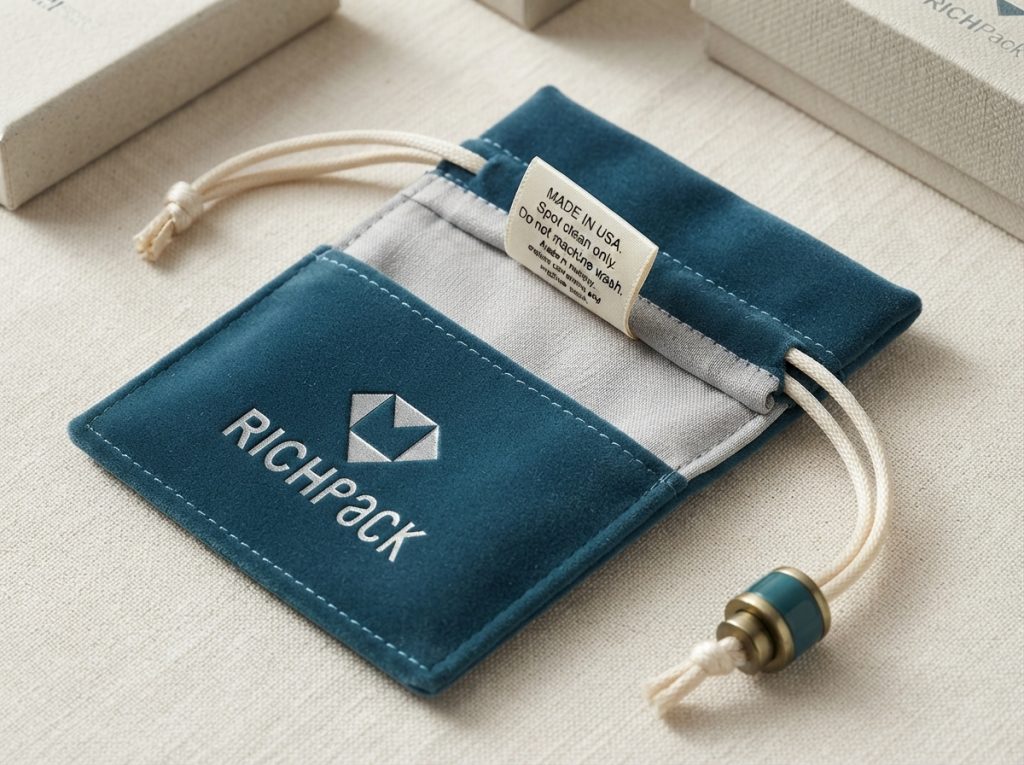
Look for a sewn label, maker’s instructions, product page, or care card before you add water. Name the main fabric first. Common options include velvet, silk, cotton, microfiber, suede-like fabric, and organza.
Then check for added layers. Inspect the logo, drawstring channel, stopper, lining, and bottom corners.
A pouch can contain more than one material. The outer fabric can pass a damp-cloth test while the print, foam, cord, or adhesive fails. A label that says “fabric” does not prove that the finished pouch is machine washable.
If instructions are missing, do not guess; start with a soft, dry brush or clean lint-free cloth. Keep water away until the maker confirms the cleaning limit.
The table below is a relative planning guide, so start with the fiber and weave. Then check the pile, coating, logo, lining, and seam before the care label and hidden test to decide the method.
| Material | Typical Water-Washability | Lint or Shedding Risk | Breathability |
| Velvet | Low to conditional; wet cleaning can flatten the pile or leave rings | Medium to high when the pile or backing is unstable | Low to medium because the pile and backing slow airflow |
| Organza | Medium for plain synthetic organza; low for silk organza or decorated pouches | Low on the face, with a fraying risk at cut or sewn edges | High because the sheer weave lets air move |
| Microfiber | Medium to high for plain synthetic fabric; lower with coatings, lamination, foam, or print | Low to medium, depending on nap and edge finish | Low to medium, depending on fabric density and coating |
RichPack’s current custom jewelry pouches page separates pouch options by material and use. Its velvet jewelry pouches page shows a pile-fabric category. The finished pouch still needs a shedding test.
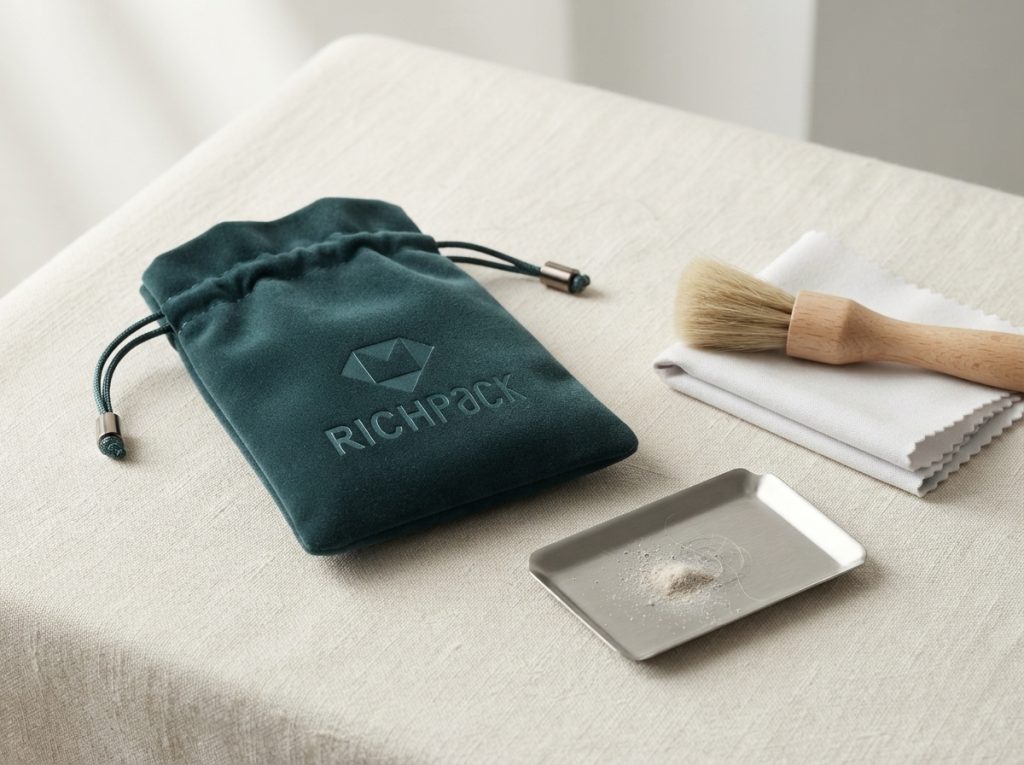
Take every jewelry piece, earring back, tag, insert, and loose item out of the pouch. Work over a clean tray so a small finding does not disappear into a fold or onto the floor.
Turn the pouch inside out only if the construction allows it without forcing the seams. Otherwise, open the mouth fully and shake the pouch gently over the tray. Use a soft brush to lift dust from the lining.
A low-suction vacuum with a clean brush attachment can help with loose debris. Keep the nozzle away from delicate pile, embroidery, cords, and printed areas.
Do not scrape a stain with a blade, nail, or hard card. Scraping can pull fibers and turn a small mark into a rough patch that later rubs against the jewelry.
The dry stage removes dust and loose lint without adding a new risk. It also shows whether the remaining mark is a stain, dye transfer, oil, or fabric damage.
Use spot cleaning before soaking the whole pouch. Choose a hidden area with the same material and finish. An inside edge or seam allowance works well.
Put a small amount of the approved solution on a clean white cloth, then touch the test area instead of rubbing. Let the area dry and check its color, pile, feel, and smell. Look for a water ring or dye on the cloth.
If the hidden test changes the fabric, stop instead of moving to a stronger solution. A stable finish protects jewelry, while a pouch that sheds, bleeds color, or feels rough does not.
Use a separate cloth for the visible spot. Press and lift instead of spreading the mark outward. Keep the cloth away from the drawstring channel and logo until you know how the surface reacts.
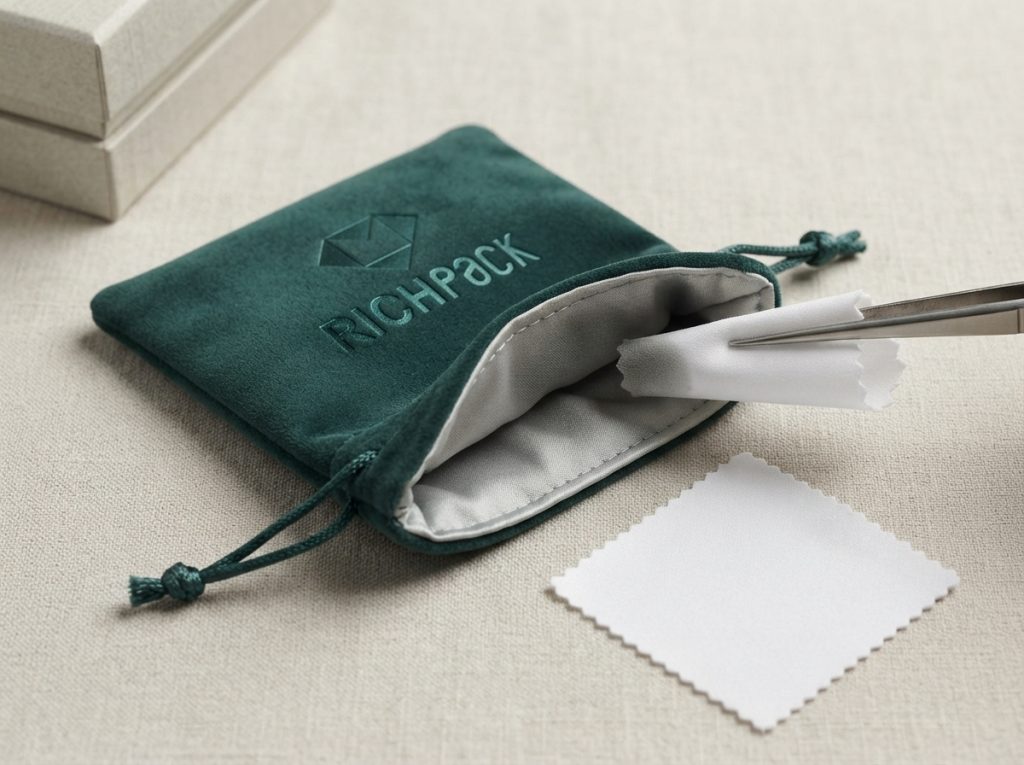
If the care instructions allow water, use the smallest amount that can lift the mark. Put the solution on the cloth, not on the pouch, because the goal is a damp surface instead of a wet lining.
Apply the solution to the cloth, not directly to the pouch. Keep the pouch supported so the lining does not bunch into a wet pocket. Clean a small section at a time, and stop if the cloth picks up dye or the fabric changes texture.
Use the named products below as a stop-or-go list. “Safe” means suitable for a hidden test when the care label permits damp cleaning, not safe for every pouch.
| Product or chemical | Decision | Why |
| Cool distilled water | Safer starting point | It adds no mineral deposit, fragrance, dye, or solvent |
| Clear, fragrance-free baby shampoo with no conditioner or color | Conditional: use one or two drops in one cup of cool water | A tiny amount can lift a water-based spot without a strong solvent |
| Clean white lint-free cloth | Safe first tool | White fabric makes dye transfer easy to see |
| Ammonia-based glass cleaner, including Windex-type products | Do not use | It is made for hard surfaces and can disturb dyes, print, coating, or adhesive |
| Chlorine bleach, or sodium hypochlorite | Do not use | It can strip color and damage fibers or finishes |
| Acetone or nail-polish remover | Do not use | It can dissolve print, coating, adhesive, and synthetic trim |
| Rubbing alcohol, or isopropyl alcohol | Do not use unless the care label approves it | It can affect transfer prints, coatings, and bonded layers |
| Abrasive powder or jewelry dip | Do not use | Grit or active chemicals can stay in the fabric and later touch the jewelry |
Do not mix household products because an anti-tarnish pouch needs its own care method. Ordinary detergent can harm the treatment. Put the cleaning limit in the product record before a repeat order.
For a pouch with an unknown construction, stop at dry cleaning. Replacing the pouch costs less than repairing a damaged jewelry finish.
When the care label permits a damp wipe, use a second cloth. Add a small amount of clean water and lift the residue. Do not flood the pouch, twist the lining, or wet the drawstring channel.
Residue can make fabric feel stiff or tacky and attract more dust. Turn the cloth to a clean area after each pass, then stop once the surface is ready to dry.
If water has soaked the pouch, pause and check the instructions. Do not place it in a dryer or against a radiator. Strong heat can change its shape, flatten a pile, set a stain, damage a logo, or weaken the cord.
The correct endpoint is a pouch with no visible cleaning film and no new surface damage. It does not need to look factory-new if the next aggressive step would create a greater risk.
Open the pouch wide and let air reach the lining, seams, corners, and drawstring channel. Keep it in a clean, dry, well-ventilated place away from direct heat and strong sunlight. Do not close the mouth while the inside is damp.
Check the pouch by touch and smell after it dries. Look first for a cool lining, a damp bottom corner, or a stale odor. Then check for flat pile, stiff patches, dye transfer, loose threads, or a distorted logo. Thick or layered areas can take longer to dry than the outer face.
The outside can feel dry while the lining stays damp. Check the lining and seam area because they sit closest to the jewelry. If either part feels damp or smells of cleaner, wait longer or replace the pouch.
After drying, shake the pouch gently and inspect the tray or cloth for loose fibers. A clean-looking pouch can still fail if it leaves lint on clasps, posts, stones, or polished metal.
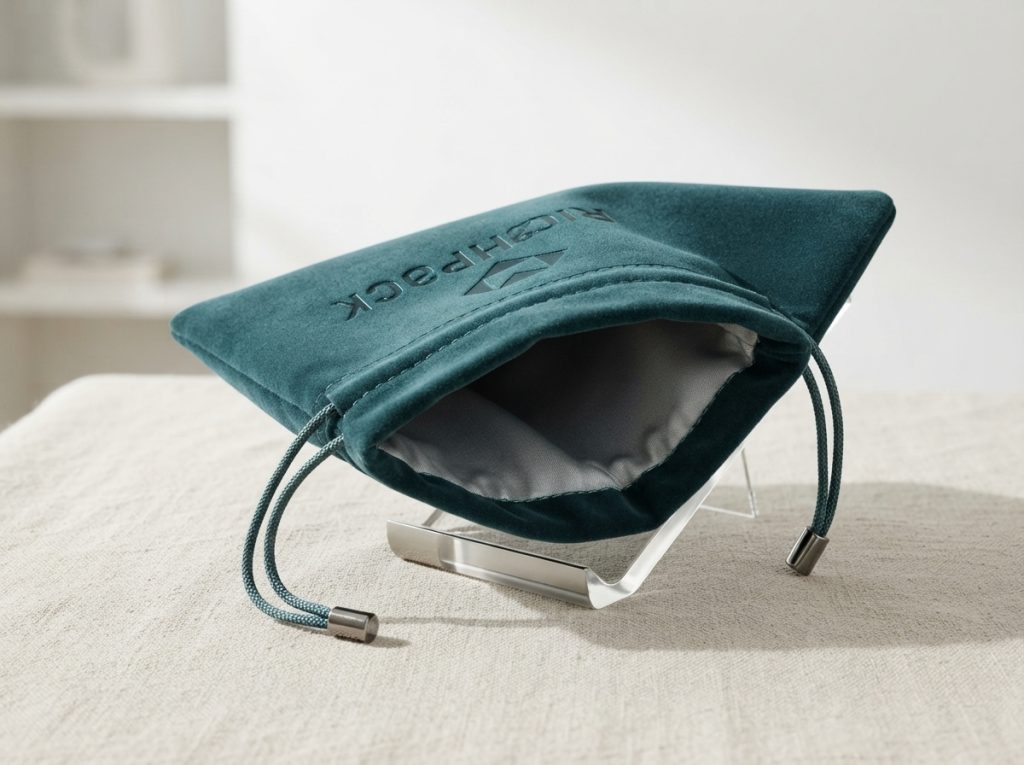
Cleaning cannot repair every pouch. Replace one that keeps shedding, bleeding dye, or holding odor after drying. Rough seams and a failed closure also call for a new pouch.
Replace a pouch that has collapsed around a pendant or raised setting. Do the same when an earring post presses into the cloth. A soft pouch can still press or rub when it loses its shape.
For personal use, mark the damaged pouch and keep it away from jewelry. Do not return it to a drawer where someone else can use it by mistake.
Once the pouch is clean, remove surface residue from the jewelry and dry each piece. Then pack the pieces so they cannot rub against each other or tangle.
The Gemological Institute of America and Jewelers of America give general care advice. One page cannot cover every stone, plated finish, pearl, or treatment. Follow the maker’s rules for the piece in your hand.
Use this table as a conservative check for return-to-storage. It does not replace the jewelry maker’s instructions.
| Jewelry type | Care before storage | Pouch check |
| Plain gold or platinum | Wipe with a clean, soft cloth when the maker allows it, then dry | Check for lint, rough seams, and enough room around raised details |
| Sterling silver | Remove surface residue and dry fully; use documented anti-tarnish storage when needed | Keep the pouch dry and separate soft contact from anti-tarnish claims |
| Plated or costume jewelry | Avoid hard rubbing and unapproved liquid cleaners | Use a smooth, low-rub lining and limit movement |
| Pearls and delicate or porous materials | Follow the maker’s care instructions and keep cosmetics away | Separate from sharp posts, hard stones, and rough findings |
| Chains and jewelry sets | Close clasps, remove tangles, and keep small parts together | Use a card, slot, sleeve, pocket, or separate pouch when contact risk remains |
Move the jewelry to a clean, dry tray before you open a damp cloth, cleaning solution, or brush. Keep pieces away from the cleaning area so splashes, residue, and loose fibers cannot reach them.
This step also gives you time to inspect the jewelry for moisture, lotion, and perfume. Then check stones, posts, clasps, and chains because a pouch should not hide a jewelry problem.
Use a simple two-tray routine when cleaning a set. One tray holds jewelry waiting for care, while the other holds clean pieces ready for a dry pouch.
Start with the jewelry care instructions. Use a soft, lint-free cloth when the maker allows routine wiping. Do not use one liquid cleaner for every piece.
Gold, silver, and plated metal need different care. Pearls, porous stones, glued settings, and costume jewelry need their own method.
Plain metal, plating, pearls, and set stones react in different ways. Ask a jeweler to clean a piece with a loose setting or unknown treatment. Do the same when dirt sits deep around a setting or the care rules are unclear. Do not test an unknown cleaner before storage.
Keep pearls and other delicate pieces away from sharp posts and rough edges while they dry. Follow the maker’s care card before general advice.
Let each piece dry before it goes back into the pouch. Moisture, lotion, or cleaner on the jewelry will soil the clean lining.
Keep cosmetics outside the jewelry pouch, including perfume, lotion, makeup, and wet wipes. Keep swim gear and damp clothing away as well.
Do not store a pouch in a bathroom, wet travel bag, or closed container immediately after use. Choose a dry storage area and leave enough space around the pouch for air to move.
Silver tarnishes when it reacts with sulfur-containing gases. A normal fabric pouch does not become anti-tarnish because it is soft, dark, velvet, or sold as a jewelry bag. A treated anti-tarnish material is a separate claim with its own care limit.
For long storage, compare the pouch against its real task. RichPack lists current storage jewelry pouches. The category name does not prove anti-tarnish performance.
Use one pouch per piece when surfaces or shapes differ. Hard stones, sharp posts, and mixed finishes should not touch. If a set shares one pouch, add separate spaces for parts that can scratch, snag, or tangle.
Close each necklace clasp and hold a long chain with a card, slot, sleeve, or inner pocket. Keep earring backs with the pair, but keep sharp posts away from pearls and polished metal.
Use the pouch to limit movement, then lift and turn it after filling. If the jewelry slides, twists, or reaches the gathered mouth, change the size or add an inner control.
Fill the pouch before judging it. RichPack lists current drawstring jewelry pouches for chains and small pieces.
Test the finished pouch with the actual jewelry inside. A flat measurement does not show how the mouth gathers. It also cannot show how the jewelry moves when you lift, turn, or place the pouch in a travel bag.
Rings and small earrings need compact space with a clean contact surface. Long chains need movement control. Bracelets and watches need room for their width, hardware, and closure. A large empty pouch gives a chain more room to loop and catch.
Check the lining for lint, rough seams, hard trim, odor, dye transfer, and loose fibers. A soft hand feel is useful, but it is not a complete quality check.
For a pouch that will move inside luggage, use the same fit test on a travel jewelry pouch. Lift it, turn it, and place it beside the hard items that will share the bag.
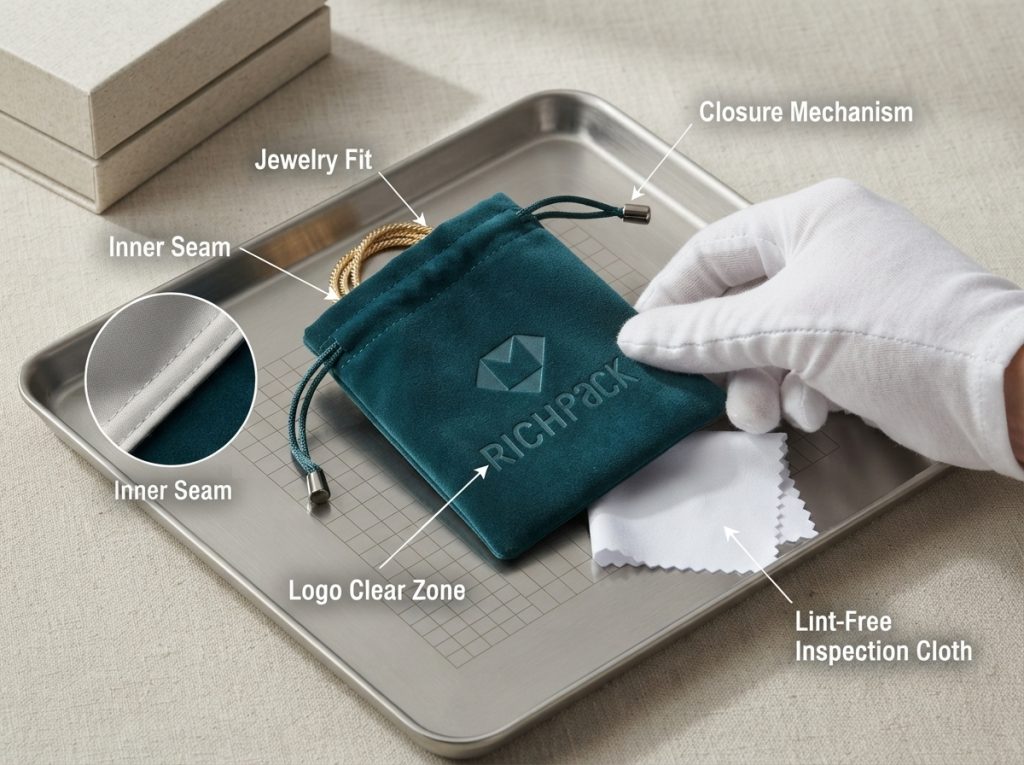
Inspect the cord, stopper, knot, channel, side seams, and opening, then close the filled pouch. The cord should not press against a stone, clasp, or raised setting.
Run a clean cloth over the inside. If it catches on a seam ridge or picks up fibers, stop. An inside defect sits next to the jewelry and can cause more harm than an outer mark.
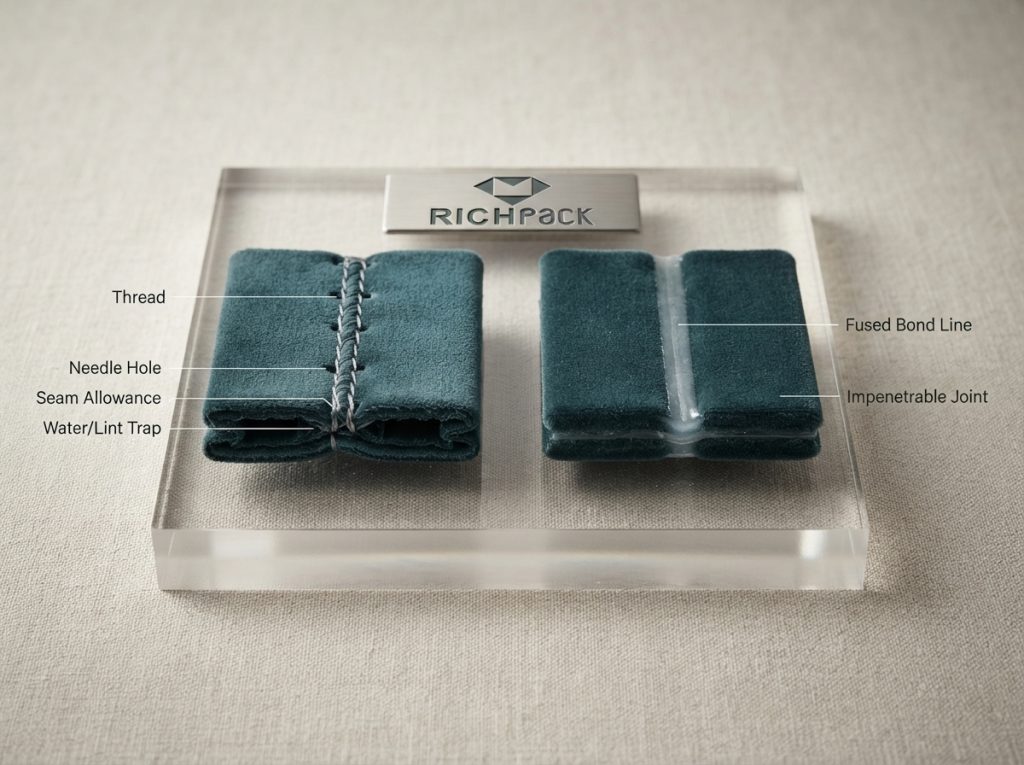
Seam construction changes the cleaning check. A traditional sewn seam has thread, needle holes, and a folded seam allowance. Those parts can trap lint and water, so open the seam and let it dry before the pouch closes.
An ultrasonic weld works differently. High-frequency vibration generates heat that fuses thermoplastic layers. Sonobond states that the process needs no thread, adhesive, or needle holes.
The edge can feel smooth and hold less lint when the fabric can melt, and the process makes a sound weld. Flex a sample to check the bond because a poor weld will split. Neither method proves that the finished pouch is washable.
Turn the closed pouch in your hand; the jewelry should stay in place, and the mouth should stay shut. This is a handling check, not a shipping test, so add a rigid box or organizer when hard objects can crush the pouch.
The home-care path ends with the dry-pouch checks above. The next job belongs to the packaging teams. It covers brand, retail, wholesale, gifting, and sourcing work.
For a brand, pouch cleaning is part of the packaging specification. A customer sees a small gift detail. The operations team sees a material, a closure, a logo, a contact surface, and a repeat-order risk.
Start with the jewelry SKU and the care problem. Then specify the pouch so staff can clean it, inspect it, and replace it without guessing.
Start with the jewelry shape and finish. Then check its weight, movement, and storage time. Velvet, silk, cotton, microfiber, suede-like fabric, and organza do not clean or dry in the same way.
Do not treat the material name as a performance guarantee. Ask to see the finished lining, not only a loose swatch. Check the pile, weave, and seams first. Then inspect the edges, odor, dye, and gathered shape.
Compare finished samples from more than one material family. RichPack lists current silk jewelry pouches and cotton jewelry pouches. A category name is not a wash instruction, so test the actual pouch.
The closure affects storage safety and cleaning. A drawstring channel can collect lint. A stopper can press against the contents. A cord can fray or pull the logo out of line.
Specify how the pouch should look and feel when it is empty and filled. Confirm that staff can open it without dragging jewelry across the mouth. Confirm that the cord can close the pouch without catching on a pendant, chain, or earring post.
For travel or fulfillment, add a separate outer protection rule. A drawstring pouch is an inner presentation or storage part. It does not replace a rigid layer.
Keep the logo away from the jewelry contact area because a rough or stiff backing can scratch a piece or shed lint. Approve the finished pouch, then open and close its mouth five times with the jewelry nearby.
Check raised embroidery, foil, transfer print, patches, labels, and backing materials. The correct choice depends on the jewelry surface and the inside layout. A mark that looks attractive on a flat sample can become a pressure point after the pouch gathers.
Record the approved logo position, color, scale, and cleaning limit in the sample file. This reduces disagreement between design approval and production inspection.
Use a representative jewelry piece during approval. An empty pouch hides the main risks. Check:
Keep the sample record with the product specification. If a later batch changes the lining, cord, print, or adhesive, repeat the checks. A clean first sample does not prove that a changed material stack will behave the same way.
If the pouch will sit inside a box, compare it with a fabric jewelry box or a compartmentalized jewelry box. This shows whether the pouch still needs its own divider, card, or restraint.
Soft contact and tarnish control solve different problems. A soft lining can reduce rubbing. It cannot control the gases that tarnish silver.
If anti-tarnish performance matters, name the material or treatment. State which jewelry it covers. Record the storage method and the effect of cleaning. Get the care limit in writing before using the claim.
Do not promise that a pouch will stop tarnishing in every climate or storage condition. Keep silver clean and dry. Keep reactive materials away. Use a documented anti-tarnish method in the storage plan.
A care instruction should fit the actual pouch. Tell users to remove jewelry, brush away debris, and test a hidden area. List the banned chemicals. Add the drying rule and the signs that call for a new pouch.
Keep the instruction short enough for a packing table. A special treatment needs a clear care limit. Print that limit or link to the maker’s rule. Do not write “wash gently.”
Corporate gifts and wedding favors need one approved care rule. Retail sets and seasonal launches need the same rule. Give the packing team one internal checklist so a wet-cleaning shortcut cannot spread.
The pouch also sits inside a larger pack. Add a rigid outer layer when the piece needs one. RichPack’s current jewelry boxes category shows that layer. Keep the pouch, restraint, box, and care card in one record.
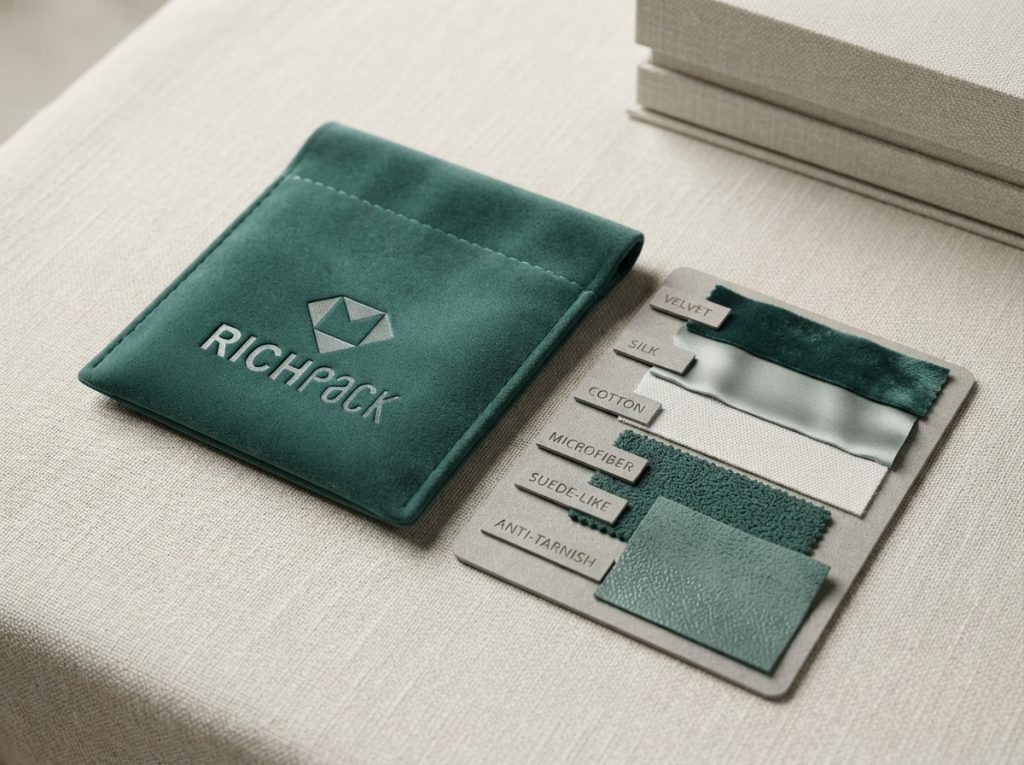
Check the care label or the maker’s rules. If neither one allows washing, do not use a washing machine. Velvet, silk, cotton, microfiber, and suede-like fabric react in different ways.
Logos, cords, and anti-tarnish treatments add more limits. Start dry, test a hidden spot, and use the gentlest approved method. Dry every layer before reuse.
Do not pour solution onto velvet or scrub the pile. Work from the edge of the mark toward its center. When the test cloth picks up dye, stop.
After drying, check for a water ring, flat pile, stiffness, loose fibers, and odor. The word “velvet” does not prove that the pouch is washable.
No. Let the pouch and lining dry before storage. Return only clean, dry jewelry. Check the bottom corners, seams, and drawstring channel because they can hold water.
If the pouch feels damp or smells of cleaner, keep jewelry out. Review or replace the pouch.
Keep the jewelry outside until the pouch and pieces are dry. Follow the jewelry maker’s instructions. Use a soft lint-free cloth when the maker allows routine wiping. Do not use one cleaner on every metal, stone, pearl, plated finish, or glued part.
Close each clasp. Separate sharp or hard pieces. Check the pouch for lint, rough seams, odor, dye, and trapped water.
Store silver clean and dry. Keep cosmetics and damp items away. Soft fabric reduces rubbing, but it does not control tarnish gas.
A dark pouch is not an anti-tarnish pouch. For long storage, use a documented anti-tarnish material and follow its care limits.
Replace the pouch when the lining sheds, transfers dye, or retains an odor after drying. Replace it when seams turn rough, the inside stays damp, or the mouth no longer closes. Also replace a pouch that lets jewelry slide into the gathered mouth or press against a hard logo, cord, or seam.
Clean the empty pouch with the gentlest method that works. Start dry, test a hidden spot, keep harsh chemicals away, and let the lining dry fully. Care for each jewelry piece according to its material and the maker’s instructions. Then check fit, lint, odor, seams, and closure with the real piece inside.
For personal use, stop after the dry fit and closure check. For a custom jewelry pouch order, put the same checks in the sample brief. Staff get one care method, and customers get a pouch that does not put the jewelry at risk.


2026-02-13

2025-07-10
2024-12-04

2026-07-15
2025-01-07
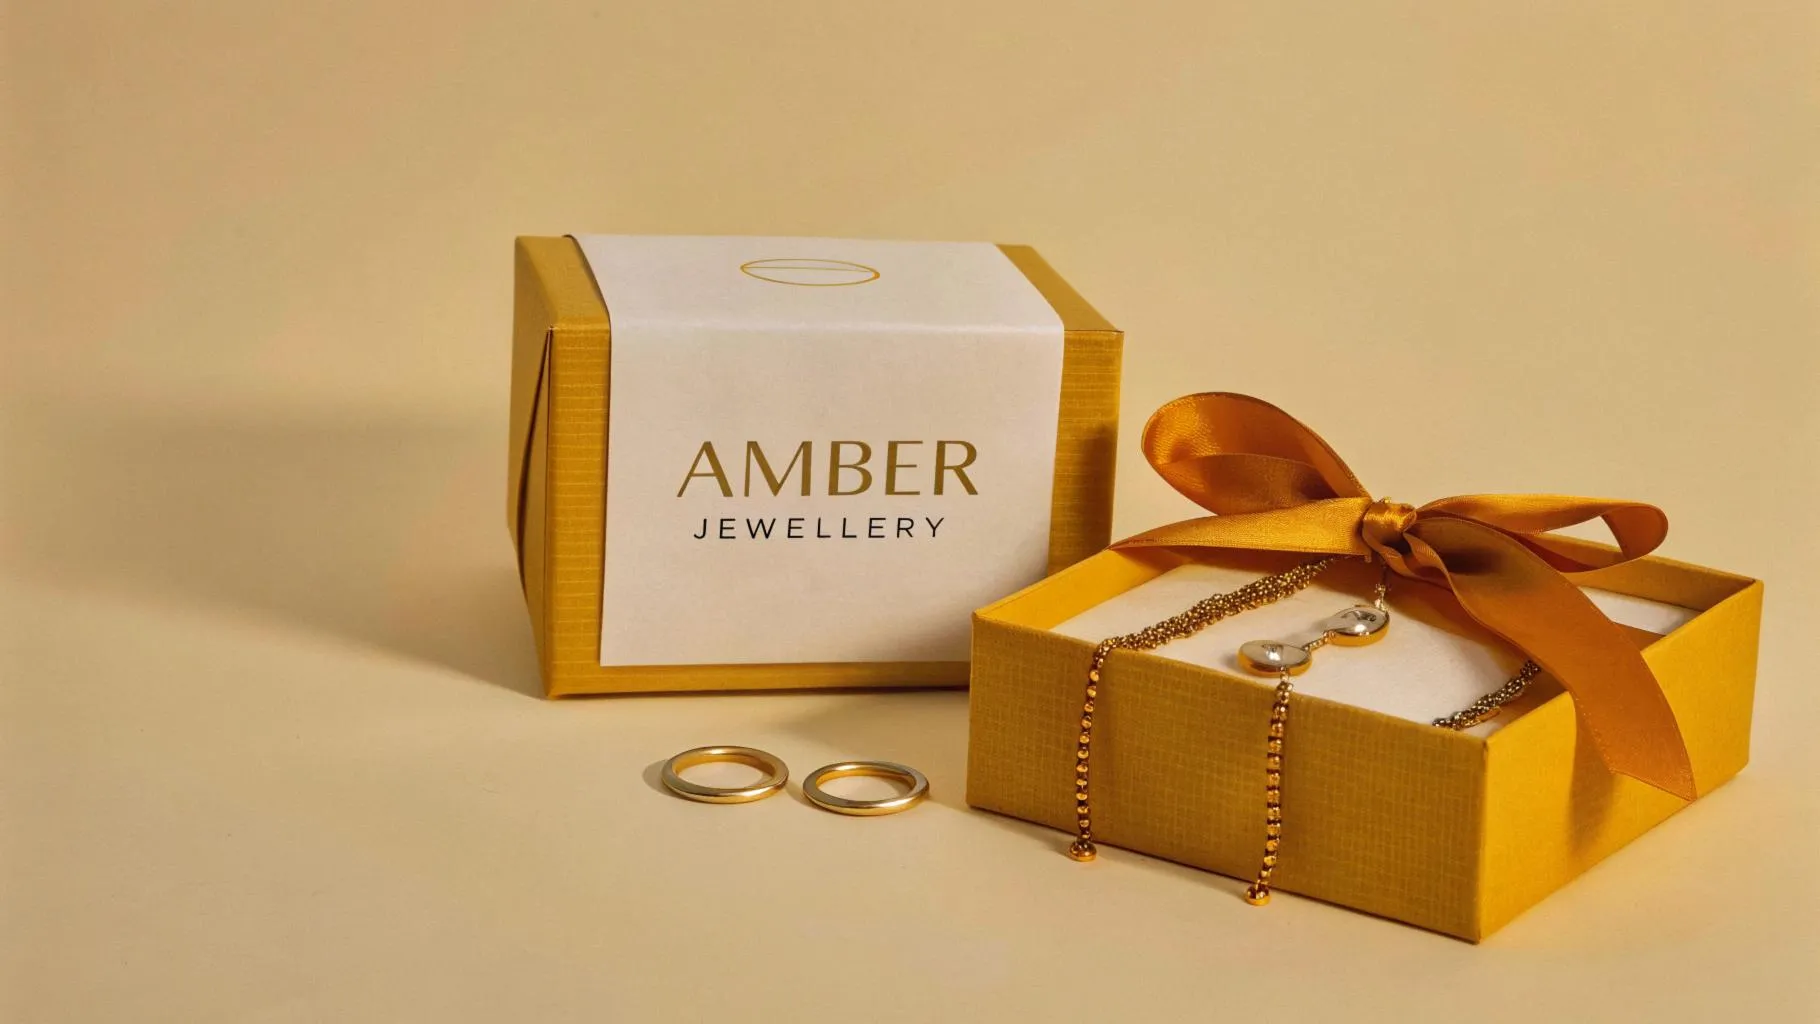
2024-12-30
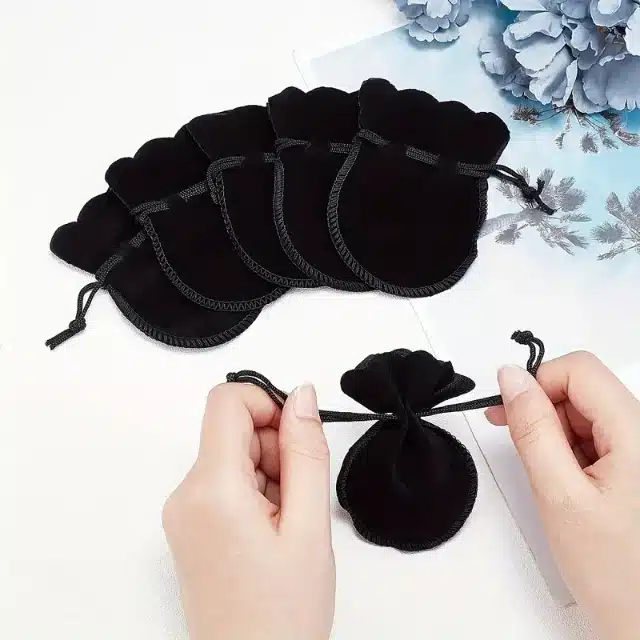
Black Velvet Jewelry Pouches | Soft, Elegant Storage for Jewelry by Richpack
View More
Black Velvet Foam Ring Display | Soft Sponge Ring Organizer for Retail and Wholesale | Richpack
View More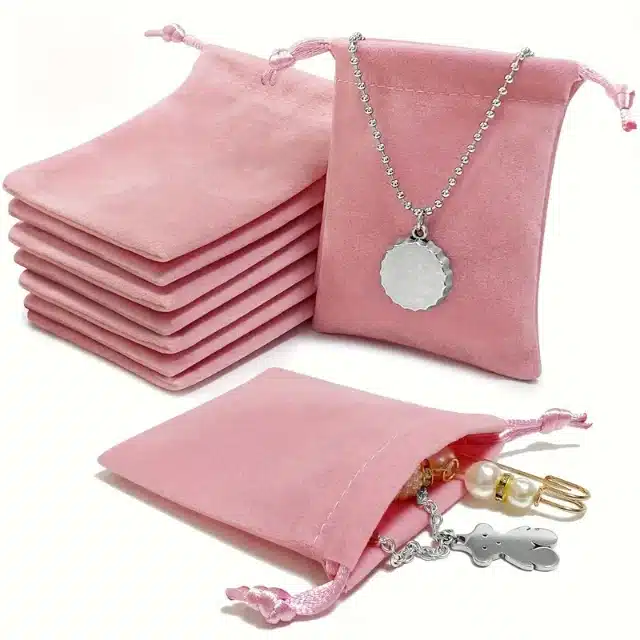
Cloth Jewelry Bags to Protect and Personalize Your Jewelry | Stylish and Practical Solutions
View More
Corrugated Cardboard Box for Shipping | White 9 x 5.8 x 2 Inch Protective Jewelry Shipping Box | Richpack
View More
Custom Jewelry Packaging for Small Jewelry Brands | Personalized Solutions for Distinct Branding | Perfect for Niche Markets
View More
Custom Velvet Bags | Luxury Velvet Jewelry Packaging – Richpack
View More

