


 PREV


Sustainable Jewelry Packaging for a Premium Brand Without Losing Luxury Feel
2026-04-21
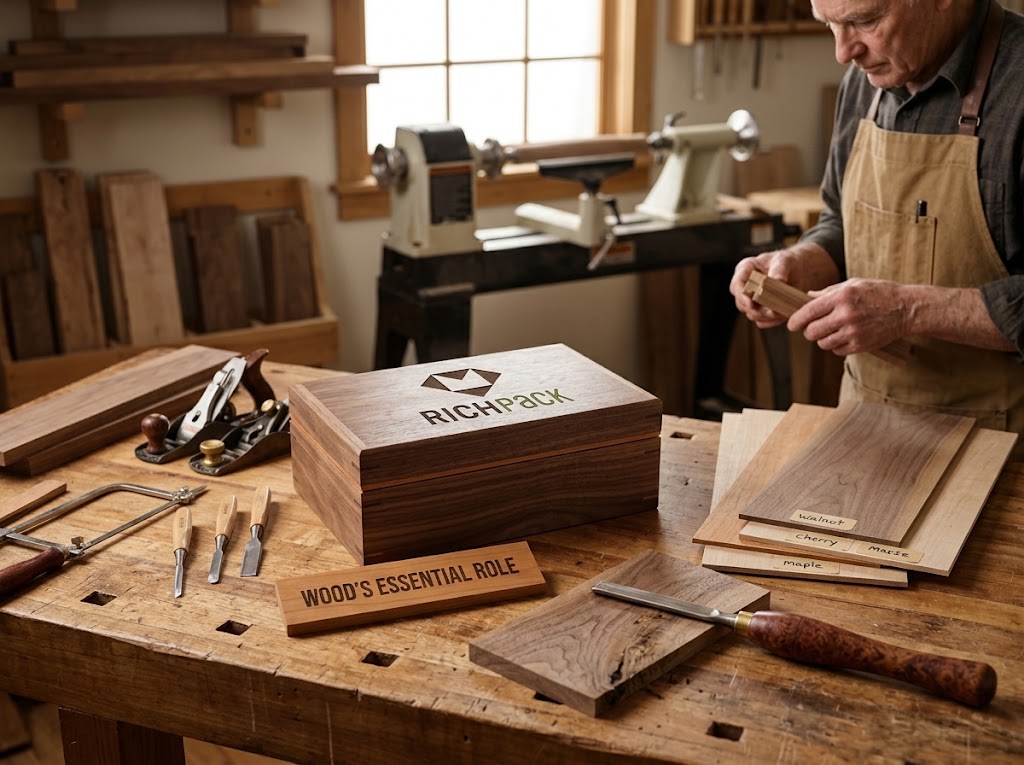



Wood jewelry box manufacturing starts with a drawing that names each panel and fit point. Common wooden jewelry box builds include solid wood panels and veneer over a core. Wooden jewelry box craftsmanship also depends on grain, joints, finish, and insert fit. A wood species alone does not say how the box is built.
RichPack provides one-stop custom jewelry packaging from design through delivery. Each wood jewelry box project needs a drawing that names the wood grade, panel core, fit range, and finish. The buyer and project team approve those choices before sampling. Start with the custom jewelry box with logo project page.
The USDA Forest Products Laboratory (FPL) explains that wood gains moisture from damp air and loses it as the air dries. That movement can affect lid, base, and joint fit. The checks below show how to name each wood layer and review a sample.
Wood forms or covers the box. The word “wood” alone does not show how the box is built. List the shell, face, core, hardware seats, and parts that touch the jewelry.
The shell forms the base, sides, lid, dividers, and other rigid parts. A small ring box needs a different layout from a box with several compartments. Set the box shape before choosing its grain or stain.
The drawing should show which panels carry the lid, where edges meet, and where hinges or catches attach. RichPack’s custom jewelry box collection shows box types a brand can coordinate. Name the chosen box and show how its panels meet.
For a ring presentation, the shell frames the ring and an insert holds it in place. Review a custom ring box option as a product example. Its page does not prove that another wood build meets your fit or protection needs.
Grain is the visible direction and pattern of wood fibers. It shapes a panel’s look and helps the team track board movement, but grain direction alone does not predict how the box will move. Wood type, moisture, panel build, size, and climate also matter.
On the drawing, mark grain direction on the lid and other visible faces. If the grain should match across panels, mark the faces to compare. This records a look choice, but it does not replace the panel spec.
Walnut, maple, and cherry name wood species, but the name alone does not tell the buyer the panel, core, thickness, joint, or finish.
Choose a species for its look and cutting needs, then use RichPack’s wood species comparison to compare options. Name each panel and customer-facing side on the drawing.
A veneer is a thin wood face over a core. A finish is a coating on a surface. Neither term names the core, so a box can show real wood outside and use another panel inside.
List the face, core, edge, and finish for each part. If a supplier proposes a change, compare it with the sample and drawing version before approval. Keep each layer on the material list.
The shell gives the box its shape. An insert, tray, or lining holds the jewelry and forms the contact surface. List these parts separately, even when they look like one interior.
Name the jewelry, how it should sit, and where metal or stones touch the insert. Check jewelry box insert options with the jewelry piece. A wood shell alone does not prove scratch protection, tarnish control, or a fit for every jewelry finish.
| Box part | What it describes | Drawing or sample question |
| Shell or panel | The part that forms the box body, lid, base, or divider | Which panels are structural, and which are visible? |
| Face or veneer | The visible wood face | What face and edge finish are named? |
| Core | The panel below a face layer, if used | What core is named on the parts list? |
| Hardware seat | Hinge, catch, screw, or closure point | Does it open and close as shown? |
| Insert or lining | The layer that holds or contacts the jewelry | Does the actual jewelry sit securely without unwanted contact? |
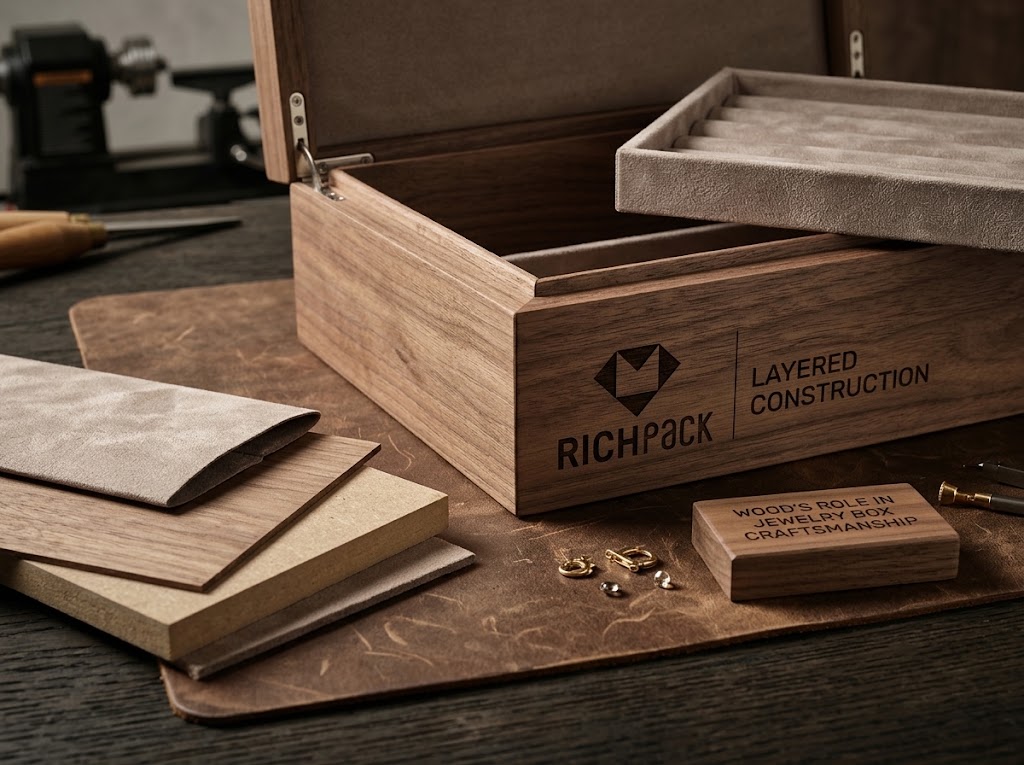
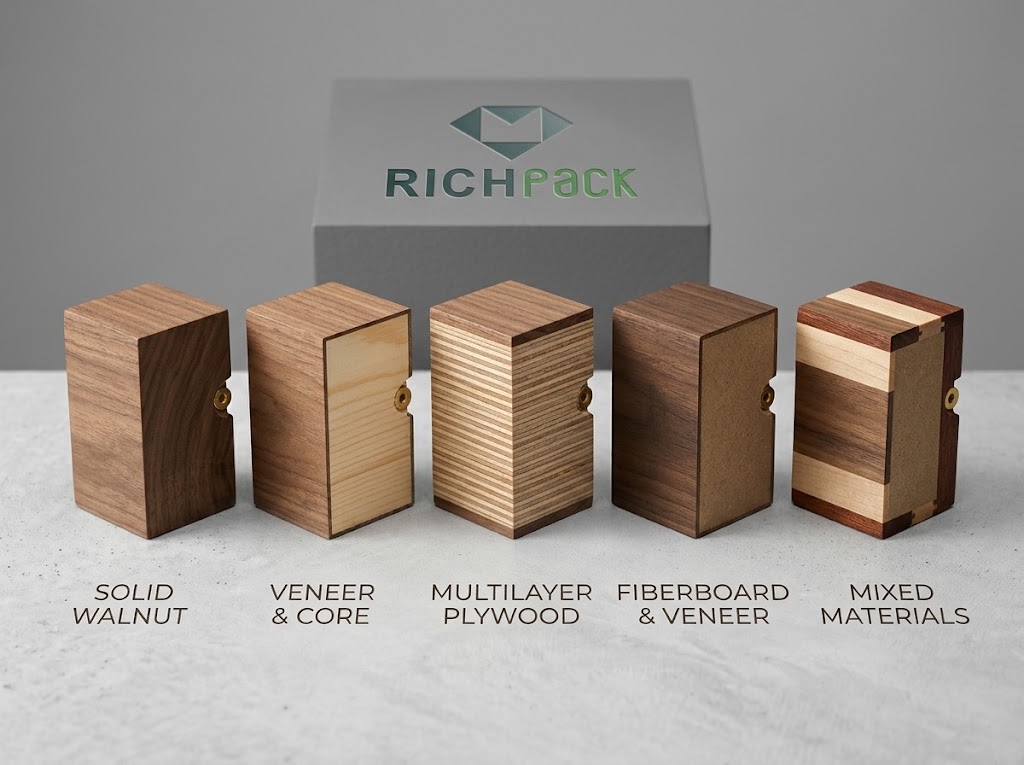
Construction form describes how each wood part is made. Solid wood, veneer over a core, plywood, fiberboard, and mixed-material boxes use different builds. RichPack’s wooden jewelry box collection shows examples, but the parts list and sample must name the build for each project.
A solid wood jewelry box uses one or more wood boards for its panels. Color and grain vary from board to board, so check the panel layout as part of the sample review.
Name the species and visual grade after the project confirms them. Mark visible faces and grain direction on the drawing, then compare the sample with the approved reference. “Solid wood” names a build type; it does not set the look or show how the box will perform.
Veneer is a wood face over a separate core. List the face and core on separate lines: the face sets the visible look, and the core names the panel below it.
Confirm the veneer or face, core, edge finish, and corners near hardware. Check an edge sample as well as the lid face because a photo does not show every edge or the box interior.
Plywood uses thin wood layers bonded together. The Forest Products Laboratory classifies it separately from solid wood and fiberboard. Layer count, direction, and glue are part of the build, even when you cannot see them outside.
If the supplier proposes plywood, list it and mark where it goes. Review its grade, thickness, finish, and fit for the box.
MDF and particleboard are wood-fiber panels. Their fibers or chips, layers, density, and glue affect how each panel is cut, covered, joined, or fitted with hardware.
Check edges, screw and hinge spots, corners, and face cover on the sample. Do not assume all fiberboard acts alike. Ask which panel the supplier will use, then check its edge on the finished box.
A mixed-material box pairs wood panels with metal hardware, glass, paperboard, fabric, or foam. Check each join: a hinge sits in a panel, a lining sticks to a wall, and an insert fits inside the shell.
Show each join on the drawing and parts list. Name the nearby part and visible edge. Note if the join comes before or after the finish. Then check it on the sample.
| Box build | What the name describes | What changes | What to check |
| Solid wood panel | Lumber forms the panel | Grain and natural board variation remain visible | Species/grade if specified, panel direction, visible-face match |
| Veneer over a core | Wood face over another panel | Face, edge, and core are separate | Face, core, edge finish, exposed corners |
| Plywood | Thin wood layers bonded together | Layer direction shapes the panel | Panel type, thickness, finish, and location |
| Fiberboard | Wood fibers or chips formed into a panel | Edge and hardware seats depend on the panel and cover | Panel name, edge cover, hinge/screw locations |
| Mixed materials | Two or more materials meet | Build order and visible joins need a check | Joins, glue or screws, finish order, contact surfaces |
Wood changes size as it gains or loses moisture. The Forest Products Laboratory’s Wood Handbook links that movement to wood type, grain direction, and climate. It sets no single moisture target or lid gap for every jewelry box.
Room relative humidity (RH) measures moisture in the air, while wood moisture content (MC) measures water in the wood. Wood takes in moisture from damp air and gives it off in dry air, so RH and MC relate but are not the same.
FPL’s Wood Handbook, Chapter 13, Table 13-2, gives regional MC references for indoor woodwork, floors, furniture, and trim at installation. The table shows averages and ranges for single pieces.
| U.S. region | Average MC at installation | Range for individual pieces |
| Most areas | 8% | 6%–10% |
| Dry Southwest | 6% | 4%–9% |
| Damp, warm coastal areas | 11% | 8%–13% |
These figures describe indoor wood products at installation. They are not factory targets for every jewelry box or panel. Ask what climate the box will face, then set the MC range for its wood or panel in the project spec.
Wood moves by different amounts along and across the grain. Uneven movement can bend a panel. Wood type and moisture history affect how much it moves.
Mark grain direction on the lid, base, and visible sides. Check where panels meet at each corner. Check whether each joint lets the panels move. A species name alone cannot answer that question.
A wide lid or base can move more across the grain than a narrow piece. If a fixed edge blocks the move, it can stress the joint or bend the panel. The right design depends on the panel and how it attaches.
Compare the sample with the drawing. Check that wide faces stay flat and edges line up. Record any floating panel or veneer the supplier proposes. Do not add a general “movement gap.”
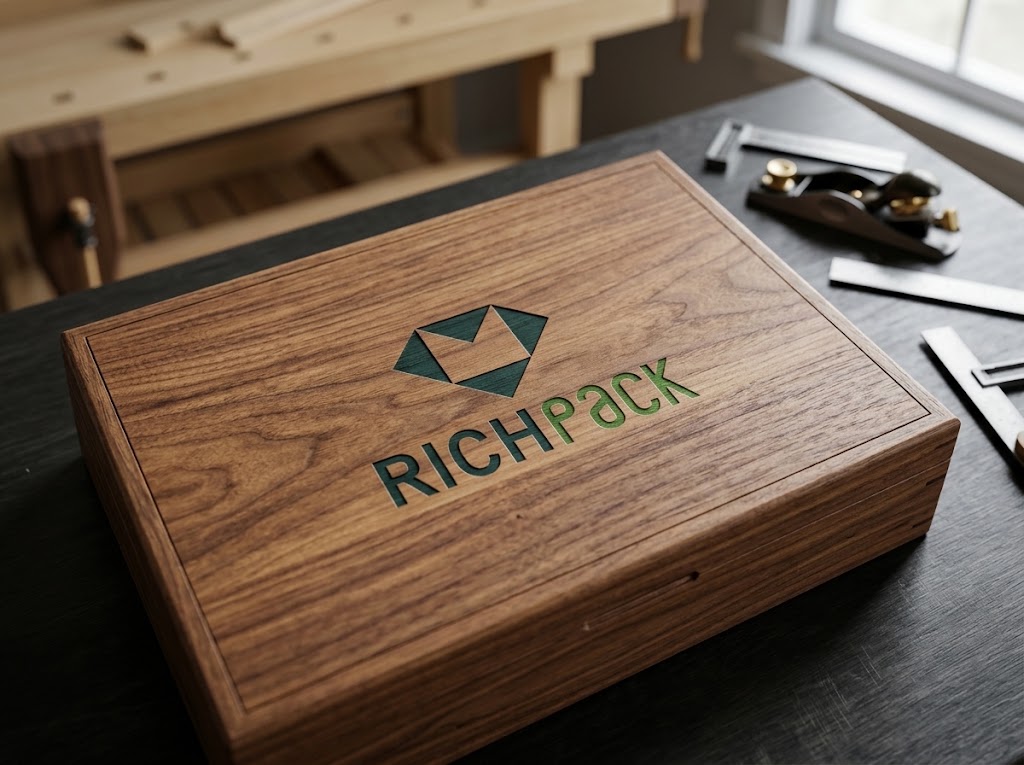
The lid reveal is the gap where the lid meets the box body. A front view can hide a high or low back corner. The base can also sit unevenly.
Inspect the closed box from above, from the front, from both sides, and from below. Open and close it too. Record rubbing, rocking, uneven gaps, or a latch that needs force. One UGI Packaging guide lists a 0.5–1.0 mm gap for its two-piece rigid box. Treat that as one supplier’s example, not an industry rule or a tested target for solid wood. Set the range on the project drawing, then measure each side with a feeler gauge.
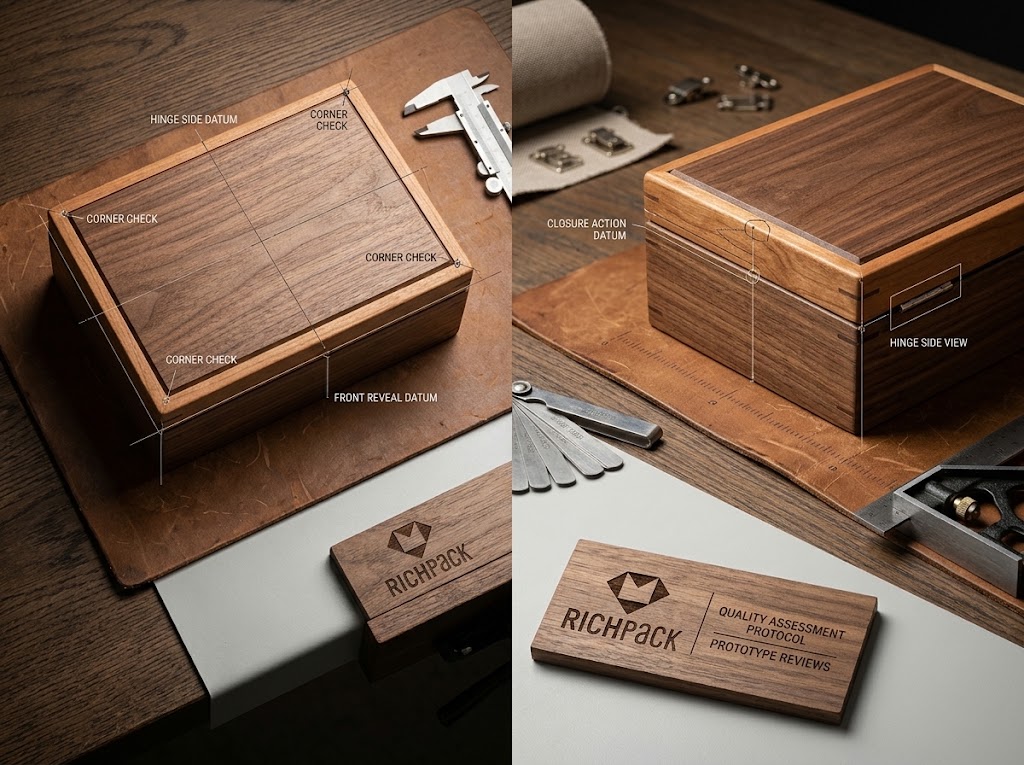
Joints hold panels together, and screws or glue can add support. The design must also allow for panel movement. A joint name alone cannot tell you whether the box will fit or work.
On the drawing, mark each joint and the grain direction of both parts. Note how each panel attaches. On the sample, look for open seams, gaps, shifted edges, or joints that block a lid or drawer. Choose the joint to fit the box shape, material, look, and test plan.
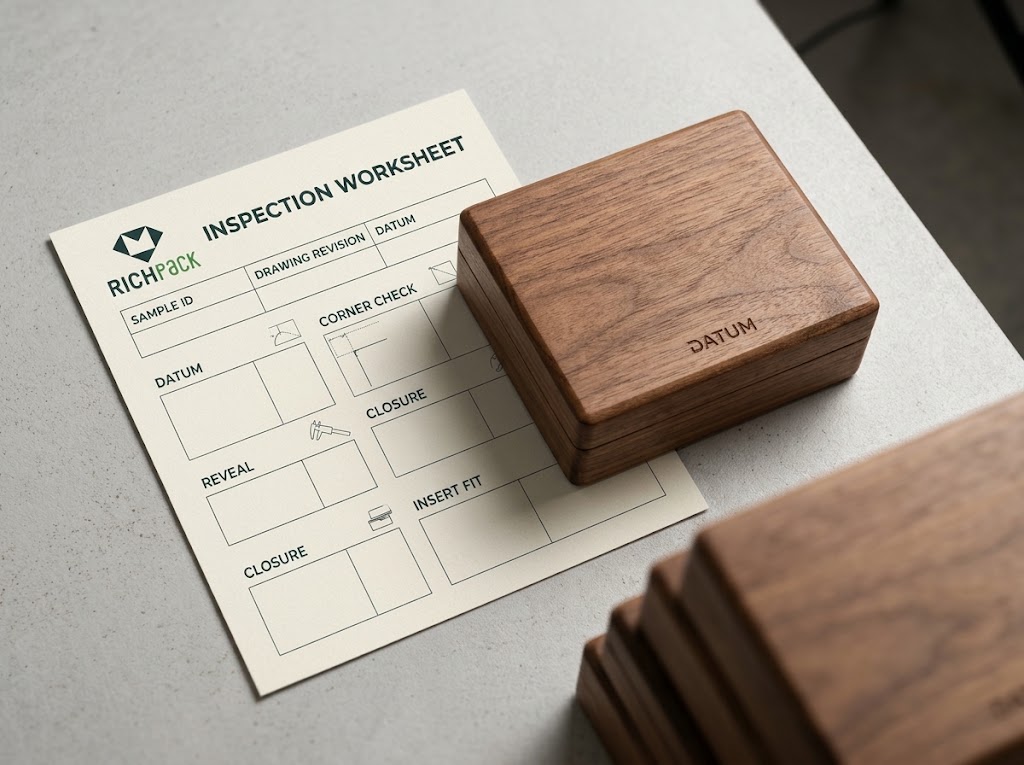
The team can repeat a sample review by recording the sample ID, drawing version, storage conditions, and date. If the sample sat in a different climate from the final box, ask how the supplier stored it and what the project spec requires.
If a lid binds, record it first. Then check moisture, grain direction, hinge fit, and assembly. One symptom can have several causes.
Cutting, joints, glue, sanding, and coating all affect how wood parts meet. A finish sample or one box face cannot show if the whole box is square and works as planned.
Milling cuts wood to the size and shape used in the box. Panel thickness and square edges affect corners and lid fit. If an insert or closure needs a set size, mark the measure point and finished size on the drawing.
Check the sample for uneven edges, panel thickness, and corners that do not meet. CNC equipment does not replace a clear size and check method. RichPack’s jewelry packaging design services help teams turn an idea into a drawing, but each project still needs an approved plan.
Box joints, dovetails, miters, splined miters, and rabbets make different corners and seams. Choose a joint for the box, wood, grain, finish, and build method. No single joint is always strongest.
| Joint example | What the geometry makes visible | What to inspect on a sample |
| Box or finger joint | Interlocking fingers at the corner | Even spacing, aligned edges, and a clean finished seam |
| Dovetail | Angled pins and tails at the corner | Consistent fit, intact edges, and finish coverage around the joint |
| Miter | Diagonal meeting faces | Corner alignment and any opening along the seam |
| Splined miter | Mitered faces with a spline across the joint | Consistent seam and no visible separation after finishing |
| Rabbet | A stepped overlap between parts | Seating, edge fit, and whether the finish bridges the joint |
This table helps with visual checks, but it does not test joint strength. If strength matters, name the joint and set a test for the chosen build.
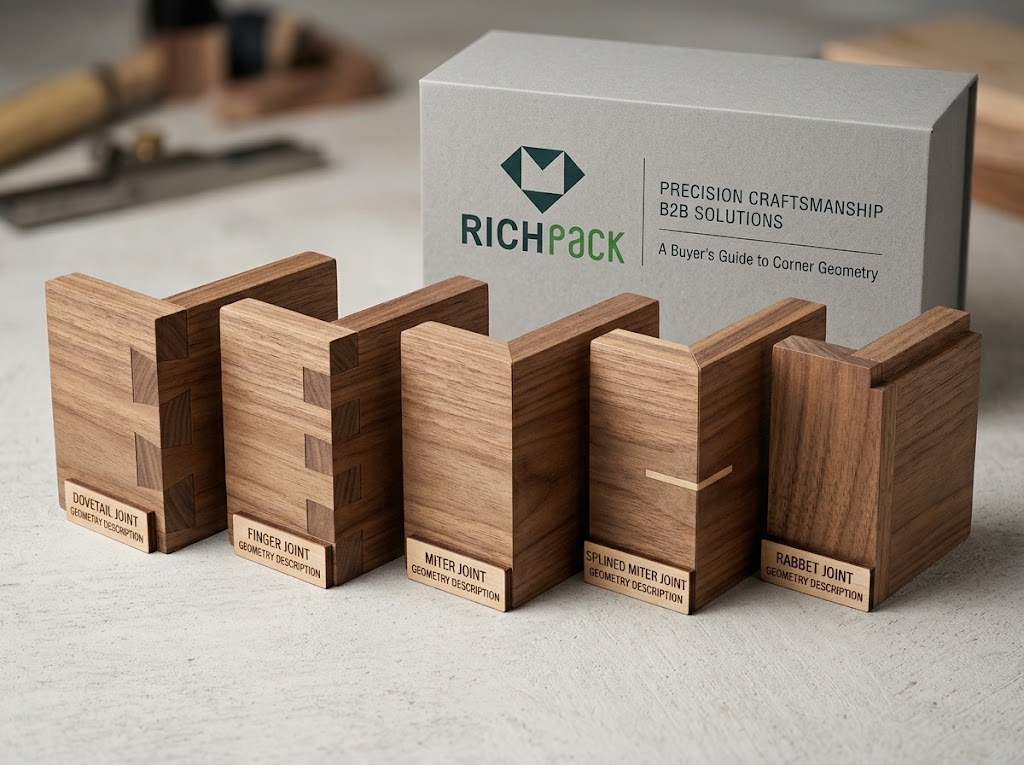
Glue bonds depend on the surfaces and their condition. The Forest Products Laboratory says moisture and surface prep affect the bond. Wood movement can also stress the glue line.
Check inside and outside seams for gaps, extra glue, residue, or separation. Ask the supplier to name the glue and process if the project needs it. RichPack has not provided verified details on its glue type, press settings, or bond strength. Ask the team to confirm these for the project.
Sanding removes tool marks and readies wood for coating. A smooth face can still have rough edges, exposed end grain, or marks in routed slots.
Check the finished sample where a customer will see and touch it. Look for rough edges, raised fibers, dust under the coat, uneven shine, or buildup at joints. If sanding steps matter, record them in the project spec. A DIY sanding guide is not a factory standard.
The cut end of a board can take in more finish than its face because grain, density, pores, natural oils, and moisture affect the result. A sample shows how a coating looks on the chosen wood.
Compare the face, edge, and cut end with the approved sample under the same light. Look for color shifts, uneven shine, thin coverage, or bleed-through. A finish sample lets the team check the coat before approval.
Hinges, catches, screws, and other hardware attach to the box. A finish coat can change how a hinge fits its slot, so check the box after coating.
Check the hardware on the finished sample. The lid should move freely, and the catch should close without force. Compare its position with the drawing, then record any problem, likely cause, and needed change.
Check the prototype against the approved drawing and parts list. Review its look, size, and function separately because a polished sample can still differ from the drawing, insert, or closure.
List the wood type or visual grade, if confirmed. Name the solid or composite build, veneer, core, panel thickness, finish, hardware, insert, and lining. Link each part to the drawing or parts list. Mark unknown fields as pending. Do not guess from a photo.
Record the sample ID, drawing and parts-list versions, measurement point, and approved changes. If the sample has a different panel or finish, pause approval until the team records it in writing.
Use the project’s measurement points to check size, square corners, lid gap, base flatness, and closure. Open the box and check each corner. If the drawing sets no limit, ask the product team to set one. Do not invent a pass rule.
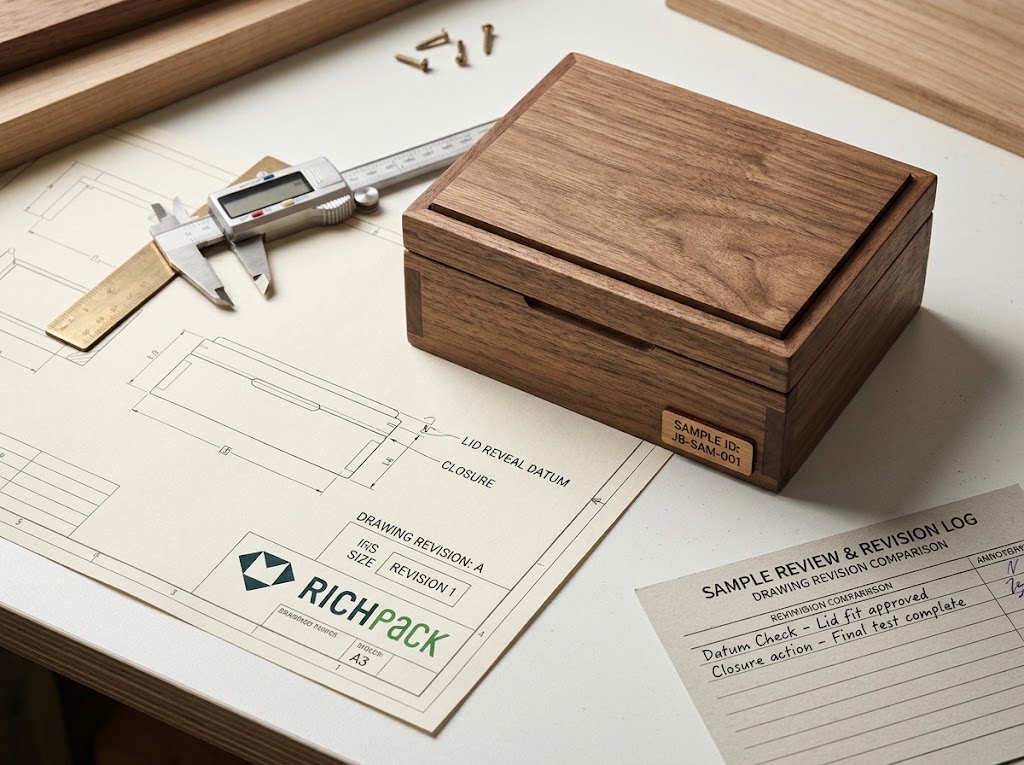
Check corners, panel edges, veneer seams, hardware slots, and inner joins. Record gaps, chips, rough edges, glue marks, coating bridges, or splits. Use the project’s defect rules. Do not add new pass/fail classes during review.
Use one approved sample, the same light, and the same viewing angle. Compare color, shine, grain, edges, dust, feel, and repair marks. Photos can shift color, so use the physical sample as the reference when the project allows it.
Put the jewelry in the sample and check how it sits, lifts out, and returns to the insert. Look for metal or stones that rub the shell, hardware, or bare edges. For drawer sets, compare jewelry tray layouts as a storage option. Fit approval does not prove material safety or anti-tarnish performance; those claims need tests on the full product.
Keep the approved sample ID, drawing and parts-list versions, open issues, finish sample, and closure/insert notes together. Record each change and approver before requesting a quote. The quote and quality agreement set MOQ, timing, tests, capacity, and pass rules. This checklist does not set those terms. See RichPack’s small wooden jewelry box craftsmanship guide for more detail.
| Review area | Record on the sample sheet | Escalate when |
| Material stack | Species/form if confirmed, face, core, thickness, finish, insert | A layer is unnamed or differs from the approved drawing |
| Geometry | Datum, size, squareness, lid gap, base contact | The allowed size range is missing or the box rocks/binds |
| Joinery | Joint type, edge condition, glue-line appearance | Separation, chips, residue, or unexplained gaps appear |
| Function | Hinge movement, closure engagement, insert fit | A part requires force or jewelry shifts/rubs |
| Finish | Reference sample, lighting, color, sheen, edge coverage | The sample departs from the approved visual standard |
| Revision control | Sample ID, drawing/parts-list version, changes and approval | Substitutions or changes have not been recorded |
Wood forms the shell and shows its grain, and moisture can change its size. Panel type, joints, finish, hardware, and insert all affect box fit and jewelry position.
No one build fits every design because solid wood and veneer over a core use different panels. Compare the face, core, edges, movement, finish, and project spec before you approve a sample.
Yes. Wood takes in moisture as air gets damp and gives it off as air dries. FPL lists MC at installation for indoor woodwork, furniture, and trim. In most of the U.S., the average is 8%, with single pieces at 6%–10%; in the dry Southwest, it is 6% (4%–9% per piece); on warm, damp coasts, it is 11% (8%–13% per piece). These are installation guides, not factory targets for jewelry boxes. Set MC and lid gap for the wood, box, and destination.
Match the sample ID to the drawing version first. Check each layer, size, corners, lid gap, closure, joints, edges, finish, and insert. Record each change before you approve it.
Do not treat a wood species as an anti-tarnish promise. Available sources do not show that cedar or another wood stops tarnish. This claim needs tests on the full box and insert.
The best wood depends on its look, panel type, size, cut, finish, and fit needs. Start with the box drawing and material layers. Compare species that meet them. RichPack’s wood species comparison covers wood choice.
For custom wood jewelry box work, list each layer, grain direction, joint, and finish. Compare the sample with its drawing and insert. Species is one field, not the full spec. RichPack’s jewelry packaging manufacturing service covers custom packaging from design through delivery. Share the jewelry type, drawing, wood, finish, closure, insert, and sample approval needs.
2026-04-21

2024-12-12

2025-04-05
2025-01-08

2024-10-23
2024-12-24
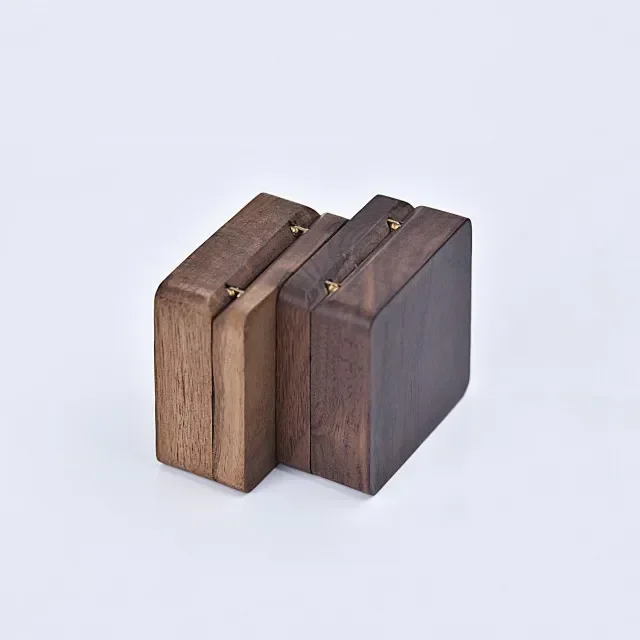
Antique Jewelry Boxes with Vintage Charm | Timeless Wooden and Retro Jewelry Boxes for Collectors and Luxury Brands Richpack
View More
Branded Luxury Gift Boxes with Personalized Designs | High-End Packaging for Premium Brands Custom Solutions Available for Wholesale Suppliers
View More
Clear Acrylic Jewelry Storage Boxes for Necklaces and Earrings | Transparent and Modern Display Solutions for Retail Easy-to-Clean Jewelry Storage Boxes
View More
Custom Jewelry Packaging for Artisan Jewelry Makers | Handcrafted and Personalized Solutions | Tailored for Small-Scale Brands
View More
Elegant Custom Jewelry Displays with Logo for Jewelry Boutiques | Ideal for Small-Batch Retailers Looking to Stand Out with Unique Presentation
View More

