

 PREV

15 of the Best Jewelry Drawer Organizer Solutions in 2026
2026-03-03
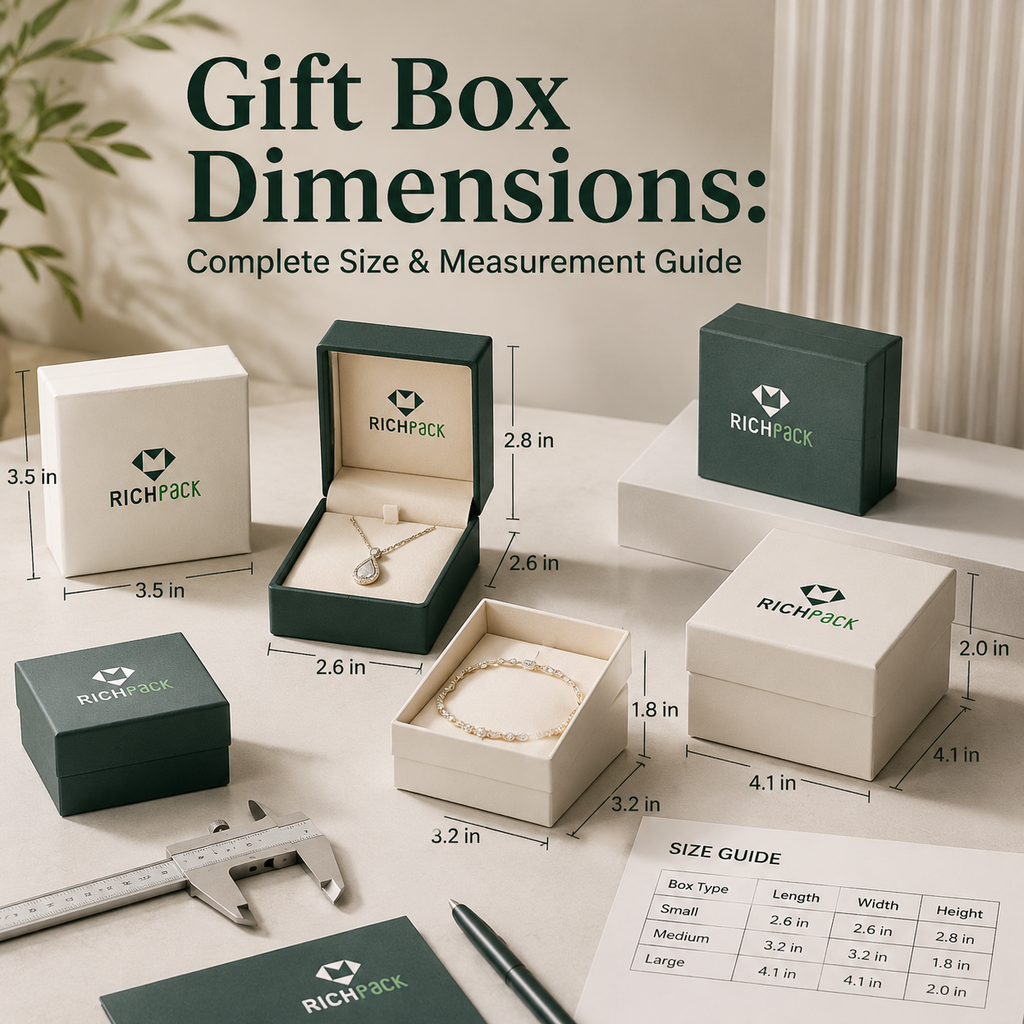



Gift box dimensions often appear as length × width × height, but those figures can describe different parts of the package. They may show the assembled exterior while the product sits in a smaller cavity. An insert occupies space, and a closed lid can limit usable height.
Measure the product in its packing position, then record the insert opening, insert footprint, usable closed interior, and finished box exterior as separate values. For e-commerce orders, measure the completed protective pack-out and shipper as another layer.
Each value answers a different fit question. A published size chart can narrow the options, while an assembled sample checks the finished setup.
A three-number size is useful only when the drawing identifies its measurement basis. Use inside dimensions to assess product and insert fit, the closed outside size for shelf and carton planning, and usable closed height to check lid clearance.
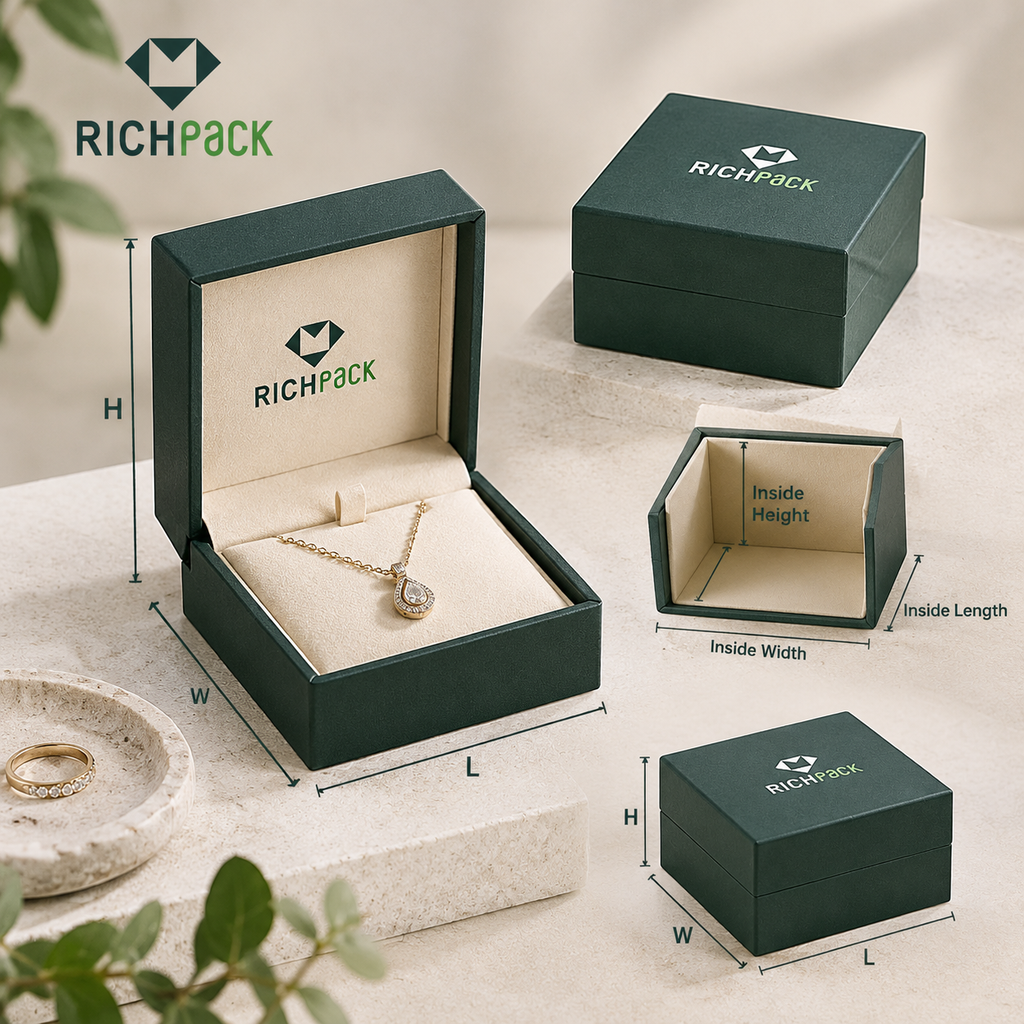
Length and width name the two directions across a rectangular opening. Height runs from the base toward the top. The drawing should show which edge is each axis because the letters alone do not identify the faces.
For a hinged lid or drawer, a supplier may orient those axes to the front, opening, or approved drawing. If a quote lists L × W × H without showing direction, mark the box in a top-view sketch. An arrow can remove ambiguity before anyone compares a sample with the drawing.
Inside dimensions describe the space between the box’s inner surfaces. They help you judge whether the product and its insert can fit.
A two-piece box can have three separate interior measurements.
Board, wrap, shoulders, or an insert can occupy some of that space. Ask the supplier whether a figure measures the base cavity, lid, or closed interior. Use the cavity that will actually hold the product to assess fit.
Outside dimensions run between the outer faces of the assembled box. They help with shelf planning, storage, and estimating how the closed gift box will sit inside a larger shipping carton. They do not show how much room remains inside.
A listing that gives “8 × 6 × 4” without naming the measurement basis leaves that question open. Keep the closed outside size and inside cavity as separate fields in your notes, then confirm both on the supplier’s approved drawing.
Usable closed height is the vertical room left for the product when the lid is fully shut. Measure from the box or insert floor to the lowest point inside the lid or lining.
Check any part that could touch the item. The box’s exterior height and base wall height do not answer this question. Put the actual product in its intended position, fit the insert, and close the sample. The lid should reach its intended position without pressing on the product or insert.
Product size is the item’s outside dimensions in the position it will occupy. Box size describes the cavity or outside shell around it. A ring pocket can be small while the insert around it needs more room to fit inside the box.
Record these measurements as separate fields.
This separates two fit checks. The product may fit while its insert does not. The gift box may also fit before the shipping pack-out is added.
Choose one controlling unit for the drawing and label any conversion as a reference. NIST defines one inch as exactly 25.4 millimeters. For example, 8 × 6 × 4 inches converts to 203.2 × 152.4 × 101.6 millimeters.
Those decimals come from unit conversion. They do not show how accurately a box is made or set a manufacturing tolerance. Keep the axis order the same when converting, and have the supplier approve the unit used for production.
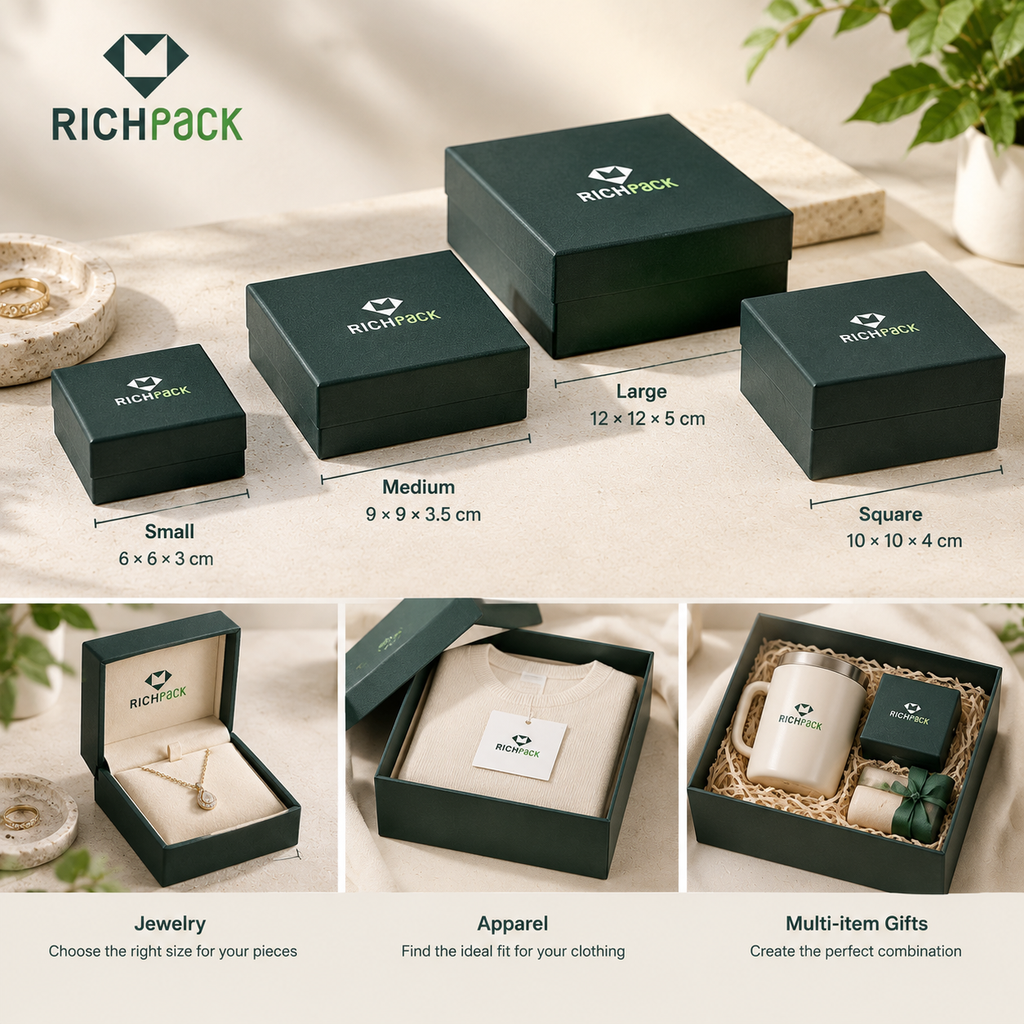
Use the chart to shortlist a shape and scale, then compare each candidate with the measured product and planned insert. Small, medium, and large are labels used by individual pages, not universal size classes. The published examples below do not replace a confirmed drawing or a fit check.
| Category | Published example L × W × H | Common use or selection condition | Measurement basis | What to verify |
| Small | 6 × 4 × 2 in (152.4 × 101.6 × 50.8 mm) | OXO’s small-size example. Compare it with the measured product and insert | Inside or outside: not stated | Cavity, insert footprint, and lid closure |
| Medium | 8 × 6 × 4 in (203.2 × 152.4 × 101.6 mm) or 8 × 8 × 3 in (203.2 × 203.2 × 76.2 mm) | OXO examples with different footprints. Choose by the planned layout | Inside or outside: not stated | Axis direction and usable interior |
| Large | 10 × 8 × 6 to 12 × 12 × 6 in (254 × 203.2 × 152.4 to 304.8 × 304.8 × 152.4 mm) | OXO’s larger examples. The label does not define a fit threshold | Inside or outside: not stated | Product, insert, closed exterior, and storage limits |
| Square | 8 × 8 × 3 in (203.2 × 203.2 × 76.2 mm)* | The OXO medium example also has a square footprint. Use layout to assess fit | Inside or outside: not stated | Whether the product can move across the cavity |
| Jewelry | Choose by mounted piece and insert | Match the item’s shape and display position | Project-specific | Insert cavity, footprint, closed height, and removal |
| Apparel | Choose by the folded garment envelope | Measure the garment in its intended fold | Project-specific | Folded width, length, stack height, and wrap |
| Multi-item | Choose by the complete planned layout | Measure the set with dividers or supports in place | Project-specific | Total footprint, component access, insert, and lid |
The first four rows are examples from OXO Packaging’s guide. That page does not say whether the figures are inside or outside dimensions. It labels 8 × 8 × 3 in as medium and also shows that footprint as a square example. The source does not establish a separate square-box rule.
The metric values use NIST’s exact 25.4-millimeter-per-inch conversion. They are unit conversions, not rounded manufacturing specifications. After shortlisting a size, browse the RichPack gift-box collection to compare box formats.
OXO’s guide lists 6 × 4 × 2 in as one small-box example. Use it as a starting point.
The page does not define “small,” and it does not state whether the figure describes inside or outside dimensions. Check the product, insert, and closed lid before choosing a size.
OXO lists two medium examples with different footprints.
The label alone does not say which one fits your product. Choose by the product’s planned position and insert layout, then confirm the inside dimensions and usable closed height.
The same guide gives large examples from 10 × 8 × 6 in to 12 × 12 × 6 in. That range describes the page’s examples, not a universal threshold for large gifts.
A broad or deep box may suit one arrangement and waste space around another. Measure the full product layout, then compare the insert footprint and closed box size with the space needed for storage or packing.
The 8 × 8 × 3 in example above is the only square three-axis example used here, and the source labels it medium. Equal length and width can create a broad layout for a set, but that footprint does not guarantee a secure fit.
Products may move across an open cavity if the arrangement or insert does not hold them in place. Check the actual layout, insert footprint, and lid clearance before choosing a square format.
Start with the mounted piece and the insert. Small, medium, and large labels cannot tell you whether that display setup will fit.
Then check that the insert’s outside footprint fits the box and that the lid closes above the mounted piece.
Choose an apparel box from the garment’s folded envelope, not its labeled size. Fold the garment as it will sit in the gift box, then measure that shape. A flat fold needs room across its length and width. The stack determines its height.
If tissue or another presentation layer will surround the garment, include that layer when checking the cavity and closed height.
Choose a multi-item box from the full arrangement, not by adding the dimensions of separate products. Place the items, dividers, and supports in the positions they will occupy, then measure the arrangement’s overall footprint and tallest point.
The insert’s outside dimensions must also fit the box interior. Check that each item can be lifted out and that the lid closes with the complete set in place.
Measure the gift in the position it will occupy, then work outward through the insert, box interior, and closed lid. A sample can confirm the fit, while a drawing records exactly what each number means.
Place the product as it will sit in the box. A bottle may stand upright or on its side, and a folded garment changes shape when you change the fold. This choice sets the length, width, height, and insert layout.
If the product has a display face, point it the way you want it shown. Sketch the position and mark which side opens. If more than one position may work, record the preferred one and measure other options separately.
With the product in its packing position, measure its largest outside length, width, and height. Find the widest points and the tallest point from the base that will rest on the box floor.
Use a ruler or caliper without bending the item or pressing soft material. If the box opens from another side, mark the axes on a top-view sketch. Record product size before adding insert space, then size the cavity and supports separately.
Measure the assembled item in the condition that will go into the box. Keep a cap, closure, handle, ribbon, attached tag, or other projecting part in place if it will remain attached during packing.
Measure an accessory with the main product if they will travel or display together. Note it in the layout.
Check the highest point as well as the widest profile. A short projection may meet the lid or inner frame. If you will remove a part before packing, note it in the brief. The drawing should match the item as it will go into the box.
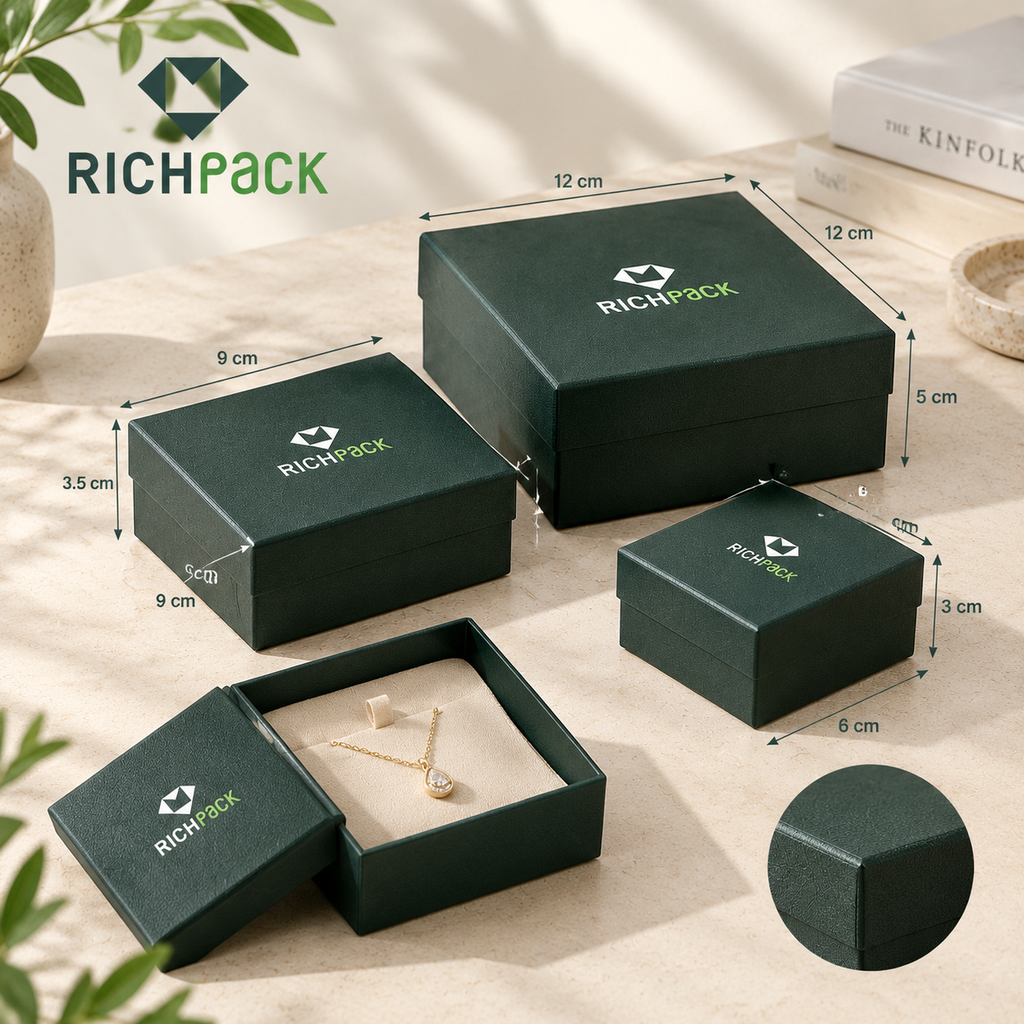
For a curved or tapered item, measure the outermost points along the planned axes. Do not follow the curve with a ruler.
Turn the item to its packing position and mark where its widest points fall. A sketch can show a handle, sloped shoulder, or rounded body that three numbers may miss. The insert can hold the item in a shaped cavity, but its outside footprint must still fit the box. Use a sample or full-scale layout to check the support points and the product’s path in and out.
Arrange the complete gift set first, including dividers, cards, accessories, and any support that will stay in the box. Then measure the outside boundary of the arrangement. Do not add the length or width of each item as if they sit in one straight row. Two items may fit side by side or nest at different heights.
Draw the planned layout from above and from the side, and mark which pieces need to be reached first. If the arrangement changes, measure the revised layout again. This gives the insert designer a clear footprint. Check that each item can be placed and removed without moving the others.

Keep the insert opening and the insert’s outside footprint as separate measurements. The cavity is the usable opening that holds the product. The footprint includes the insert walls, platform, or other material that occupies the box. A cavity can match the product shape and still leave too little room for the insert to sit inside the gift box.
Record these three measurements separately in the brief.
For a jewelry project, see our custom jewelry box inserts for examples of insert options by jewelry type. Do not apply a generic clearance number. Confirm the fit with the actual insert and box structure.
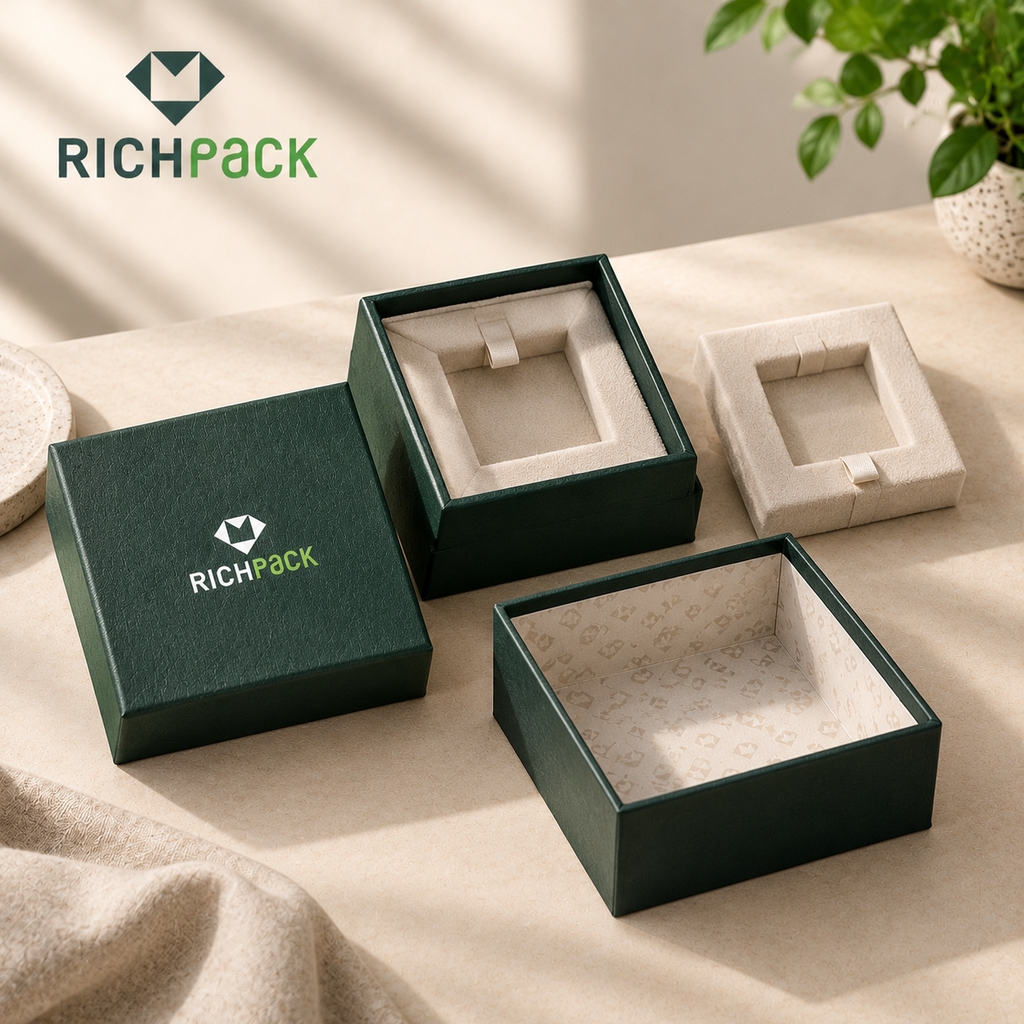
An open box can appear deep enough even when the product or insert reaches into the lid’s space. Use this sequence when checking the assembled sample.
An exterior height or an open-base measurement cannot answer that fit question. If the contents press against the lid or prevent full closure, revise the layout or the box specification and recheck the assembled sample.
Write each dimension as L × W × H. Keep these fields separate.
Keep one unit as the working basis across the drawing. Label converted values as conversions, not production tolerances. If a tolerance matters for the order, agree on it for that design and record it on the approved drawing.
Treat the written specification and approved sample as a pair. Neither a product name nor a size label resolves an unclear measurement basis.
The same product can fit one box style and conflict with another because lids, trays, sleeves, folds, and inserts change the usable space.
Use the table to identify the main fit check, then inspect that feature on the assembled box.
| Box style | Where fit can change | First check |
| Lid-and-base | The insert may raise the product into the lid | Close the lid with the insert and item in place |
| Magnetic closure | The flap and spine fold across the box | Check the fold and closure areas for contact |
| Drawer | The loaded tray travels inside a sleeve | Test the full drawer travel with the insert fitted |
| Folding carton | Tabs, folds, and glued overlaps define the assembled cavity | Erect and load the carton before checking fit |
| Window or shoulder neck | The frame or neck can narrow the opening | Check the product’s path through the opening |
| Jewelry insert | The cavity and outside footprint serve different jobs | Check the mounted piece, insert, lid, and removal path |
For a lid-and-base box, measure the base cavity that holds the product. Then confirm the lid seats over the base with the insert in place. The open base shows usable area, but it does not show where the lid sits when the box closes.
Check the assembled pair, especially if an insert raises the product. Record whether the dimensions refer to the base, lid, or closed box. Mark the opening direction on the drawing. A lid that closes on an empty base may sit differently with the insert and contents added.
A magnetic-closure box adds a closing flap and a spine or hinge area to the fit check. Place the product and insert before closing the flap, then look for contact where the flap folds over the body and where the closure parts meet. Those areas may change the usable space or the product’s removal path, depending on the construction.
Check the assembled sample with the intended contents. Do not infer fit from the outside dimensions alone or assume that a magnet location is the only feature to review. For more on product fit in this style, see RichPack’s magnetic-closure gift box fit guide.
A drawer box has two fit checks. The product must fit the tray cavity, and the loaded tray must move through its sleeve. Measure the usable tray space and outside footprint separately.
Then check the full drawer travel with the insert in place. A product below the tray edge may still catch on an insert wall as the tray moves. Confirm that the drawer closes and the product can be reached without forcing the tray. Do not add a standard slide gap without agreement for that design.
Measure a folding carton after it has been erected into its finished shape. A flat blank shows panels before folds, tabs, tuck flaps, and glued overlaps are in their final positions. It does not show the assembled cavity directly.
Load the product and insert it, close the carton using its intended tabs or flaps, and check the usable space where those parts meet. Confirm that the product can be inserted without catching on a flap. If the packing direction changes, repeat the fit check on the assembled carton because the opening and closure path may change too.
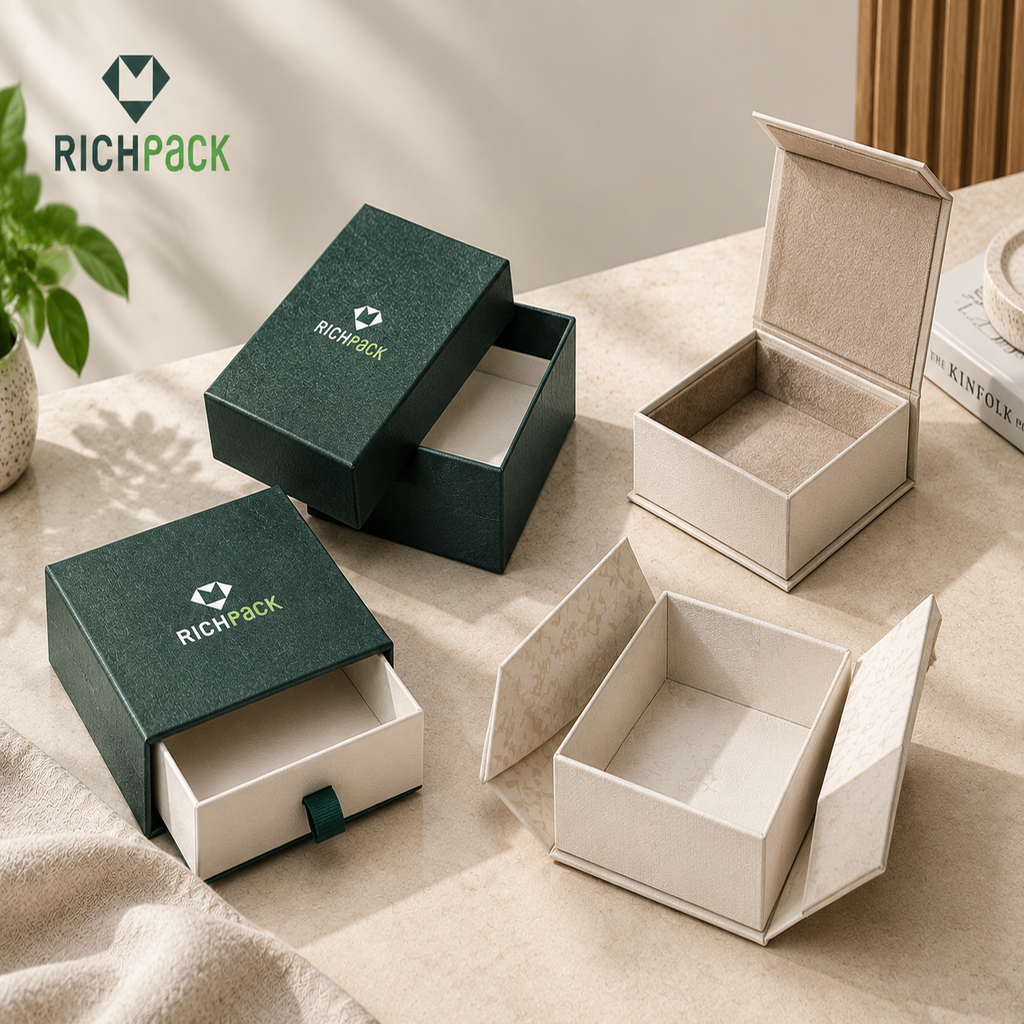
A window frame or shoulder neck can create a narrower opening than the main box body. Measure the path the product must pass through, then check the space below the frame or ledge once the box is assembled. A product that fits the widest part of the base may still meet a window surround or shoulder near the top.
Note which component creates the limit on the drawing and confirm it against the intended orientation. These features vary by design. Check the box instead of assuming every window or shoulder has the same opening.
For jewelry, measure the piece in its display position and include the holder, card, or shaped insert that will support it. A ring resting upright, earrings mounted on a card, and a necklace arranged in a tray create different footprints and heights.
Keep the cavity separate from the insert’s outside size. Close the box with the insert in place and confirm fit.
The item should remain in its intended position and still be removable as planned. Use a jewelry-specific size reference only for the matching product and insert. The overall measurement sequence remains product, insert, usable box interior, and closed sample.
Treat the retail gift box and the shipping pack as separate size layers. Record each measurement after that layer is assembled.
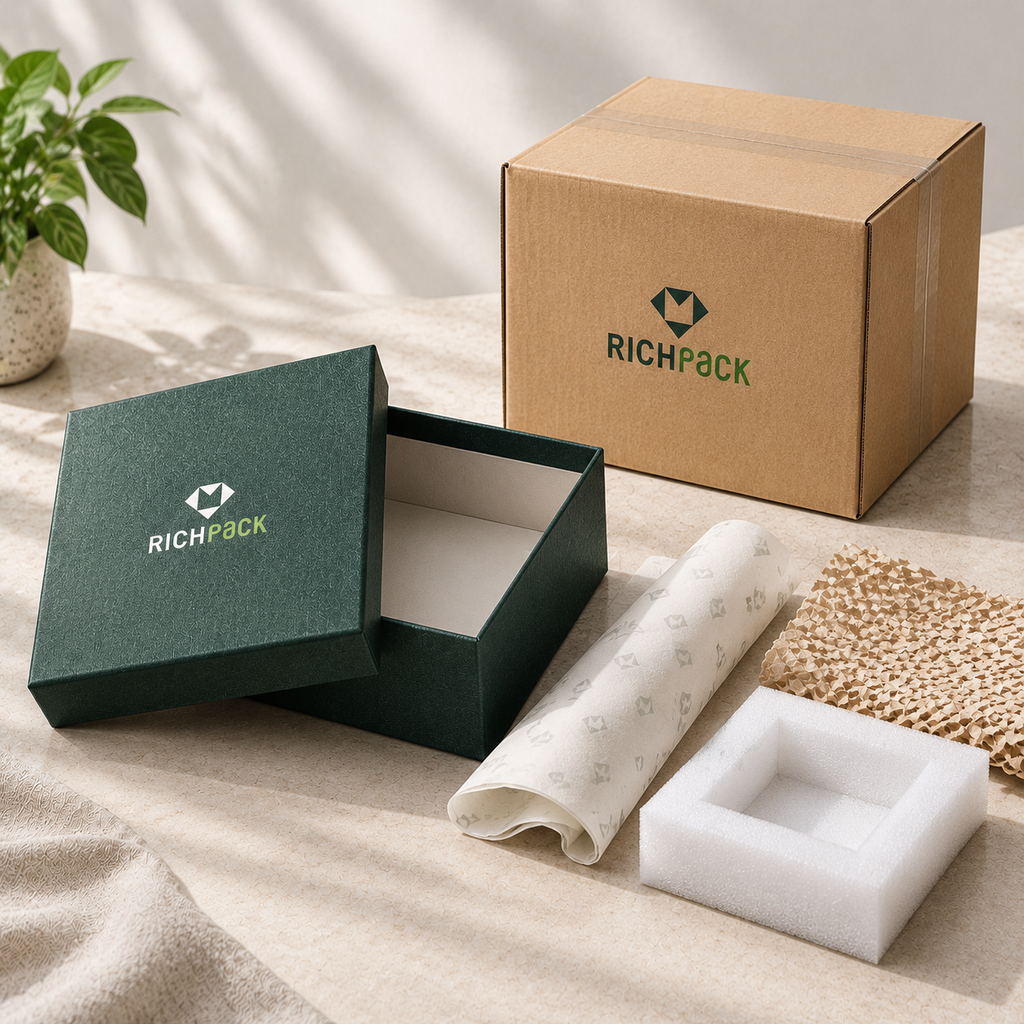
Measure the gift box after it is assembled and fully closed. Record its maximum outside length, width, and height, including the lid, closure, and any part that extends beyond the main body.
Keep these figures separate from the inside cavity dimensions used to check product fit. For a lid-and-base style, the open base alone does not describe the closed box. A magnetic flap, shoulder, window frame, or other feature may affect the final outer profile. Mark the viewing direction and opening side on the drawing so another person can reproduce the same measurement.
Pack the gift box with its insert, wrap, dividers, and other components. Place the finished pack in the outer shipper and close it. Measure the closed shipper.
If you combine several finished packs, arrange them in a separate master carton, close it, and measure that carton too. Record the count and arrangement for each layer. Keep the gift box, shipper, and master-carton dimensions in separate fields.
Protective materials occupy space between the gift box and its shipper, and they can change how the carton closes. Include the components used in the final pack-out before measuring.
Avoid adding an assumed allowance on paper. Assemble the shipment as it will be sent and check that the protection stays in position without preventing the carton from closing. If the packing method changes, measure the new setup. Record the material or component names with the dimensions so the measurement can be tied to the pack-out that produced it.
Carrier pages and service terms can change. Before shipment, check the current source for your carrier, service, and route.
Save the page or the date you checked with the shipment record. Do not infer a carrier rule from gift box dimensions or an earlier shipment. If the carrier or service changes, check again before dispatch.
The packed shipment may pass through storage and picking before dispatch. Record these details with the order.
Measure the loaded master carton before recording its dimensions. A gift box’s outside size alone does not show the full packed footprint.
When a brand requests a custom box, the supplier needs more than three numbers. The brief should show the product, its position, the insert, the box style, and whether each dimension is inside, outside, or usable with the lid shut.
Then both sides can compare the drawing with an assembled sample. The fields below give them a shared project record.
Write each dimension in L × W × H order. Identify each field on the drawing.
These terms describe different surfaces and spaces, so an unlabeled set of three numbers can leave the fit question unresolved. If the design uses an unusual opening or orientation, add a simple sketch with axis arrows and the side that opens.
Describe the item or gift set in the position it will occupy. Include its model or SKU, the number of pieces in each set, accessories that stay with it, and the intended orientation. For multiple items, attach the planned layout and identify dividers or supports.
Keep the insert cavity dimensions separate from the insert’s outside footprint. The first describes the opening around the product. The second describes the material that must fit inside the box.
For a planning overview, see the custom gift box design and bulk ordering guide. Add the project-specific details to a brief such as this.
| Field | Record for this project |
| Product / SKU and quantity | Item or set name, model/SKU, pieces per set, accessories, and order quantity if known |
| Product envelope and orientation | Maximum outside L × W × H in its packed position, including caps, handles, or protrusions that remain attached |
| Multi-item layout | Arrangement, dividers, compartments, and the intended display or removal direction |
| Insert | Usable cavity dimensions and the insert’s outside footprint, including walls or raised platforms |
| Box style and closure | Intended structure and how it opens and closes |
| Box measurement basis | Inside dimensions, usable closed height, and closed outside dimensions, each labeled separately |
| Units and axes | Controlling unit, L/W/H reference, viewing direction, and opening side |
| Dimensional tolerance | Agreed acceptable variation for each critical dimension, recorded in writing |
| Sample approval | Structural sample version or date and the person approving it |
| Shipment pack-out | Protective components, finished shipper dimensions, master-carton quantity, arrangement, and closed dimensions |
Name the structure the project needs, such as lid-and-base, magnetic closure, drawer, folding carton, shoulder or neck, window, or another defined format. Note how it opens, which parts overlap, and where the insert sits. Those details affect the space available after assembly and the path used to load or remove the product.
List any box style that could work. Ask the supplier to show the chosen style on the drawing and sample. A style name alone does not define the usable interior or confirm a supplier can make it.
Agree on any allowed size variation for the project and list the dimensions it covers. State the unit and the surfaces to measure. Also say whether the value applies to the assembled box or another defined state. Put the agreement on the drawing or approval record, and make sure both sides use the same revision.
Do not copy a tolerance from another box or supplier. Unit conversion changes how you write a length. A manufacturing tolerance sets the allowed variation during production. The project value remains open until both sides document it.
Use a sample built with the product, insert, and closure specified for the order. Check the details that a drawing alone cannot settle.
Record any mismatch against the drawing and update the specification before approving a revised sample.
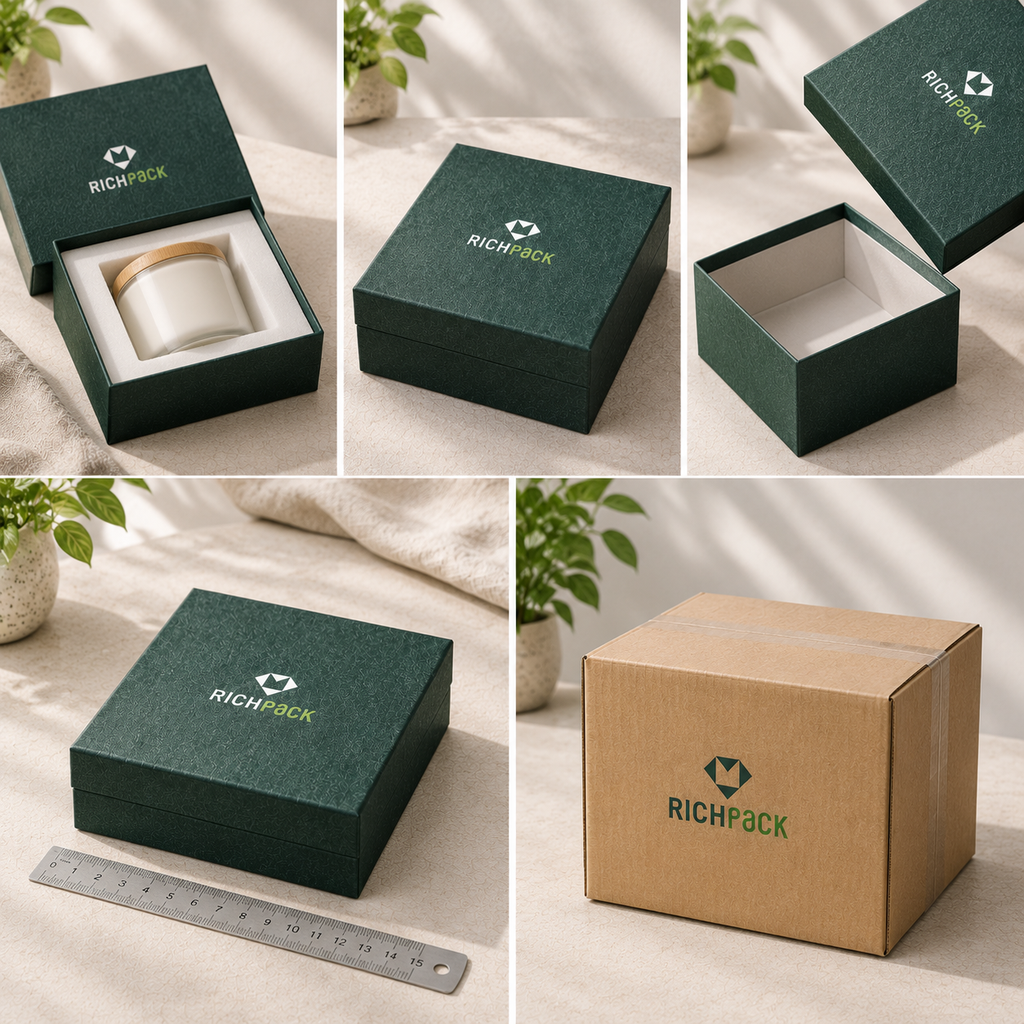
Keep the approved drawing and assembled sample together by revision, date, and approver. Save the product layout and insert measurements with the record.
Also list the measurement basis, unit, axis reference, agreed tolerance, closed exterior, and final shipping pack-out. If a later order changes the product, insert, closure, or packing setup, review the dimensions before reusing the old specification. Record the approved version so both sides can identify the same setup.
There is no single size that fits every gift box. Small, medium, and large labels vary by supplier, structure, and measurement basis. Use published dimensions to shortlist a box, then confirm its inside space and closed height against the product and insert.
Write length × width × height and include the unit. State whether the numbers describe inside or outside dimensions. Mark the box position and opening direction on the drawing. List usable height with the lid closed if it differs from the base height.
A supplier may list either basis, so ask before comparing a number with your product. Inside dimensions help you judge fit. Outside dimensions help with shelves, storage, and outer-carton planning. A listing that does not name its basis needs a drawing or sample check.
Choose how the item will sit in the box, then measure its longest, widest, and tallest points in that position. Include attached parts such as caps, handles, or clasps. Size the insert cavity and footprint separately, then test the finished arrangement with the lid fully closed.
No fixed add-on works for every box. The needed room depends on the product shape, packing position, insert, and closure. Set the cavity size with the supplier, then check it with an assembled sample. Do not add an assumed gap to all three dimensions.
Measure the jewelry in the position you want customers to see, including a chain, clasp, or set layout. Then size the insert cavity and its outer footprint, and check the usable height with the lid closed. A jewelry category label alone cannot confirm fit.
Measure both. Record the gift box’s closed outside size for storage and packing. Pack it with the required protection, then measure the shipping carton. Check the current rules for your carrier, service, and route.
A published chart can help you shortlist sizes. It cannot confirm fit if the listing leaves its measurement basis or insert shape unclear.
Record the product, insert, closed gift box, and packed shipper separately. Approve the dimensions against an assembled sample.
RichPack provides one-stop high-end custom packaging solutions for jewelry brands, from design through delivery. For a custom project, design a custom gift box with the product size, position, insert layout, and box style ready to discuss.


2026-03-03


2026-07-15
2025-10-16

2026-09-27

2025-06-24
2025-06-12

Adorable Small Rectangular Gift Boxes – Perfectly Sized for Delicate Tokens of Affection
View More
Bridal Ring Boxes | Premium White Leather and Lined With Luxurious Blue Velvet – Richpack
View More
Compact Small Ring Box in Sapphire Leather | Custom Jewelry Gift Box – Richpack
View More
Gold Stainless Steel Jewelry Platter | Oval Jewelry Display and Decorative Tray | Richpack
View More
Little Present Boxes Pearl White Paper 3x3x3 | Custom Jewelry & Event Packaging – Richpack
View More
Richpack Mid-Century Modern Jewelry Boxes | Stylish and Timeless Designs for Collectors and High-End Brands Retail Owners
View More

